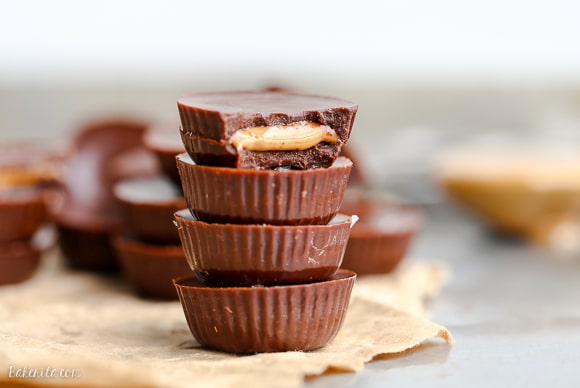
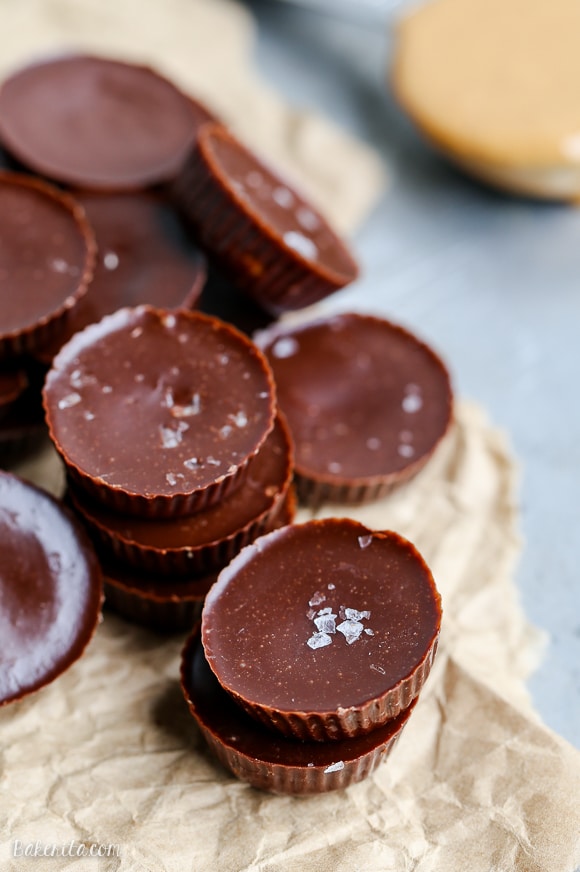
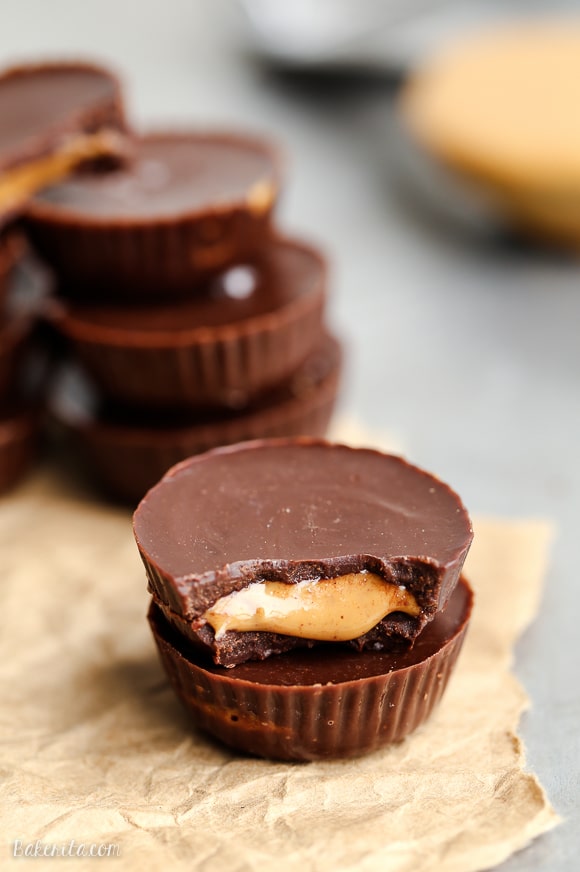
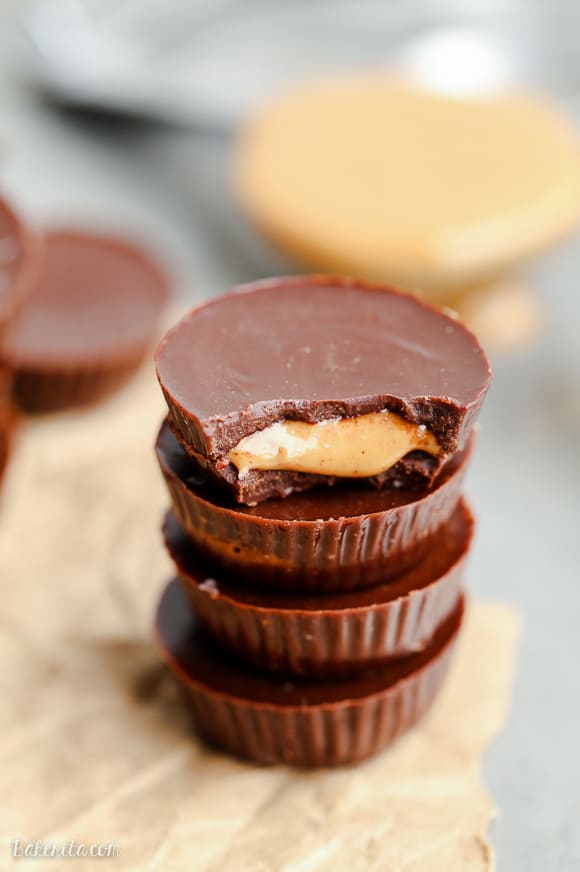
These homemade Peanut Butter Cups are a healthier version of my favorite candy, made with only four ingredients! They are made with refined sugar-free, vegan homemade chocolate and sprinkled with flaky sea salt.
You may have noticed that recently, I’ve been super into making way healthier but still totally delicious versions of my favorite unhealthy treats. First, I whipped up these copycat homemade Twix Bars, which were made with a super delicious vegan caramel and crispy coconut flour shortbread.
A version of one of my favorite candies made with only six ingredients, and without any refined sugars or gluten? Yes, please! Those first bars have inspired a whole slew of follow-ups.
After my excitement over the Twix Bar success, I channeled that energy towards one of my favorite Girl Scout Cookies: Samoa Bars. In this recipe, the vegan caramel is topped with toasted coconut, and the bars are individually dunked and drizzled with dark chocolate. Oh, heck, YES!
So I couldn’t stop there—I’m determined to make my favorite candy bars more guilt-free, too. Next up: copycat homemade peanut butter cups. These have only four ingredients, so you have no excuses not to make them. They’re also done with just about 10 minutes of active prep time—maybe 5 if you’re quick.
This recipe’s base is my favorite homemade chocolate recipe. It comes together in about 20 seconds by whisking together melted coconut oil, cocoa powder, and maple syrup. That’s all. The mixture is poured into mini muffin liners or a peanut butter cup mold, topped with peanut butter, and finished with more homemade chocolate.
Choose Between Coconut Oil vs. Cacao Butter
While coconut oil is my go-to for these peanut butter cups, I’ve recently been experimenting with cacao butter as an alternative. Oh my goodness, it’s a game-changer! Coconut oil creates a chocolate that melts quickly in your mouth (and unfortunately, your hands too if you’re not careful), giving that immediate satisfaction we all crave. It’s also more accessible and usually less expensive.
Cacao butter, on the other hand, creates a more stable chocolate that won’t melt as easily at room temperature. It has this gorgeous, subtle flavor that elevates the chocolate to a whole new level, almost like what you’d get from high-end chocolate shops! The texture is firmer and snappier, more like traditional store-bought peanut butter cups. The downside? It’s pricier and sometimes harder to find, but it’s worth hunting down if you want to level up your homemade candy game. Of course, it’s available on Amazon if you do want to order some. It’s perfect for homemade chocolate bars, too.
If you’re using cacao butter, you’ll want to gently melt it using a double boiler rather than the microwave to prevent burning. Trust me, once you try the cacao butter version, you might have a hard time going back!
Easy Substitutions
One of the things I love most about this recipe is how adaptable it is to different dietary needs and preferences:
Add-ins: Sometimes I add a tiny pinch of cinnamon or a drop of vanilla extract to the chocolate mixture for depth. For a fun twist, try mixing in some chopped peanuts or miniature chocolate chips into your peanut butter filling for extra texture!
Nut Butter Options: Not a peanut butter fan or dealing with allergies? No problem! These cups work beautifully with almond butter for a slightly more subtle flavor. Sunflower seed butter is great for a nut-free alternative, and even cookie butter works for an indulgent twist.
Sweetener Swaps: If maple syrup isn’t your thing, honey works wonderfully (though it’s not vegan). For a lower-glycemic option, try a monk fruit maple syrup alternative. I’ve even used date syrup, which adds a lovely caramel undertone.
Chocolate Variations: Feel free to experiment with raw cacao powder versus regular cocoa powder. Raw cacao has more antioxidants and a more intense flavor. Dutch-processed cocoa powder will give you a smoother, less bitter taste.
How to Store Your Peanut Butter Cup Stash
I have these stored in a little Tupperware in my fridge, and I’m honestly surprised that they’re still there. My roommate and I have been enjoying lots of them as a nighttime chocolate fix.
If you used the coconut oil base, these cups will get soft at room temperature, especially during warmer months. They’ll be more resilient if you use the cacao butter, but I still like storing them in the fridge for longevity. For best results:
- Refrigerator Storage: Store in an airtight container in the refrigerator for up to 2 weeks (though they rarely last that long in my house!). This keeps them perfectly firm with just the right amount of snap when you bite into them.
- Freezer Option: These peanut butter cups freeze beautifully for up to 3 months! Just place them in a freezer-safe container with parchment paper between layers to prevent sticking. The best part? You can eat them straight from the freezer for a refreshing chocolate treat, or let them thaw for about 5 minutes for a softer texture.
- On-the-Go Tips: If you’re packing these in a lunch box or for a picnic, add a small ice pack to keep them from melting. If you’ve made the cacao butter version, they’ll hold up much better at room temperature.
Thankfully, I can just make more when I’m out since they are so easy! You’ve got to love that. If you’re a PB cup nut like I am, you’ll be obsessed with this recipe. Enjoy!
Homemade Peanut Butter Cups
Ingredients
- ½ cup coconut oil or cacao butter, melted
- ½ cup cocoa powder
- 3-4 tablespoons maple syrup, to taste
- About ⅓ cup peanut butter
- Flaky sea salt, optional
Instructions
- Line a mini muffin tin with small cupcake liners. Alternatively, you can also use a peanut butter cup mold, which is what I used.
- In a liquid measuring cup, whisk together the melted coconut oil, cocoa powder, and 3 tablespoons maple syrup. Taste it, and add more maple syrup if you want it sweeter.
- Pour a small amount of the chocolate mixture into the bottom of each liner or mold cavity, until the bottom is thinly covered. Don’t use more than half the chocolate mixture for this. Place the liners in the refrigerator for about 10 minutes to harden.
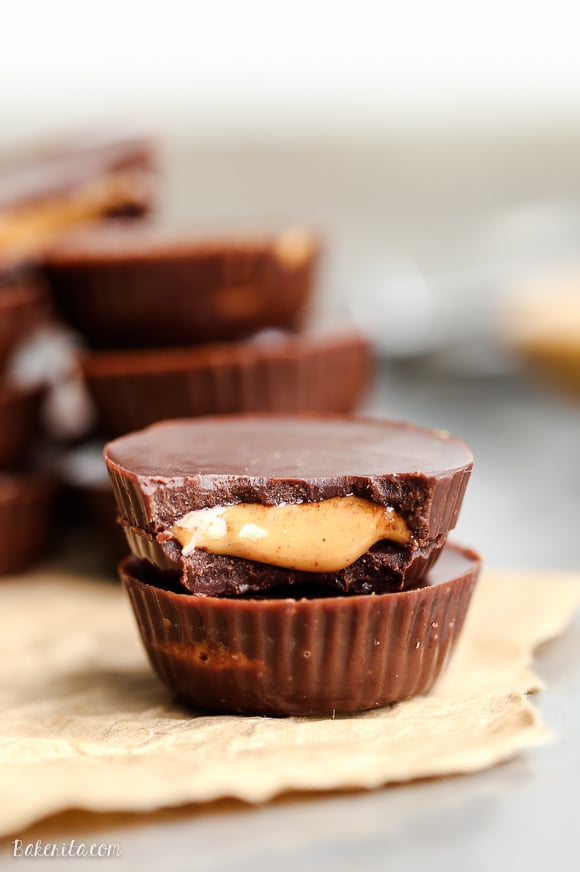
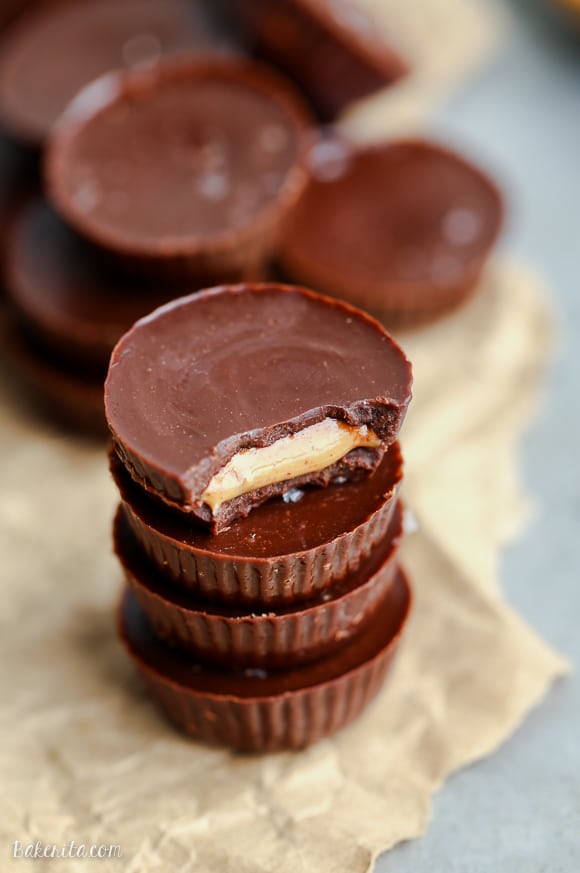
- Once the bottom layer of chocolate is hard, place about 1/2 teaspoon of peanut butter over the chocolate. Pour enough of the chocolate mixture over the peanut butter to cover it completely (if at any point the remaining chocolate gets too thick, warm it in the microwave for 10-15 seconds to remelt). Repeat until all are covered. If desired, sprinkle the top with flaky sea salt. Return to the refrigerator to harden completely.
- Store at cool room temperature, or in the refrigerator if you live in a warm climate.


How cute are these?! I made my own pb cups before, but I’m loving this healthier version. And that melty peanut butter is just calling my name! I think I would devour these ALL in no time, I have absolutely zero willpower when it comes to pb cups!
Your candy recipes lately have SERIOUSLY been blowing me away, Rachel! I’m pretty much completely obsessed with how ahmaaaaaazing these peanut butter cups look! That oozing peanut butter filling is killing me! I want these for breakfast and I’m seriously considering it. ;)
Thank you, thank you Sarah!! A few of these for breakfast is definitely a good idea :)
Do you have an estimate of the nutrition facts? Like how many calories? Carbs? Protein?
Hi Elaine – you can calculate the nutritional facts here: http://www.myfitnesspal.com/recipe/calculator
Oh man these look fantastic!! I would have no self control with these bites around!!
I will always take a homemade peanut butter cup over store bought. The drippy peanut butter coming out of the center looks fantastic. I need five of these!
So yum! I’ll never be too full for a PB cup :)
Easy and delicious! once you start making your own homemade peanut butter cups theres no going back..
It’s so true! Thanks Layla.
These look great. I note though that you are using cocoa powder when most vegan recipes I see use cacao. Could I substitute the cocoa for cacao and if so, what sort of ratio would I need to use?
Thanks!
Hi Sam. Cacao is a raw form of cocoa powder, and they can be used interchangeably in baking recipes. Most 100% cocoa powder is vegan, though. Hope this helps!
Thank you for some very nice recipe’s.
My husband is diabetic (type2) so I am always trying to find something nice to make for him. Your blog have done just the thing. I have already tried one or two or your recipes and great.
Thank you so much for sharing! :)
This makes me so happy Linda! So glad you’ve found my site and that I can share recipes your husband can enjoy. Enjoy!
Oh my gosh, these look simply amazing Rachel, and I love how short the ingredient list is too! They sound so incredibly quick to whip up!!
I need these, like NOW! They look amazing!