Fluffy Gluten-Free Sourdough Rolls
These fluffy and delicious Gluten-Free Sourdough Rolls are made with roasted garlic and rosemary! They’re so flavorful and perfect for serving alongside your favorite soup, used as the bread for a sandwich or burger, or just eaten slathered with butter.
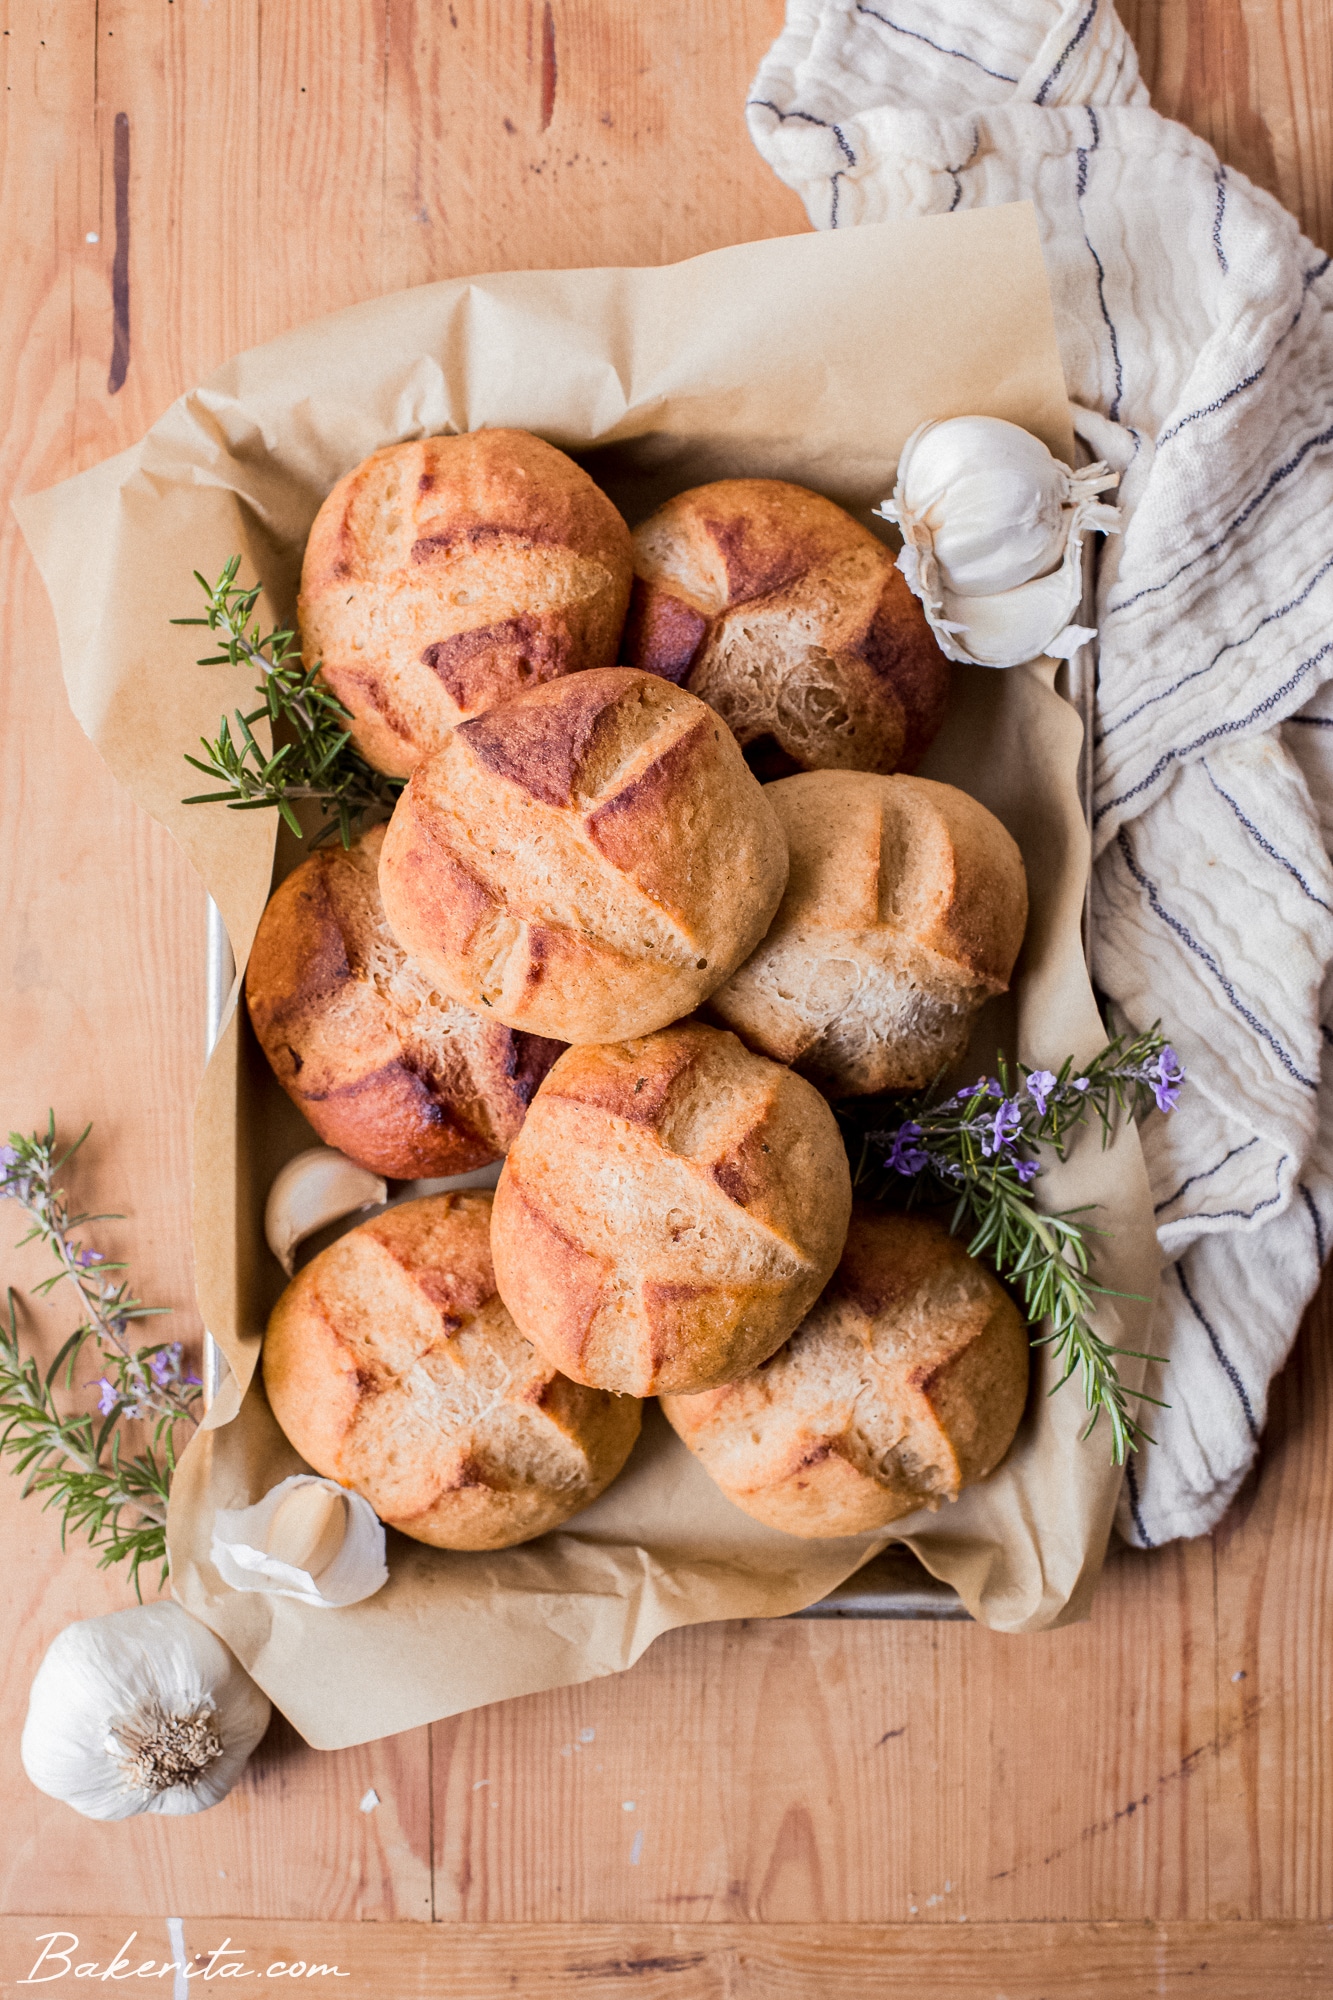
I’ve been deep in gluten-free sourdough land for over a year now, and we’re officially addicted to all things gluten-free sourdough in this house. If you don’t have a gluten-free sourdough starter yet…what are you waiting for?! It’s not too hard to make and the bounties that will come from it are infinite.
It’s so easy to get obsessed with baking gluten-free sourdough bread loaves once you get started, tinkering with time and temperature to get your perfect fluffy, sour loaf. And then you’ve got your discard…ready to be turned into sourdough focaccia, the BEST gluten-free sourdough pizza crust, sourdough chocolate chip cookies, sourdough crackers, and so many other goodies.
These Gluten-Free Sourdough Rolls are the newest sourdough obsession that I know you’ll adore as much as all of the others. They’re soft, fluffy, super flavorful, and so delicious.
I flavored mine with roasted garlic and rosemary. I’ve included the measurements to make that variation in the recipe below, or you can just leave those out and have classic dinner rolls. These sourdough rolls aren’t quite as soft as a regular dinner roll, as they have a chewier, crispier crust, but I certainly don’t think that’s a bad thing. One day, I’ll create a recipe with a super soft crust, but these aren’t quite that. Doesn’t make them less delicious though :D
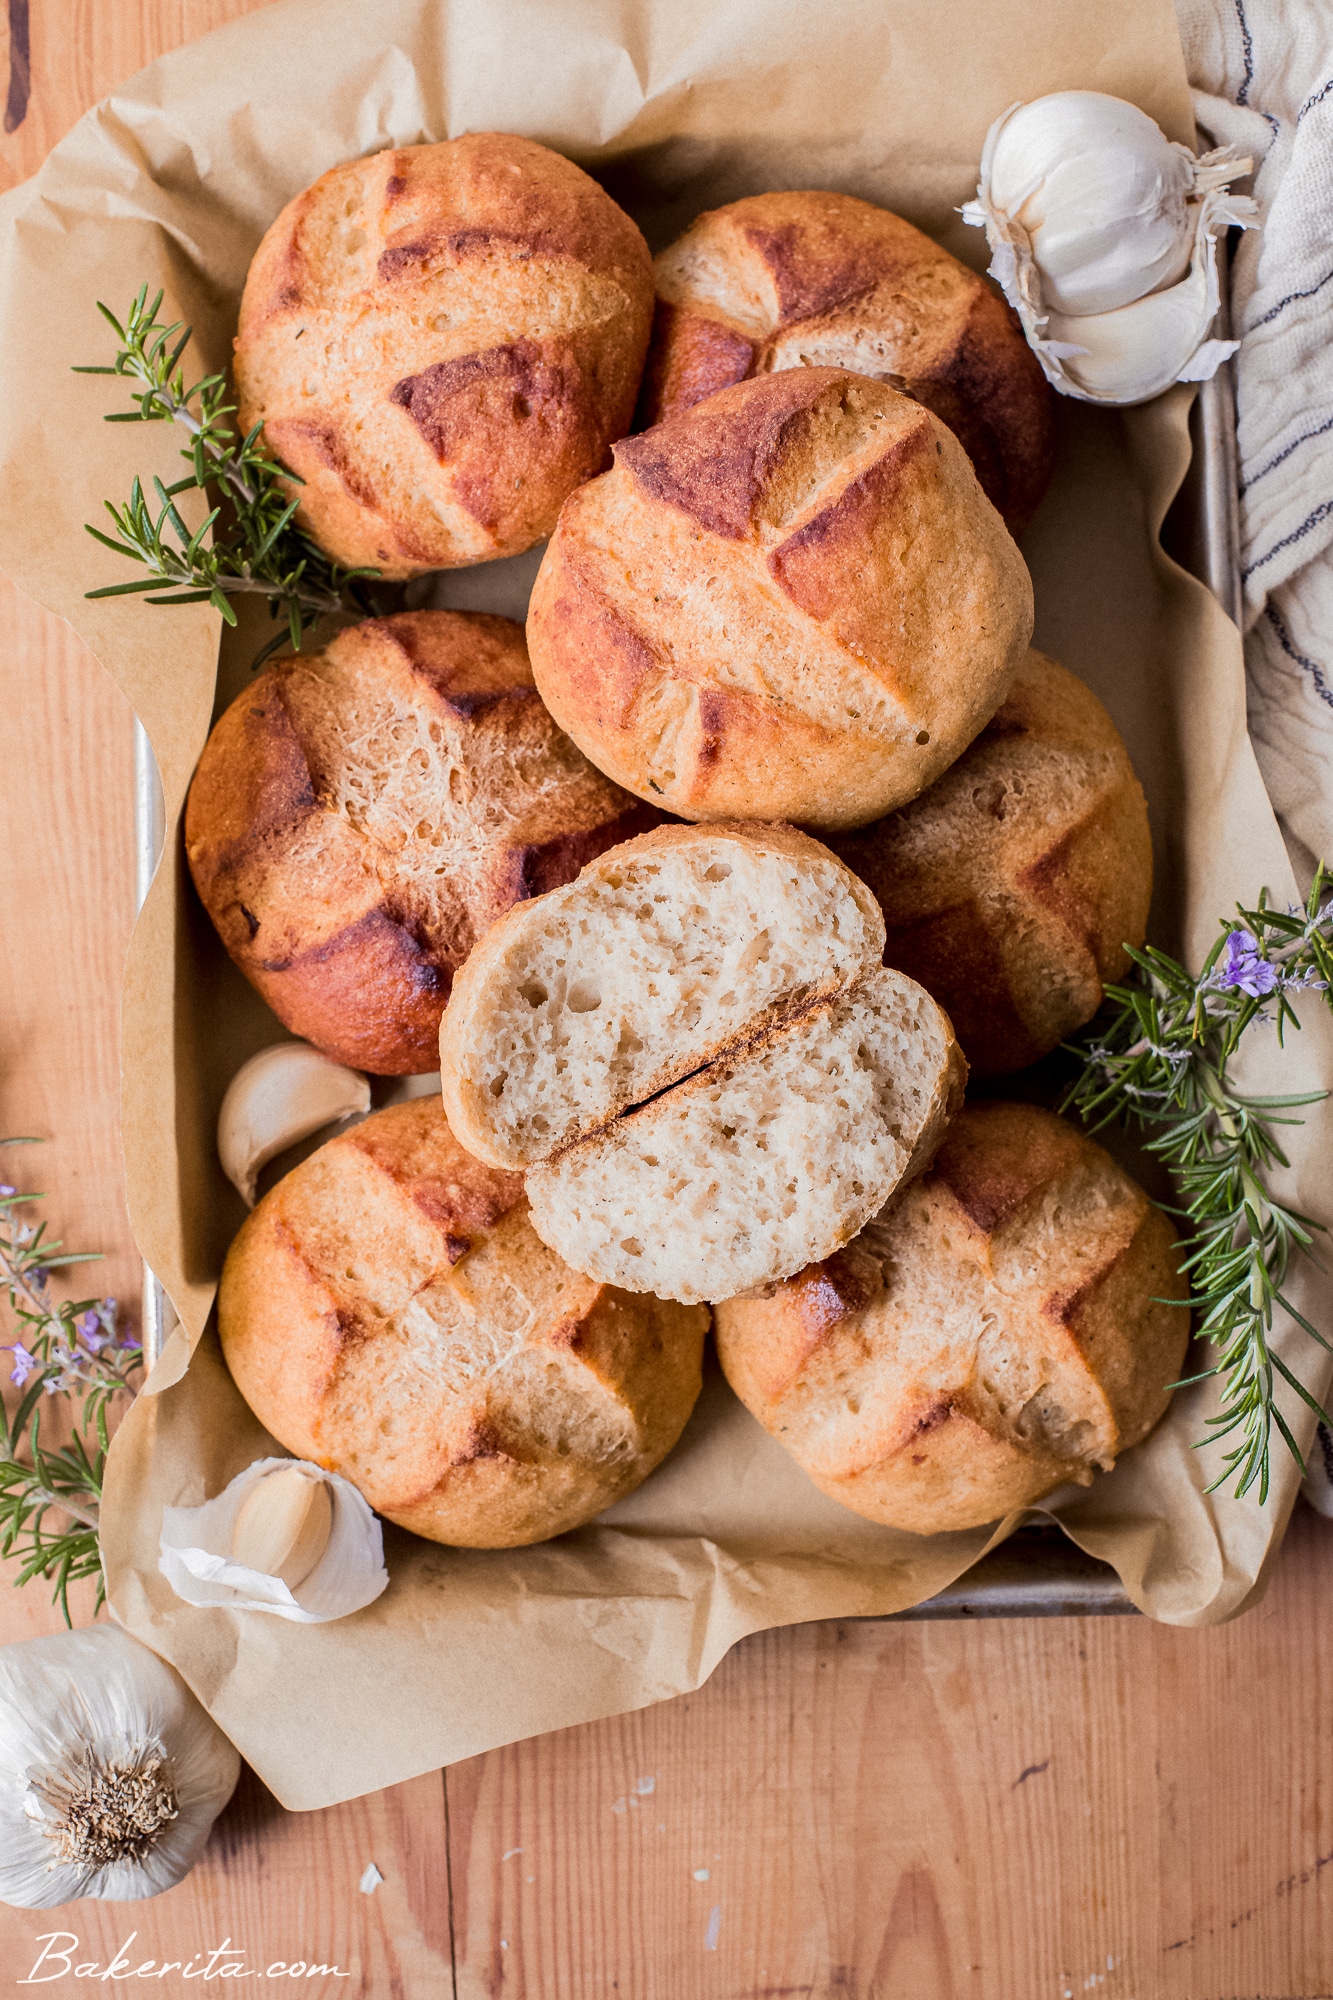
Here’s what you need for gluten-free sourdough rolls:
- Gluten-Free Sourdough Starter: make sure it’s nice and active for the fluffiest rolls!
- Psyllium Husk: this acts as our gluten and is a great binder, it makes the dough easy to work with and provides chewiness.
- Maple Syrup: this helps feed the yeast in our starter, it doesn’t add sweetness.
- Water: for the dough’s hydration :)
- Starches: you can use tapioca starch, arrowroot starch, and/or potato starch. I typically use a combination of potato and tapioca.
- Whole Grain Flours: I use some combination of quinoa flour, brown & white rice flours, and sorghum flour for this recipe. You can choose your favorite combination!
- Salt: for flavor, of course.
- Flavorings: I use roasted garlic and rosemary for this batch, but you can be creative here, or leave them plain.
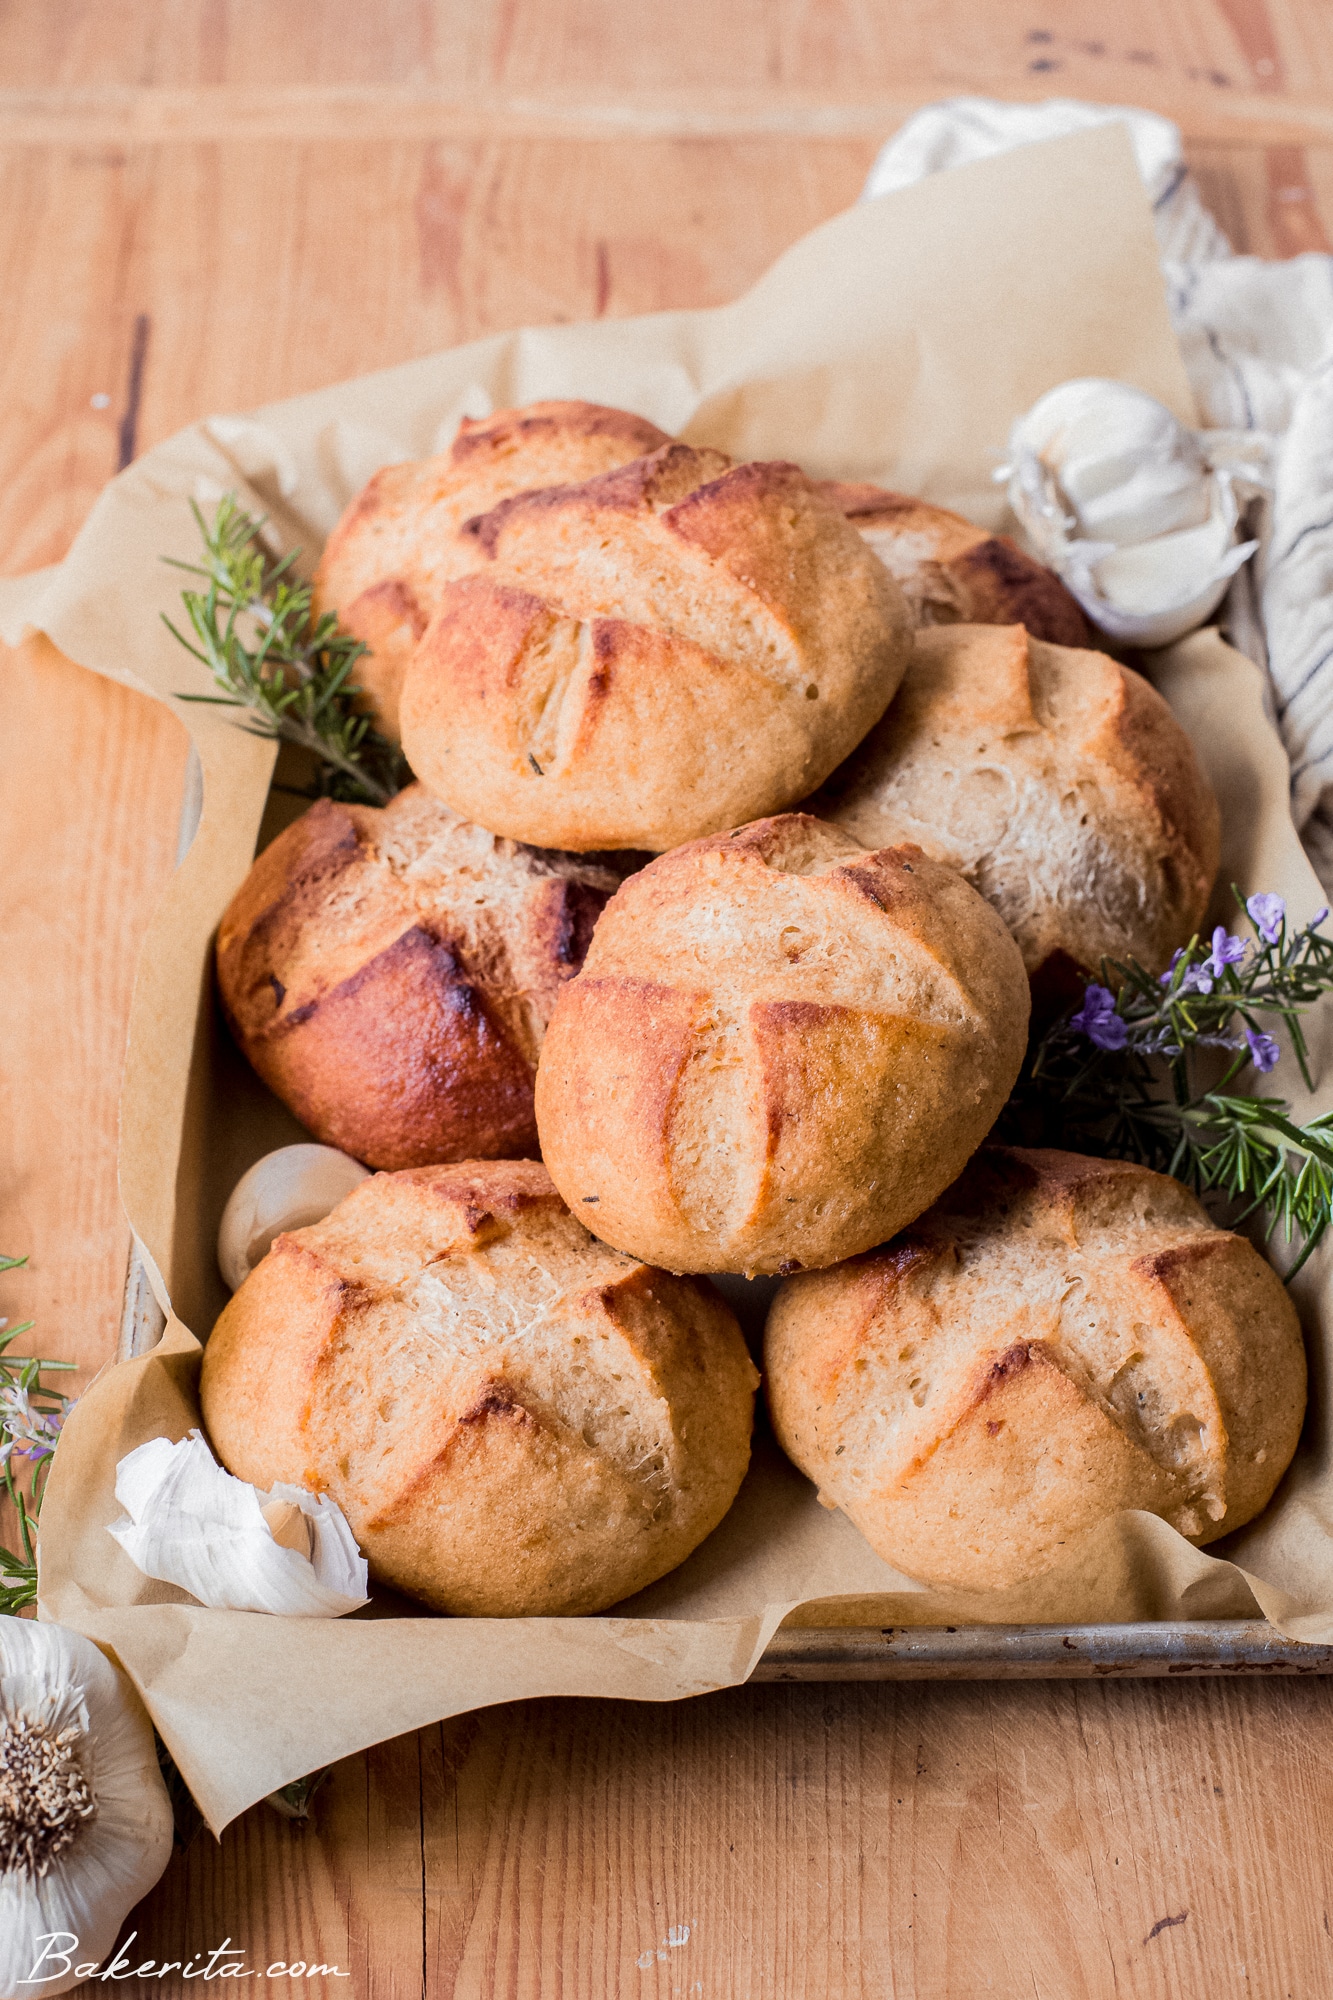
How to make the rolls:
The dough for these rolls is made very similarly to my gluten-free sourdough bread, but once you get to shaping the dough, things veer off a little bit! Let’s get into it.
- Make your preferment by combining the sourdough starter with some water and flour. Let it rest and rise for at least four hours, or up to 10.
- Mix up your dough, adding in your desired flavors to the dough.
- Divide into rolls, I like to do 6 rolls, which results in a good size roll that isn’t too large or too small, however you can make them bigger or smaller.
- Let rise until fluffy. This will depend on the ambient temperature, but they should have a nice spring and puffiness when you press lightly with a fingertip.
- Bake until golden brown! Then enjoy, these are SO good warm!
Other flavor ideas…
If you’re not into roasted garlic and rosemary, here are some other add-in ideas:
- Sun-dried tomatoes
- Shredded cheese, vegan if needed
- Herbs of your choice
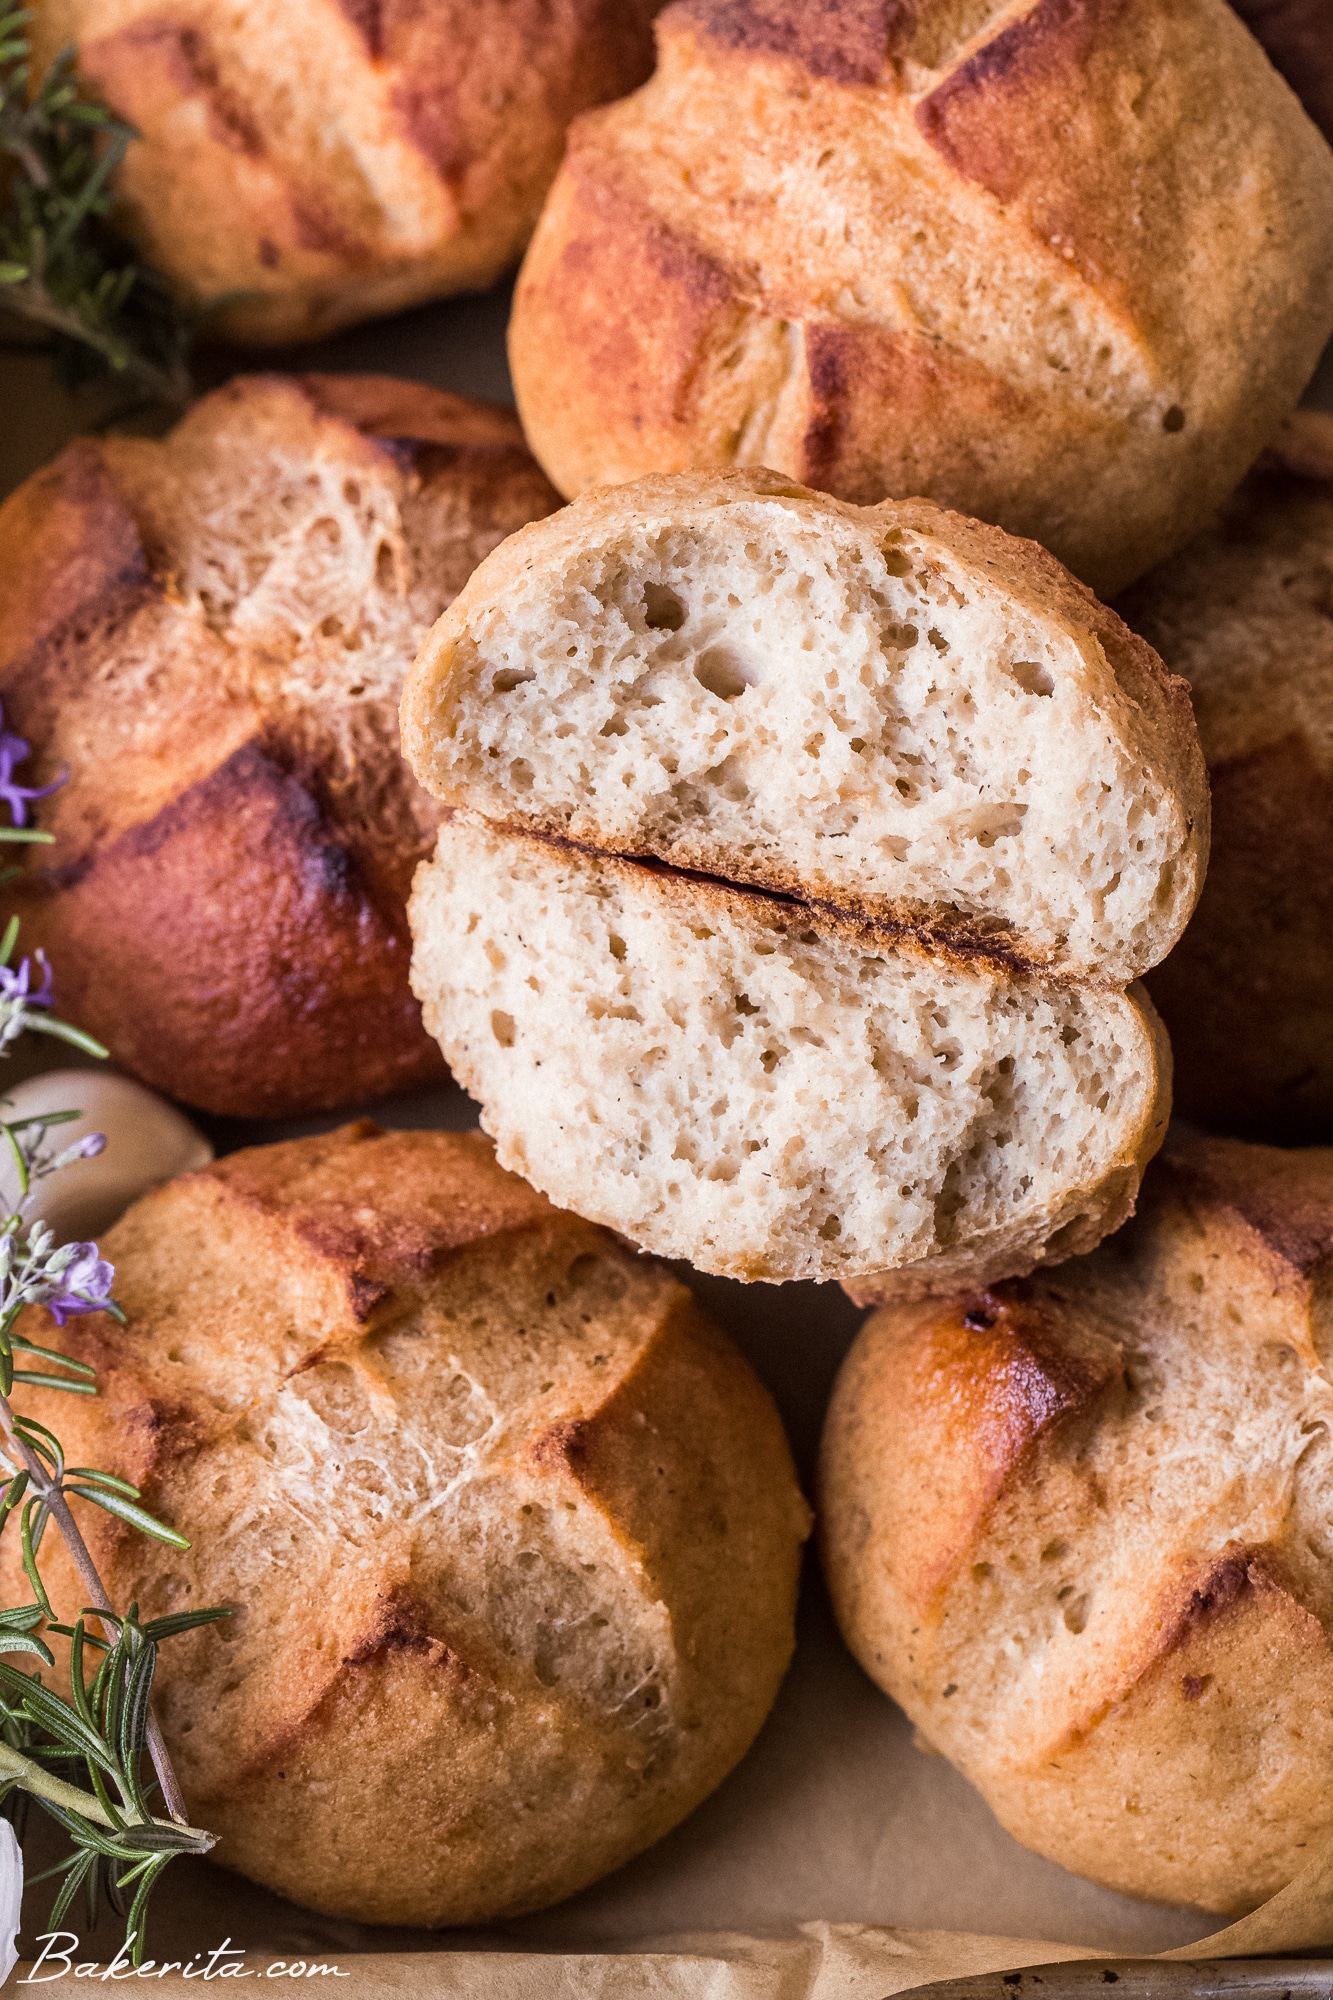
I hope you love these gluten-free sourdough rolls, and that they make a star appearance on your dinner table soon! Enjoy :D and let me know what you think in the comments below!
Want more gluten-free sourdough?
- Gluten-Free Sourdough Focaccia
- Gluten-Free Sourdough Discard Crackers
- Easy Gluten-Free Sourdough Pizza
- Vegan Gluten-Free Sourdough Chocolate Chip Cookies
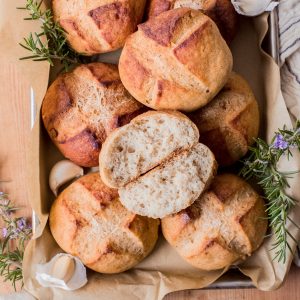
Gluten-Free Sourdough Rolls
- Prep Time: 20 minutes
- Rise Time: 3 hours
- Cook Time: 30 minutes
- Total Time: 3 hours 50 minutes
- Yield: 6 rolls 1x
- Category: Bread
- Method: Baking
- Cuisine: American
- Diet: Gluten Free
Description
These fluffy and delicious Gluten-Free Sourdough Rolls are made with roasted garlic and rosemary for amazing flavor! They’re perfect for serving alongside your favorite soup, used as the bread for a sandwich or burger, or just eaten slathered with butter.
Ingredients
Preferment
- 150g active gluten-free sourdough starter, it should be at peak rise and super bubbly
- 100g filtered water
- 80g superfine brown rice flour
Liquids
- 22g psyllium husk, the whole husks, not psyllium husk powder
- 20g maple syrup or honey
- 300g filtered water
- 8 to 15g olive oil, optional, helps soften the crust slightly, skip if your roasted garlic is packed in oil
Flour Mix (see Notes for options)
- 80g potato starch, not potato flour!
- 60g tapioca flour or arrowroot flour
- 80g quinoa flour
- 80g superfine brown rice flour or sorghum flour
- 12g sea salt
Mix-ins
- 4g (1 tablespoon) dried rosemary, crushed between your palms
- 35g roasted garlic, if packed in oil, drain off as much oil as you can before adding
Instructions
To make the preferment
- In a bowl, mix together 150g active starter, water, and brown rice flour. Mix until smooth, and then cover and let rest for anywhere between 4 and 8 hours.
To make the dough
- Whisk together the psyllium husk, sweetener, and water. Whisk until combined and let gel while preparing the flour mixture.
- In a large bowl or stand mixer, combine all of the flours + starches, plus salt and rosemary.
- Whisk the psyllium gel mixture into the preferment, along with the olive oil if using.
- Add the wet ingredients to the flour mixture. Use a spoon and then your hands to bring the dough together, or use your dough hook to mix all of the ingredients until a smooth dough forms. It will take a few minutes in a stand mixer. If you’re using your hands, you will likely want to knead the dough together for a few minutes to make sure all the flour is hydrated and the dough is smooth. When the dough is almost together, add in the roasted garlic and mix until it’s incorporated but not completely crushed into the dough.
- Once your dough is soft and smooth, turn it out onto a clean, smooth work surface. Divide the dough in 6 equally sized pieces – I usually use my scale to ensure consistency. Lightly flour it if your dough seems sticky – mine usually doesn’t need any flour. Knead each piece into a smooth ball, and use your hands to shape the dough into a round.
- Place each shaped roll seam-side down onto a lined baking sheet. Cover, and let the dough proof for about three to five hours (it can be closer to five if it’s cold, sometimes even longer, or quicker if it’s warm) at room temperature.
When you’re ready to bake
- An hour before your dough is fully proofed, turn on the oven to 425°F.
- When your oven is preheated and your dough is well-proofed, brush each roll with olive oil or an egg wash, which will encourage browning. Then, score each roll as desired. I usually just do a simple X score for rolls.
- Place into the oven, and bake for 30 to 40 minutes, depending on how brown you’d like your rolls.
- Once the rolls are golden brown to your liking, remove them from the oven. Once they’re cool enough to handle, remove the rolls from the sheet pan and let cool on a wire rack so the bottoms don’t get soggy.
To store your sourdough rolls
- It will keep well at room temperature for a day or two. They’ll get stale quicker than a regular loaf since they’re smaller. You can store them in a linen bread bag to extend their life. If your rolls get a bit stale, put it in a 300°F for 10 minutes to refresh the crust. You can also freeze them.
Keywords: gluten-free rolls, sourdough rolls, bread rolls



These turned out fantastic! Super easy to make since I already had my starter all ready to go. I used Oat flour in place of the Quinoa flour since I don’t do well with pseudo grains like quinoa, and they turned out fabulous! Other then that sub I followed the recipe to a tee plus I baked them on a perforated pan and WOW they were delicious and crusty and soft inside and the crumb was amazing!
★★★★★
Hurray!! So glad you loved them, Vanessa :D
Hi just wondering if you can’t get super fine brn rice flour would it be the same if I put it thru a processor or similar , also does the psyllium husk replace the gum you find in other recipes
Thanks Kay
Hi Kay, yes the psyllium does replace the gums most other recipes use! A regular processor isn’t strong enough to break it down any further, but regular will work as well.
Azure Standard carries super fine rice flour. It’s really good quality.
Fabulous! The first thing I made with my new 2 week old starter. I used sorgum, rice and millet as the flour blend.
★★★★★
Woohoo!! So glad you loved them, Wendy!
I make these often along with the full sourdough loaf. It’s really the best gf bread ever!
★★★★★
So glad you’re loving it, Aly!! Thanks for the feedback :D
These look amazing! Although I don’t have whole psyllium husks, just the powder. That won’t work well? It always gels nicely when I do my gf sourdough boule loaf.
Hi Katie, I haven’t ever tried it – it should work…theoretically, 20g of psyllium is 20g of psyllium whether it’s powdered or not, but it may behave differently and absorb more when you’re using the powder, so I can’t say for sure how it will turn out. Let me know how it turns out if you give it a go!
These are fantastic. I made this last batch with brown rice and teff and the texture is soft and fluffy on the inside and a beautiful crust. Looking forward to trying more combinations.
★★★★★
So glad you’re loving them, Linda!
commenting to say that I ended up making these with psyllium husk powder and they turn out great!!! I use a few grams less of the powder or a little more water and the texture is perfect. Def my go to recipe! thanks so much!
★★★★★
Oh so good to know!!! Thanks for the feedback, Katie :D glad you’re loving them!
I bake regular sourdough all the time. New to GF. I was gifted a bag of Cassava flour. I’ve read it can be substituted for flours. Would I just use Cassava or sub it for one of the flours above? If just one, which would you recommend? I noticed a lot of people using different blends of flours and I’m not familiar with the different kinds. Do they act/taste differently? Is that why you use a blend instead of just one type of flour? Thanks so much.
Hi Debe, you wouldn’t want to use all cassava flour because that can be a little dense. I would replace the brown rice flour with cassava for this blend. Each flour does add its own taste/texture, and a combo helps make the best GF bread. Hope this helps!
Hello, do you have a recipe for the active sourdough starter? Never made breads before.
Hi Jasper, you can check out how-to make a sourdough starter!
These sourdough rolls are so amazing!! Normally, gluten free bread recipes have a gummy texture, but these rolls were perfect. I used sorghum flour instead of quinoa flour, but besides that, I followed the recipe exactly. If you are hesitant to try this recipe, I say go for it. You will not regret it!
★★★★★
So glad you’re loving them! Thanks so much for sharing your feedback, Laura.
Can the dough be refrigerated in a bowl overnight if I don’t have time to rise and bake it today?
Yes for sure! Just cover it with plastic to make sure the dough doesn’t dry out.
Thank you so much for the awesome recipes. Made these buns yesterday and made burgers.
★★★★★
So glad you’e loving them, Sirisha!
These are so easy and delicious! I didn’t have quinoa flour so I used almond flour. I will keep this recipe handy!!
So glad to know it works with almond flour too, thanks Anita!
I have gluten free flour blend. It has brown and white rice flour, sweet rice flour, sorghum flour, tapioca starch, cornstarch, potato starch, and xantham gum. Can I use this and expect the rolls to come out the way they should? If so, how much should I use? Thank you.
Hi Keira, I don’t use xantham gum in any of my recipes and it can always change the texture, so it would be a gamble – I’m not sure how they’d come out with a blend like that since I’ve only tested with a variety of whole grain GF flours and starches.
I normally make your sourdough bread in a Dutch oven but it is too small for these. What can I use to bake these in? Thank you and happy holidays!
Hi Tara, I just bake them on a sheet pan! You can add steam (water in a pan on a lower rack) to help mimic the Dutch oven conditions.
Excellent recipe. Works perfectly.
★★★★★
So glad you love them!
These are marvelous! Thank you for taking the time to put all this info together, it’s been a game changer. I was wondering if anyone has ever double batched the recipe?
★★★★★
Hi Erin, I’ve doubled it! Definitely works without too much trouble :)
Hi Rachel
I have this bag of all purpose GF flour around, contains garbanzo bean fl., potato st.,tapioca fl, white sorghum fl, fava bean flour. Could i sub this for some of the starch and some of the flour? Your buns look so good! I like to try them without ruining them.
Thank you for all your recipes
Tikki
Hi Tikki, I haven’t ever tried a flour blend like that, so you can definitely experiment but unfortunately I can’t confidently say how they’ll turn out. Would love to hear how it goes if you try it!
Hi,
I followed these directions exactly and everything seems to go perfectly until it is time to bake. It seems as if these didn’t rise very much and I let them go for five hours hoping they would. I baked them and it came out more like hockey pucks than anything else. The flavor was very good but I’m stumped as why they wouldn’t rise? Suggestions?
Thank you!
Sherlyn
Hi Sherlyn, it sounds like they may have needed more rising time if they hadn’t puffed at all, it’s surprising they wouldn’t have after so long though. Was your starter active when you mixed them up?
Would you mind removing these 3 social media icons from the left side of the page?
I came here for simple recipes and not to have these facebook /twitter icons in the way of learning a recipe. There are plenty of places where you have these. Why not focus on quality recipe presentations instead of encouraging chatter. Viewers having sincere comments will make comments here or find your social media icons at the bottom. Let’s avoid the chatter. Thanks for reading. onward and upward !
Feel free to discard my comments. It’s just great to show recipes and not distracting social media influence. Good luck with your site and new recipes. It’s been very frustrating to get the gluten free sourdough recipes to work. Cheers, Don
Do you mean getting the gluten-free sourdough recipes to disply correctly has been difficult (in reference to your previous comment about the social media icons) or do you mean they’re not working for you in the kitchen? Happy to help trouble shoot either way!
Hi Don, may I ask what browser you’re using and if you’re on phone/tablet/computer? The icons should be unobtrusive on all of them, so I’m curious about where they’re getting in the way for you. User experience is important to me and they definitely shouldn’t be in the way.
I tried this out and it was great, had a great texture! Do you think this recipe could be used to make hot dog buns (changing the shape from a roll to the hot dog bun shape) I’m trying to get recipes together for the summer :)
★★★★★
Hi Bethany, so glad you enjoyed them! Yes, you should definitely be able to do that. They’ll be a little crustier than hot dog buns typically are, but you can definitely reshape without issues. Enjoy!
Hello there, I just realised I have used tapioca starch instead of flour. Do you think that will still work?
Hi Kat, they are one in the same, just different names :) you’re all good!
Hi, can I make a whole sourdough out of this recipe?
Hi Simran, yes that should work :)
These rolls are delicious! Thank you!!!!
★★★★★
So glad you’re loving them, Georgia!
Hi there, if I wanted to use my discard for this and just added yeast would that work?
Hi Brittany, yes discard plus a few grams of instant yeast would be great!
These look amazing! Is there any way to use regular instant/active dry yeast in place of sourdough?
Hi Jace, you’ll want to add about 75g each of flour and water to the recipe, and add in 7g of instant yeast. I haven’t tested it this way, but it should work!
Excellent! I allowed them to rise at room temperature for 4 hours. Then realized dinner wouldn’t be ready in time so I put them in the fridge to continue slowly rising. worked great! As a long time GF baker, I have to say this was on the of the better doughs to work with. Easy to knead and not too sticky. Great recipe! (I added some dried thyme and garlic powder and it worked great).
★★★★★
So glad you enjoyed them, Frances! Thanks so much for the helpful review.
Hi,
these taste really good. However mine turned out super flat, like a disk. They had air pockets inside so I think it’s not about the rising time, but maybe my dough was too moist? Or maybe I didn’t do the shaping right? Any ideas for me troubleshooting this?
I would love to bake them again because everybody ( including my 3 year old) loved them, even with the odd shape…
Thank you!
★★★★★
Hi Manjela, you can try adding a little less water to help them hold their shape better. Is your starter 1:1:1 ratio? If it has a higher hydration, it could be making it a little more wet.
Can I exclude the garlic if I only want the flavor of rosemary in the rolls? If I exclude the garlic, are there any other changes I should make for the recipe? Thanks!
Yes you can leave it out, no changes needed.
Hopefully this isn’t a silly question, but do these rolls need to cool completely after baking before serving? I know sometimes gf bread can be gummy if not completely cool. Many thanks!!
I find you can eat these rolls warm without an issue!
Thanks for a great recipe ! Do you think it would work to let the shaped rolls rise overnight in the fridge? I’m wanting to make these for Easter, and we will be eating soon after church.
My husband said this was the best bread I’ve ever made. Thank you so much for the recipe. I did change things up a little, my measurements weren’t exact and I used Bob’s Red Mill 1 to 1 flour (not the bread flour). Just on case anyone, like myself, doesn’t have these single grains available. I’m putting together your loaf bread now and I’m going to leave it in the fridge overnight, I’ve never done that before.
★★★★★
I’m so happy it worked well for you! Thanks for sharing. Hope the loaf turned out great!