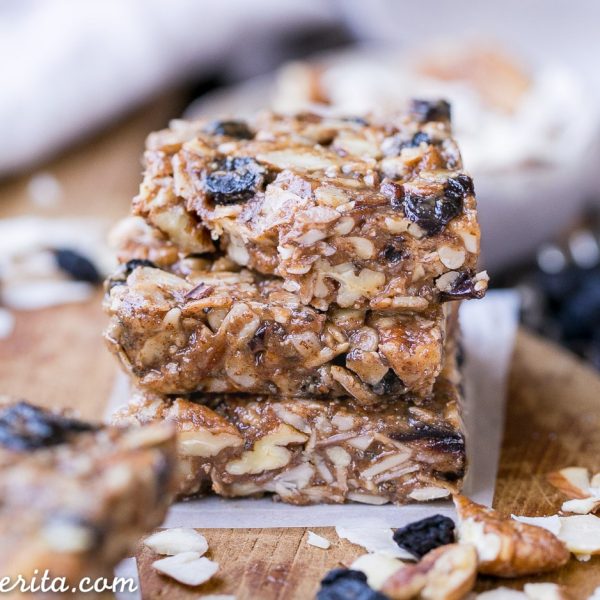
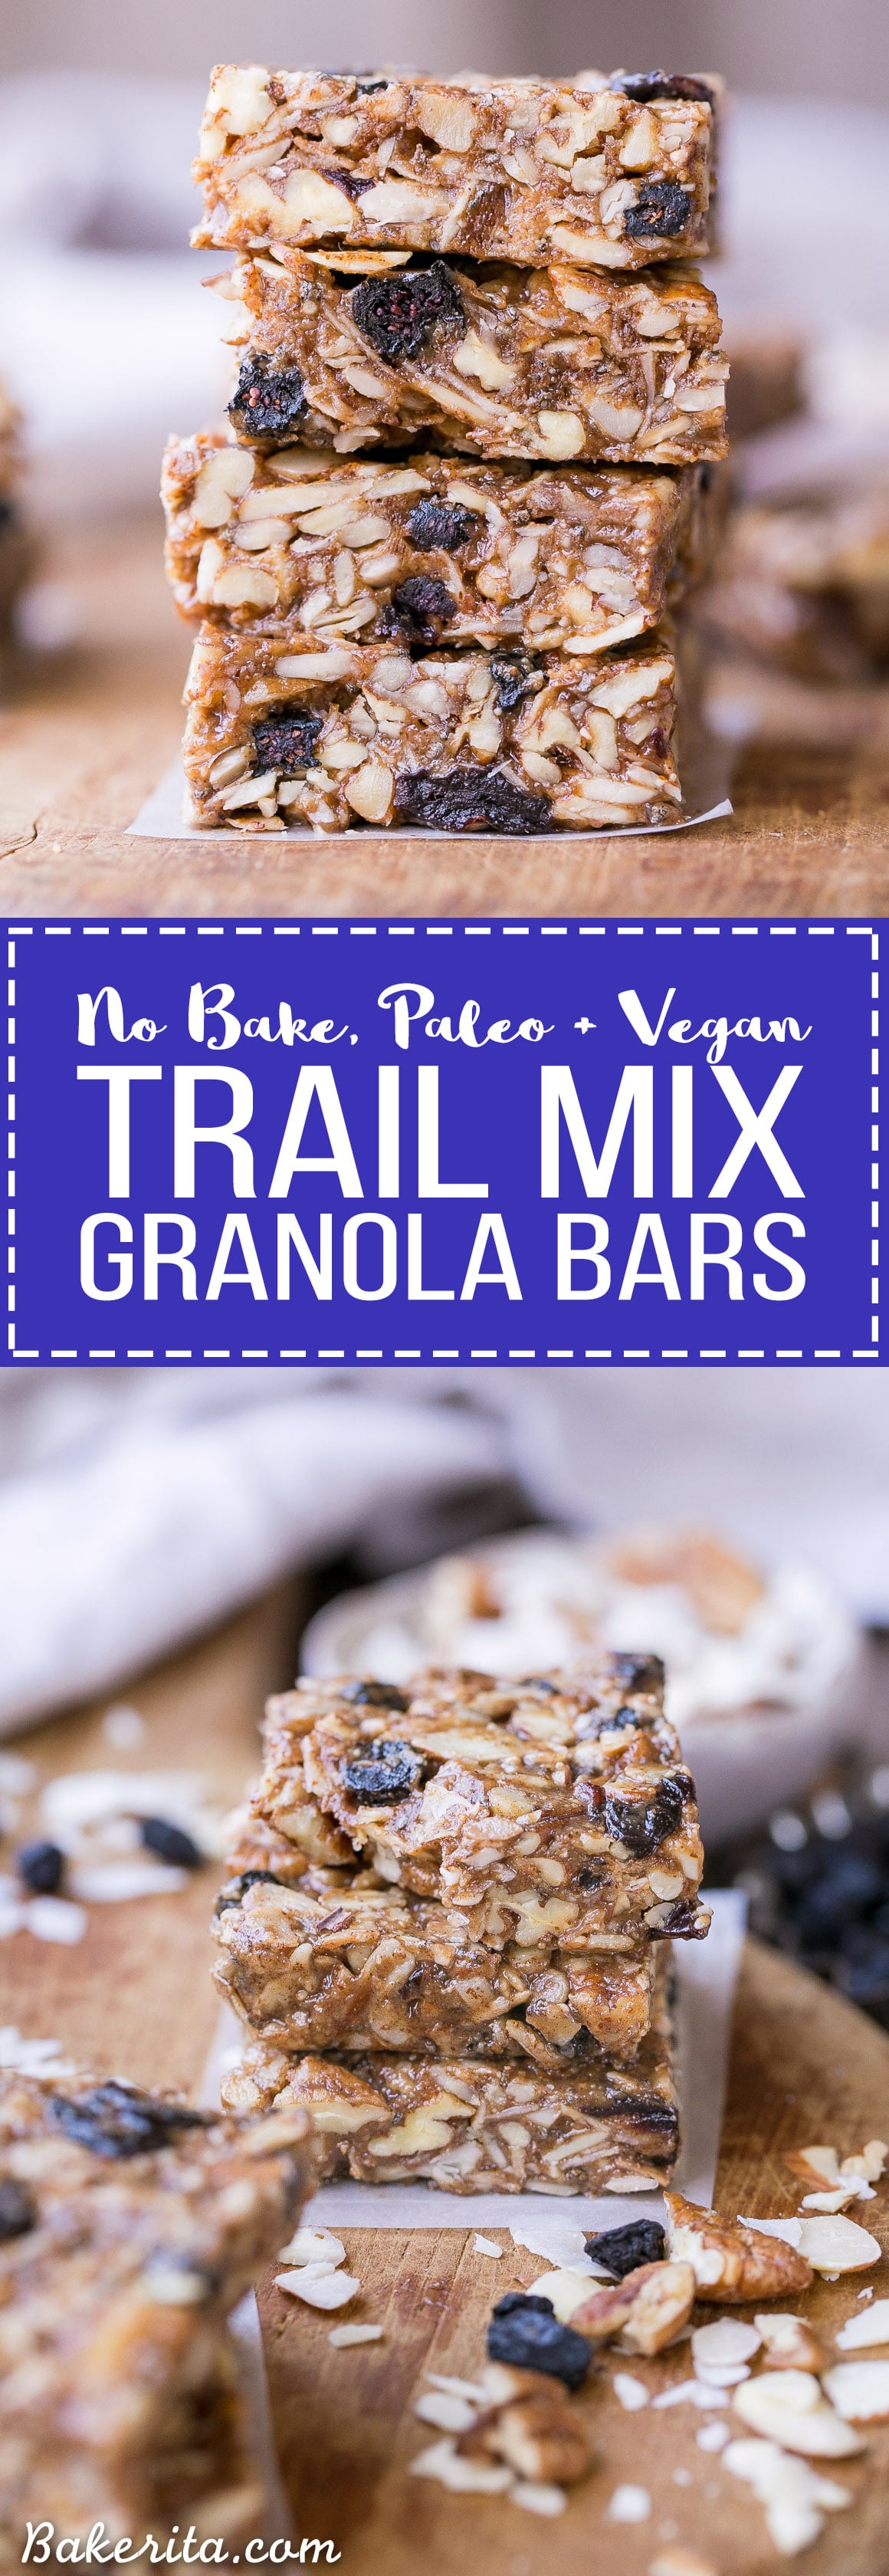
These No-Bake Trail Mix Granola Bars are loaded with nuts, coconut, and dried fruit for a filling and delicious snack that will satisfy your taste buds! These gluten-free and vegan granola bars are the perfect thing to keep on hand when hunger hits.

Are you a homemade granola bar person or more of a grab-and-go from-the-box type? To be honest, I haven’t been the biggest granola bar person in general for most of my life – I just prefer to sit down and eat a real meal than something on the go.
But, as we all know, sometimes grab-and-go has to do. For those times, I love having a batch of homemade granola bars on hand, and I usually have a healthy, homemade bar hanging out in my fridge or freezer.
These cherry, almond chocolate granola bars are a big favorite (I love switching up the dried fruit and nuts in there for variety, too). When I want something chewy, these Homemade Apple Pie Larabars or these Pecan Pie Protein Bars do the trick.
A new favorite has arrived on the block, though…these No-Bake Trail Mix Granola Bars 😍😍😍 (if you hadn’t guessed that already).
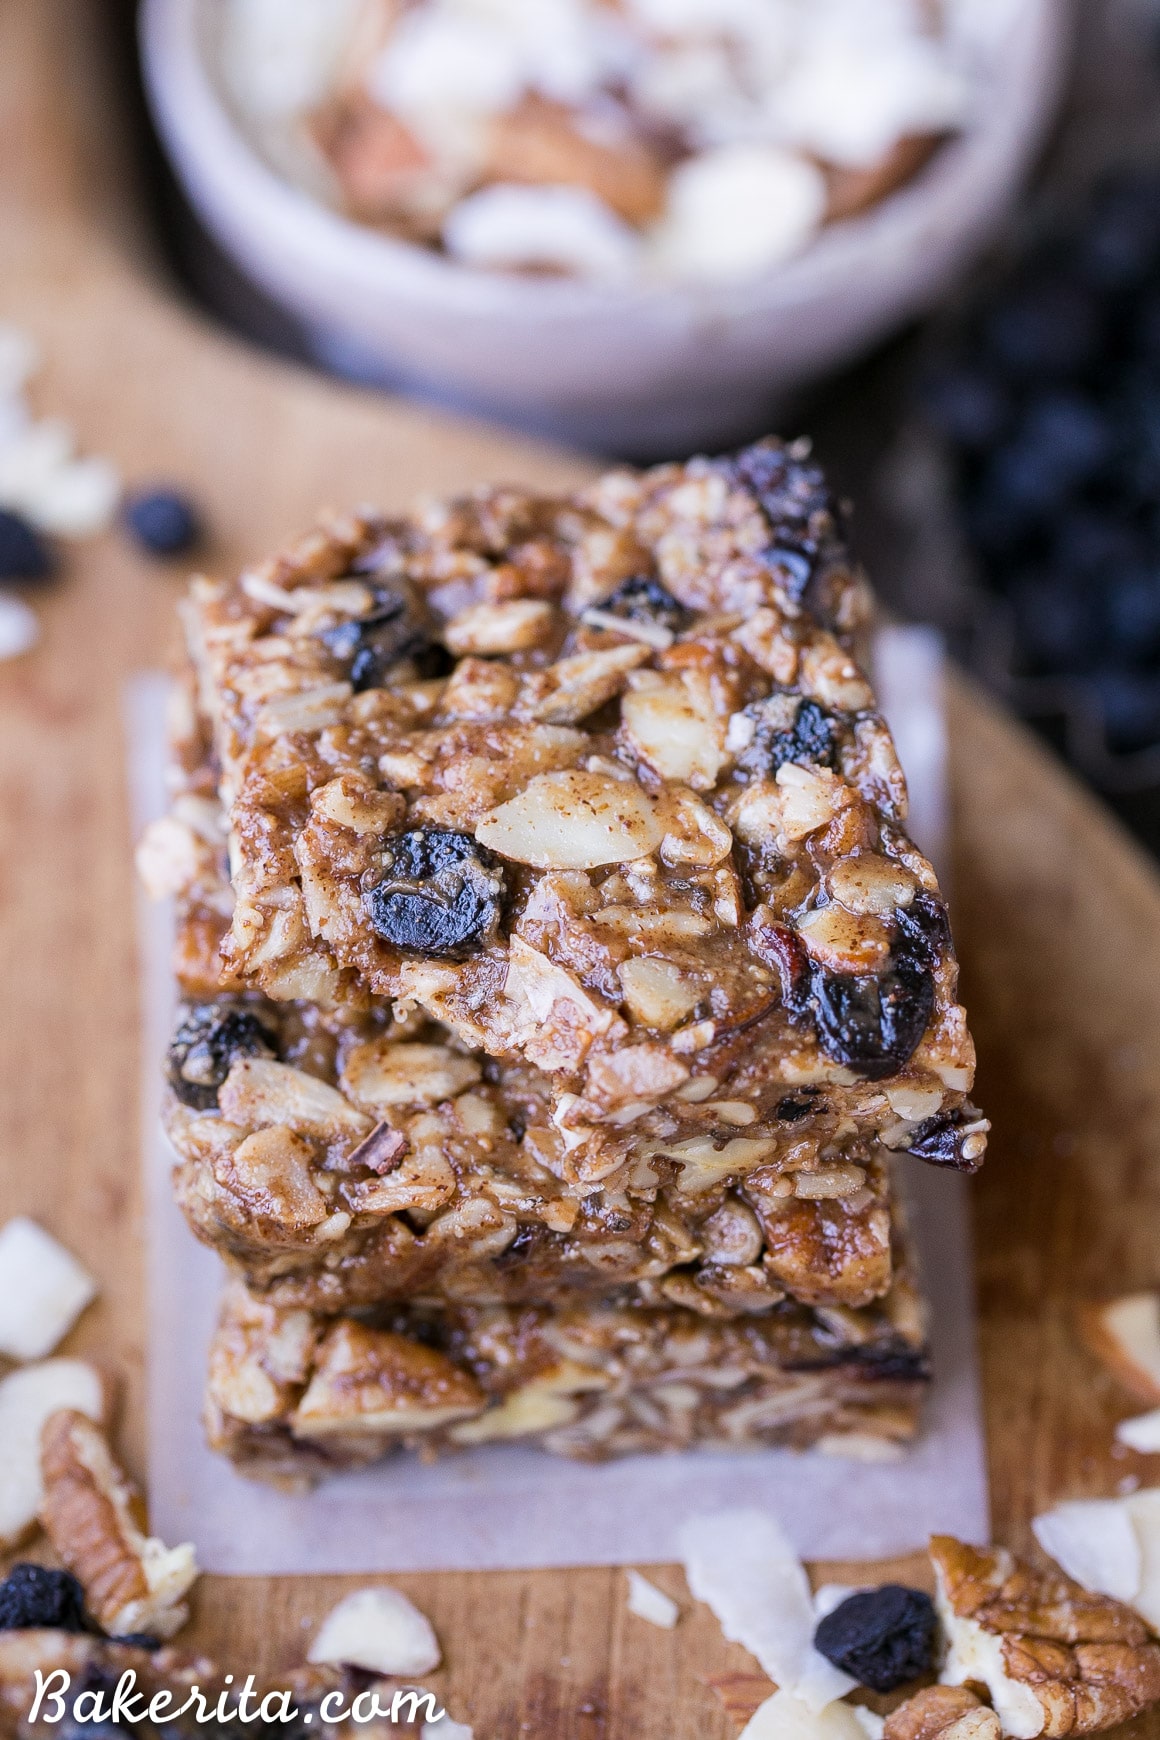
I wanted to create a Paleo-friendly granola bar that required no baking and wasn’t date-based. I wanted crunch, not chew, and these trail mix granola bars have definitely got that crunch I was looking for.
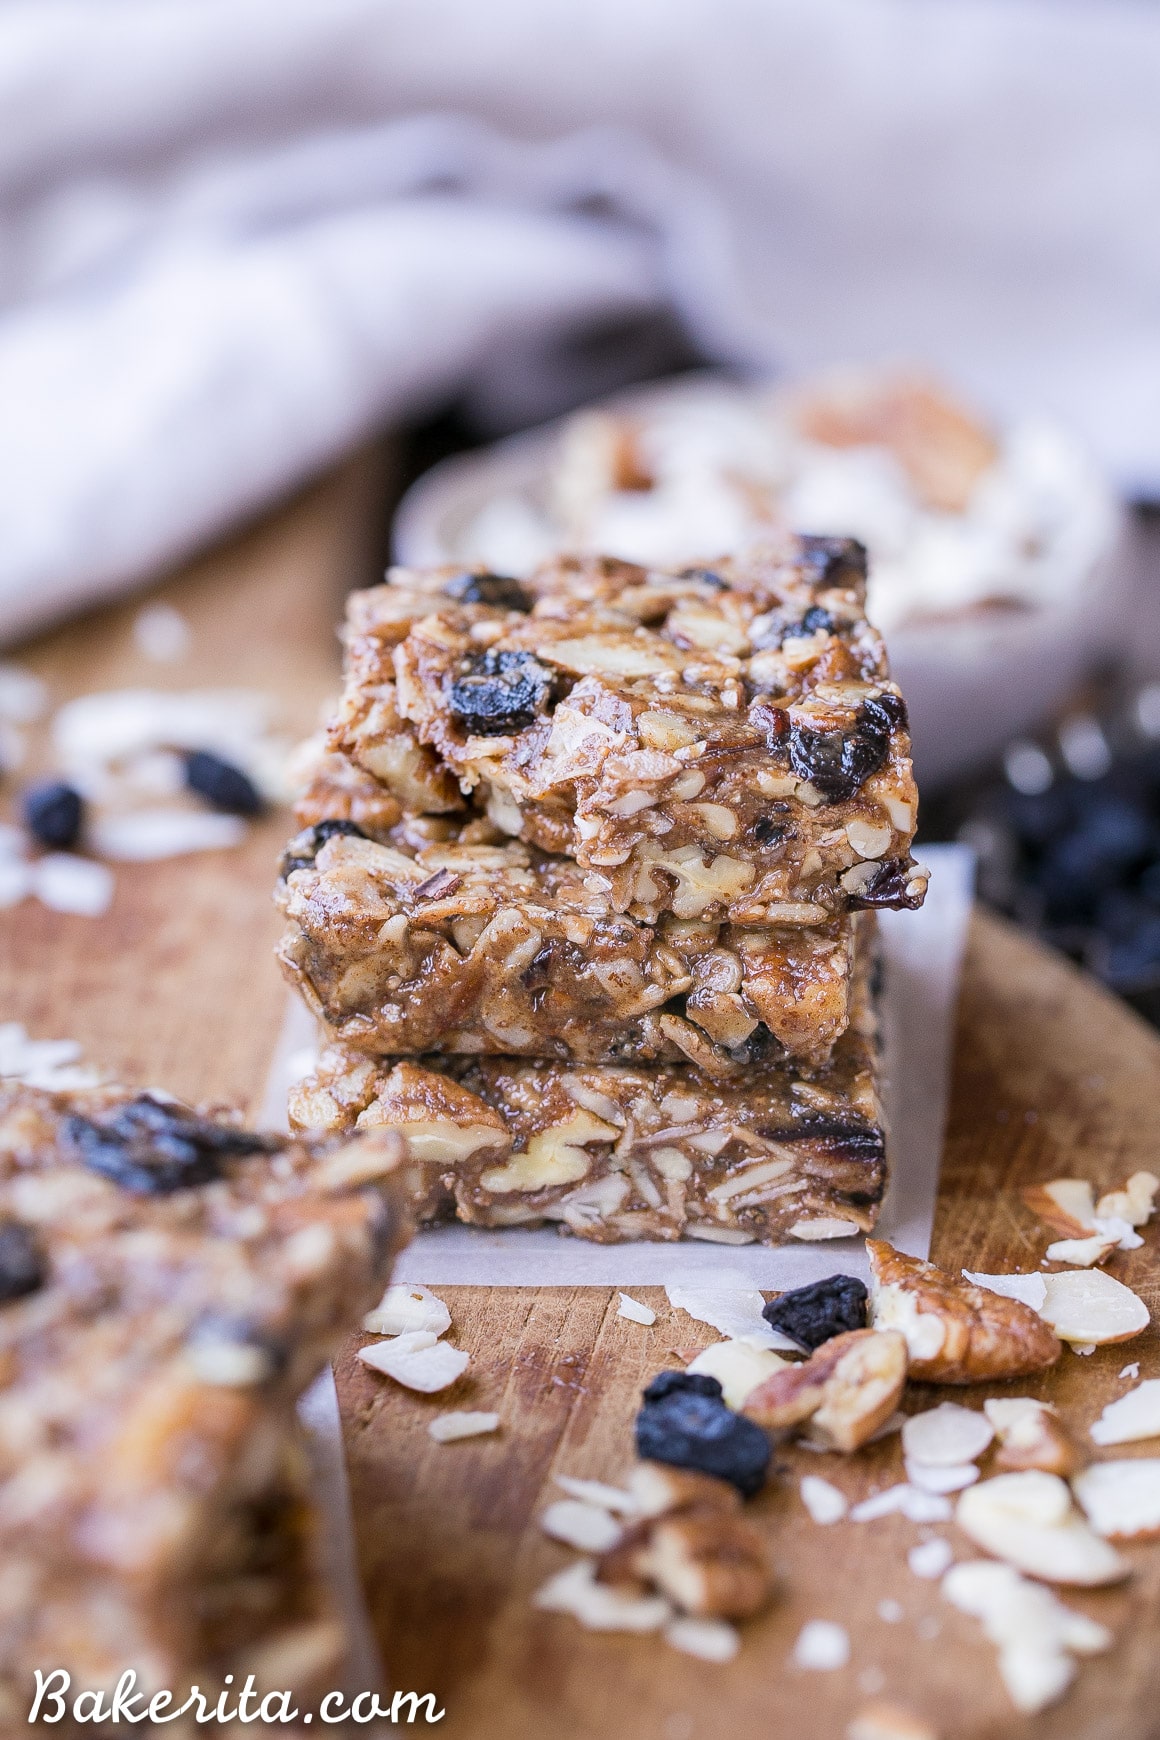
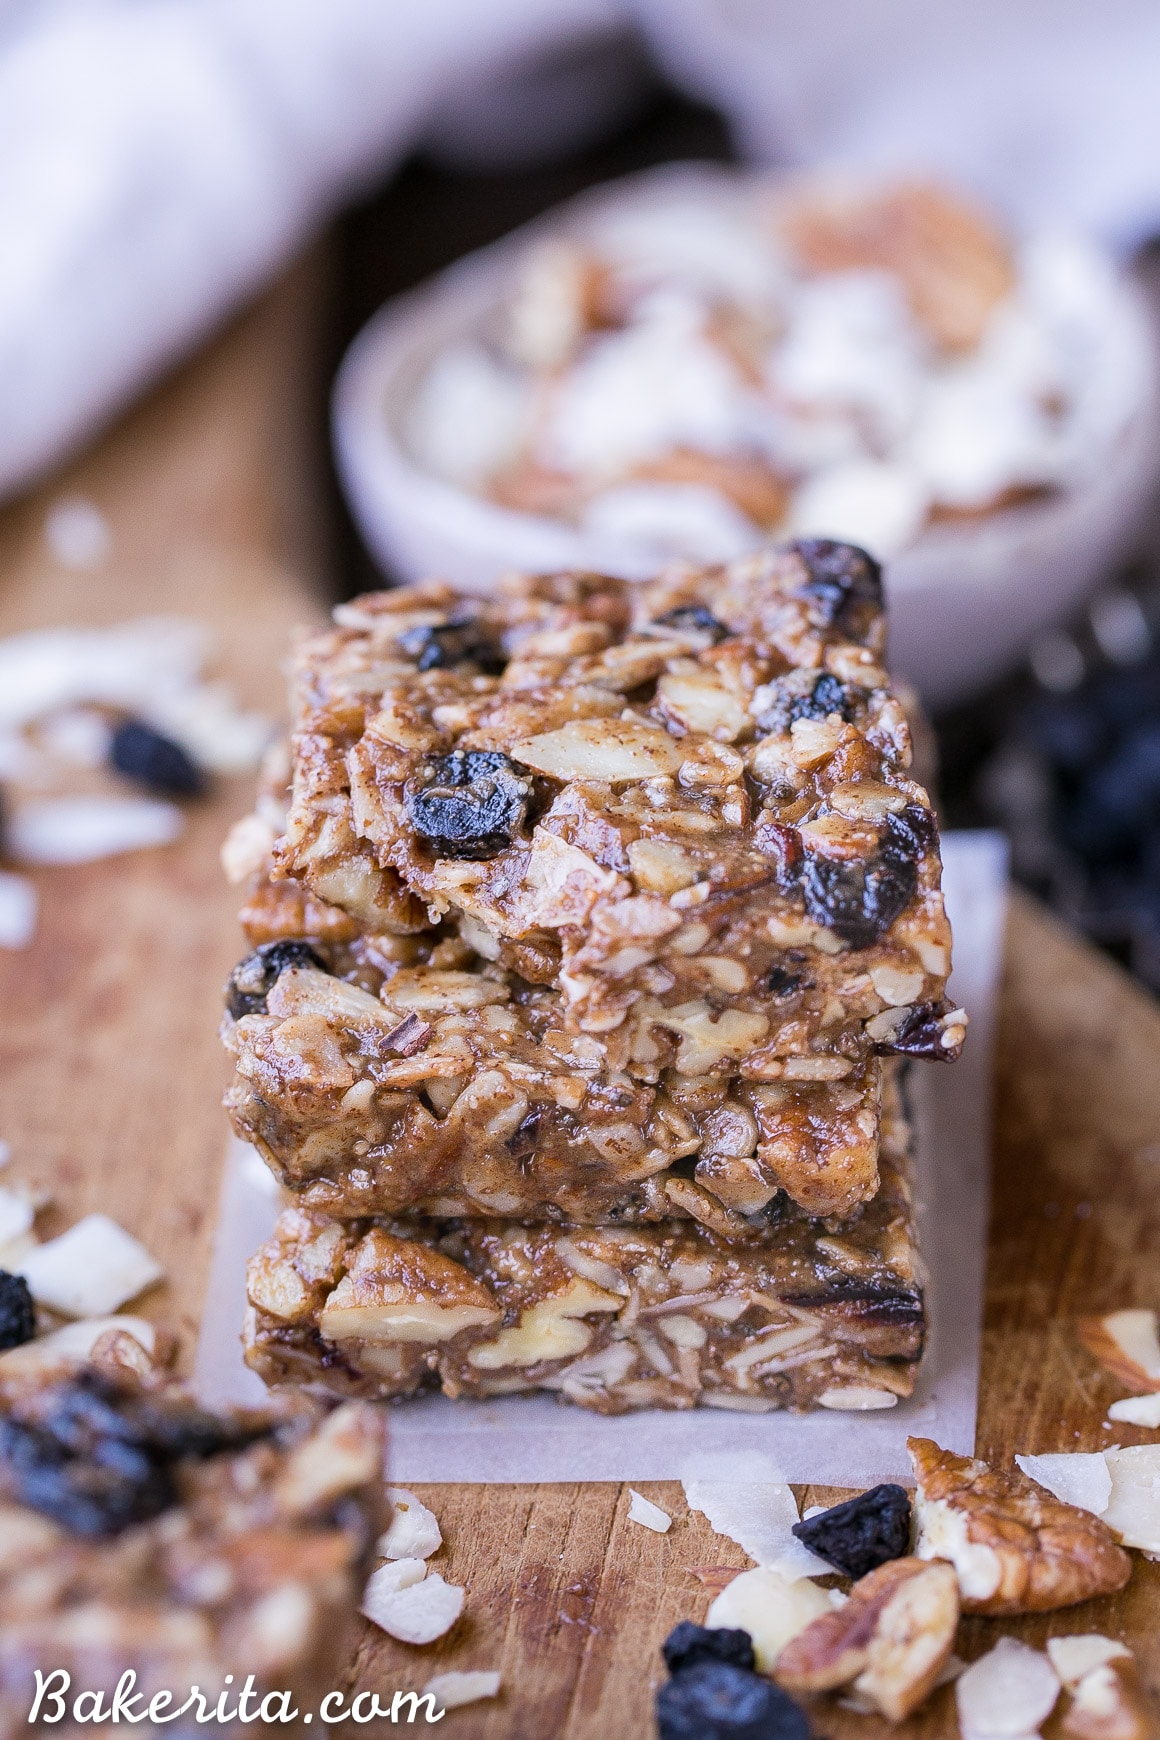
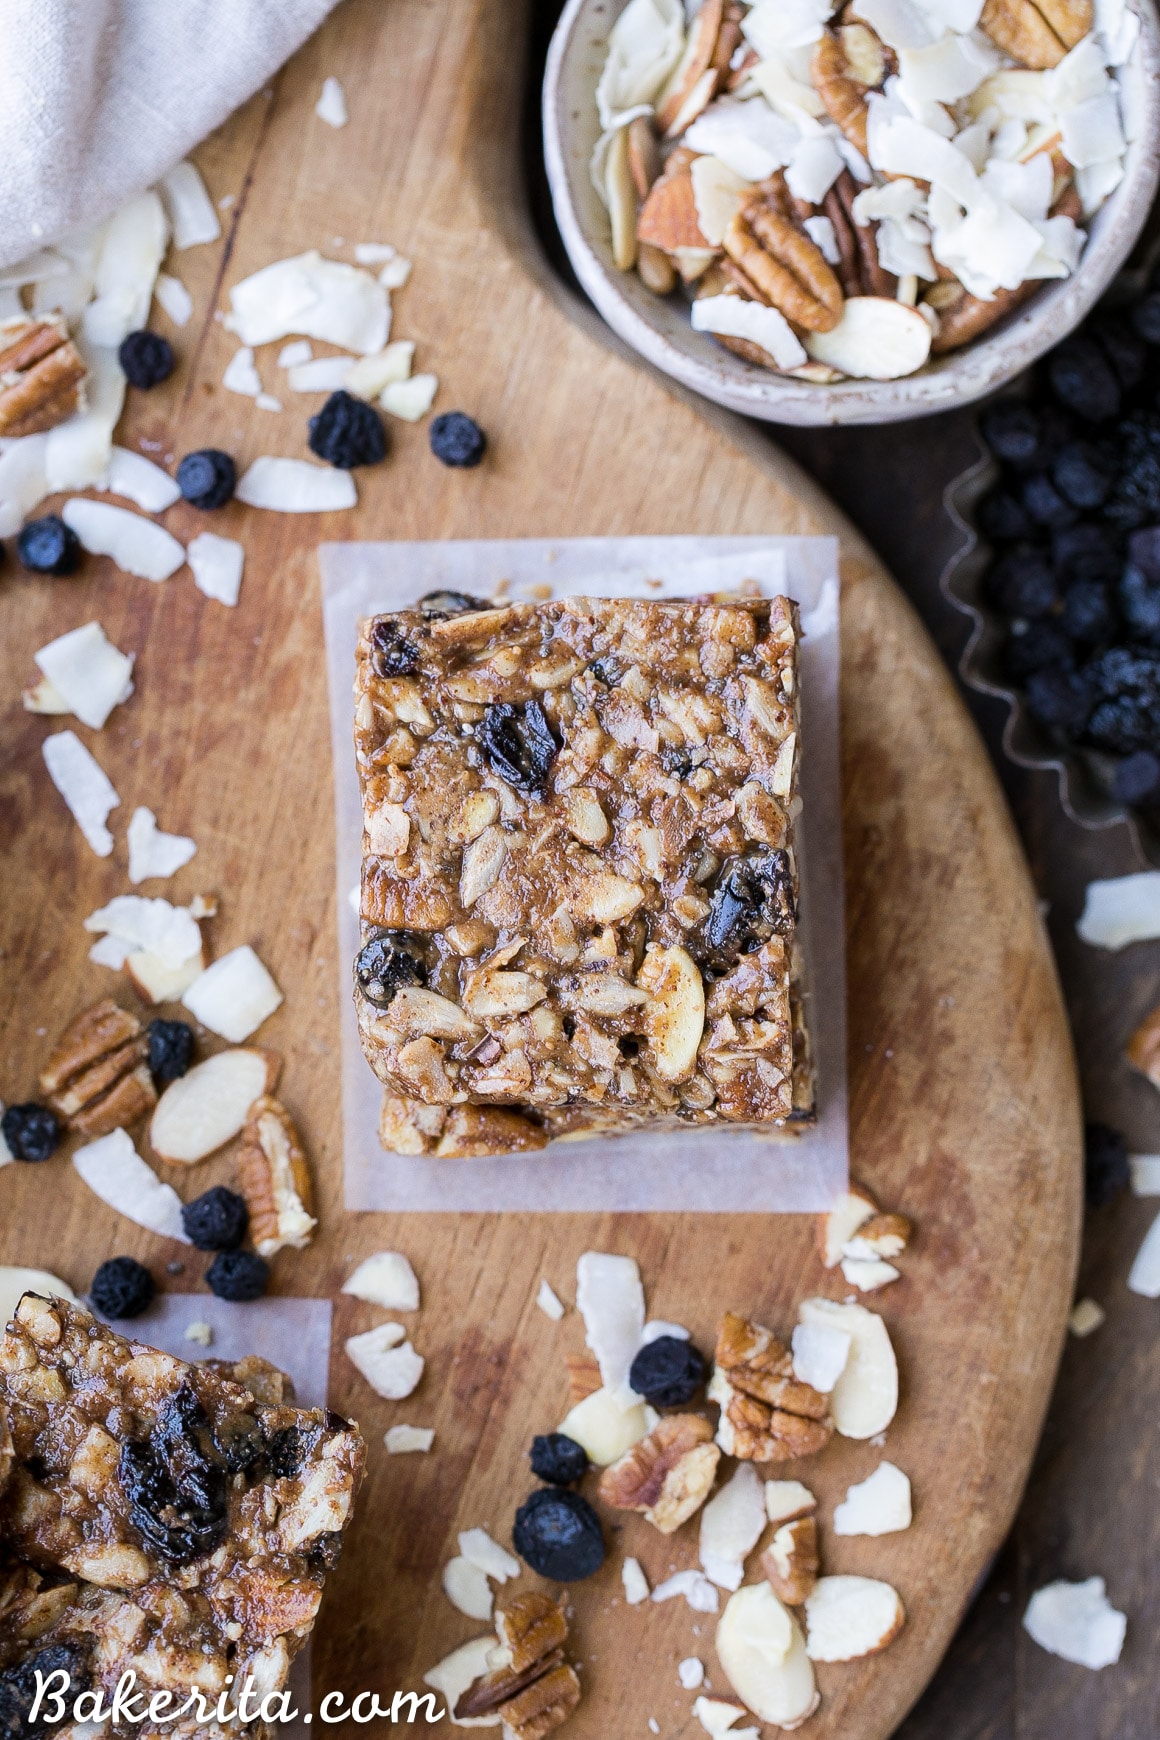
They’re loaded with nuts, seeds, flaked coconut, and dried fruit. I kept the recipe a little bit vague in terms of nuts and fruit because these are super versatile. When you make these yourself, you can use whichever your favorite trail mix add-ins are. There’s no need to use exactly what I used (though it was a delicious combo).
Mine were loaded up with fruits, nuts, and seeds from my pantry: I threw in pecans, sliced almonds, sunflower seeds, dried blueberries, and dried cherries—swoon-worthy! I also couldn’t resist adding a little bit of cinnamon—I love the touch of warmth it adds.
To hold these granola bars together, I used a mixture of almond butter, maple syrup, and coconut oil. The coconut oil helps firm everything up and hold it together. Make sure you press them into the pan super tight to ensure they hold together!
After giving them some time to set up, just slice ’em up and package them however you’d like. I put them sealed tight in a plastic bag and kept them in my fridge, but you can also individually wrap them in plastic wrap to make them easier to grab and go.
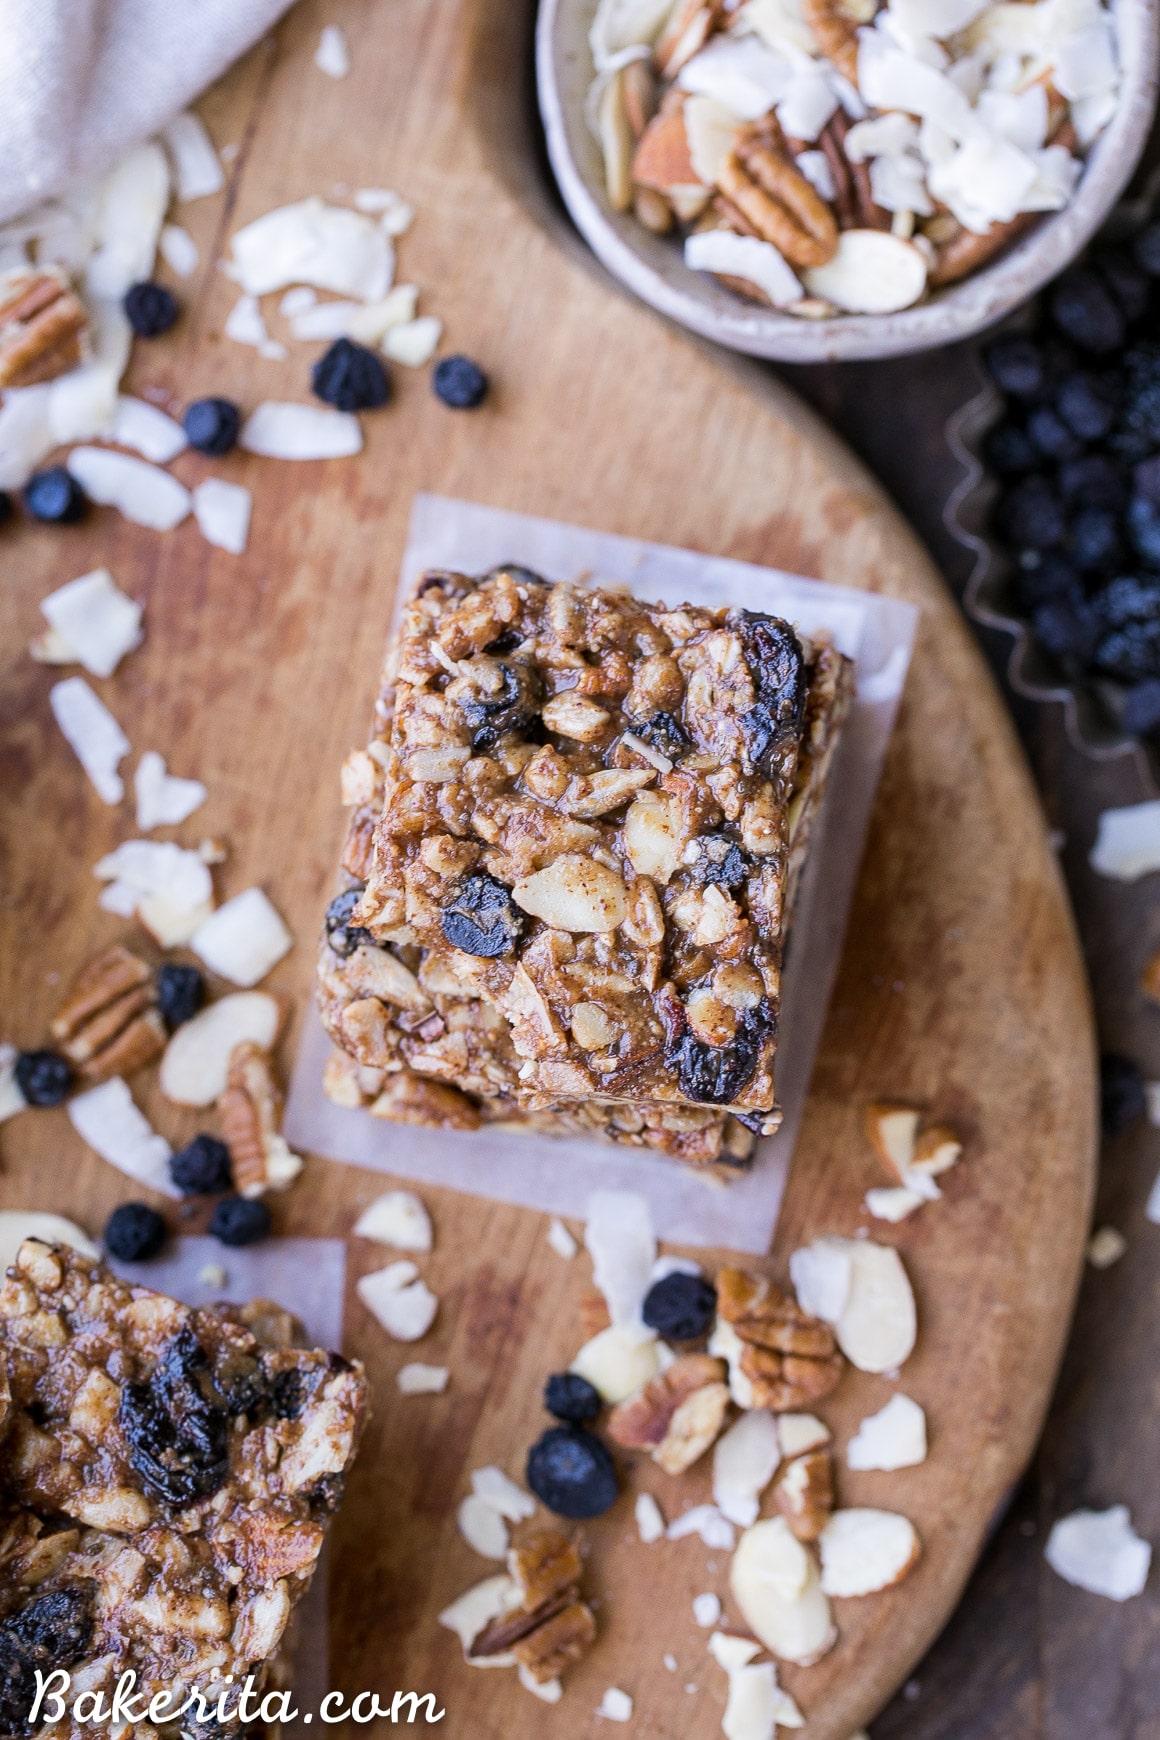
These No-Bake Trail Mix Granola Bars are so simple to make. They’re crunchy, a little bit chewy, and super filling and satisfying—like your favorite trail mix in portable bar form. This versatile recipe is one I hope you’ll love and make again and again. Enjoy!
No-Bake Trail Mix Granola Bars
Ingredients
- 1 ½ cups nuts and seeds of choice, I used 1/2 cup each of chopped pecans, sliced almonds, and sunflower seeds
- ½ cup flaked coconut, toasted
- ½ cup dried fruit of choice, I used dried blueberries + cherries
- 1 tablespoon chia seeds
- ¼ teaspoon kosher salt
- ½ teaspoon cinnamon
- ½ cup creamy almond butter, any nut butter you like would work
- ⅓ cup maple syrup
- 2 tablespoons coconut oil
- 1 teaspoon vanilla extract
Instructions
- Line an 8×8” square pan with parchment paper and lightly grease with coconut oil. Set aside.
- In a large mixing bowl, stir together the nuts and seeds, flaked coconut, dried fruit, chia seeds, kosher salt, and cinnamon.
- Stir together the almond butter, maple syrup, and coconut oil in a small microwave-safe bowl or liquid measuring cup. Microwave the mixture for 30 seconds – it should be hot and pour easily. Stir in the vanilla extract.
- Pour the almond butter/maple syrup mixture over the dry ingredients and stir until all of the dry ingredients are coated.
- Pour the sticky mixture into the prepared pan and then use a flat-bottomed drinking glass, measuring cup, or spatula to press the mixture into a firm, even layer in the pan. Cover and place in the refrigerator for at least 1 hour before cutting into 10 granola bars – the longer you let them set, the less crumbly they’ll be when you cut into them.
- Store the granola bars in a sealed bag or container in the refrigerator for 2 weeks or in the freezer for a few months.

What is the nutrition information for these bars? They look good! Thanks!
Hi Mandy, because you choose your own nuts, seeds, and dried fruits, the exact nutritional info depends. You can calculate yourself with what you use on myfitnesspal.com!
If I cut down on the amount of maple syrup in this recipe, do you think they would still hold together?
Hi Charis, the maple definitely helps hold things together, but if you wanted to reduce the sugar you could probably replace some of the maple with coconut butter, which would help hold things together too!
Oh, awesome idea! Thanks!
I made these and they were super sticky, even after letting them sit. I followed the recipe exactly. They’re good, but really messy to eat.
Hi Shannon, sorry they didn’t turn out as you expected! The microwaving should help make the maple syrup a little less sticky, so I’m wondering if maybe my microwave is stronger than yours – cooking the maple syrup helps to caramelize it a bit, which makes it firm up when chilled, instead of staying so sticky. If you decide to try it again, you may want to microwave for a minute instead, or add a little extra coconut oil which also helps firm up the bars. Thanks for the feedback!
These are just amazing! I was licking the spatula after I got them in the pan. There is something magical about maple syrup and almond butter perhaps?
Thank you!! :)
Maple syrup and almond butter are a match made in heaven!! So glad you’re enjoying the granola bars, Abigail.
Love your website! So nice to find a great website for gluten free. I look for recipes constantly. I would very much like to try the No-Bake Trail Mix Granola Bars (Paleo + Vegan). Would it be possible for you to add the nutrition calculations? I especially would like the protein. Thanks.
Thanks so much Wendy! Just added the nutritional facts for this recipe to the bottom of the recipe card :) of course it will vary slightly based on the nuts & seeds used, and the dried fruit, but should be in that ballpark. Enjoy!
Hi, I tried making these bars, however, my bars didn’t harden at all…. It it possible thst it is due to me leaving out the boiling part? (I didn’t have a microwave and tried it without melting)
Hi Gitti, yes the boiling helps hold the bars together by cooking the sugar which helps it harden, so that would be why they didn’t hold together! You can also give the liquid ingredients a quick boil on the stove.