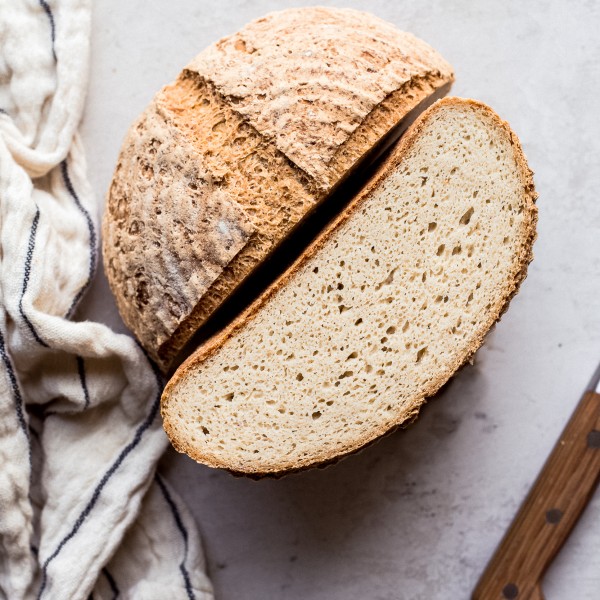
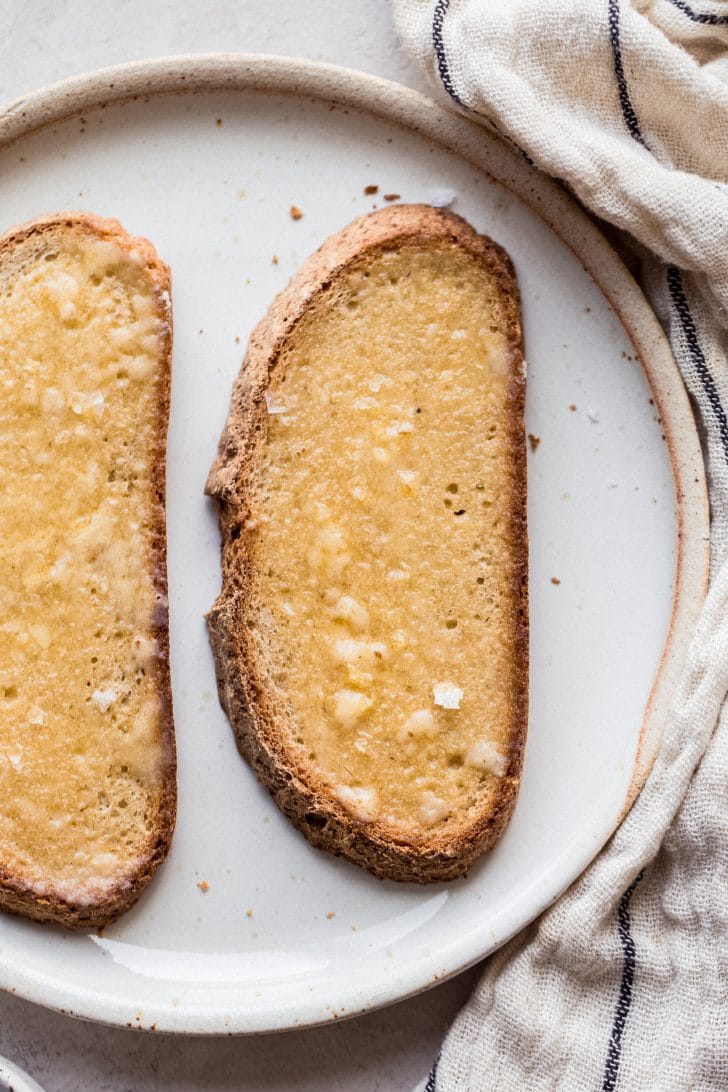
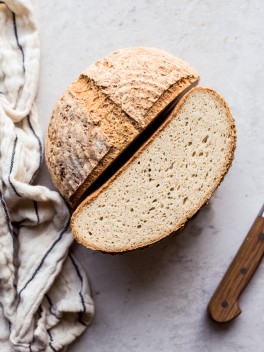
A classic Gluten-Free Bread boule, made with yeast and ready in just a few hours! It’s light, fluffy, and perfect for sandwiches, toast, and anything else you’d use bread for. This gluten-free loaf is also vegan and free of the top 8 food allergens. Thanks to Bob’s Red Mill for sponsoring this post!
I’ve been deep in gluten-free sourdough land for a while now. It started with my classic gluten-free sourdough loaf, then extended into sourdough pizza, sourdough crackers, sourdough focaccia…until I was feeding my starters all the time and constantly making bread and its friends. I even started a gluten-free sourdough Facebook group, where we share tips, tricks, and advice! It’s been a blast because sourdough is a deeeeep rabbit hole, and it’s fun to have friends down there with you!
But one thing I’ve been asked about a lot is how people can make amazing gluten-free bread without needing to maintain a sourdough starter. Not everyone has the patience to get one started or keep it maintained, and I completely understand that. Sourdough is a process, and it requires planning to achieve perfect loaves. It became clear that we needed a traditional yeasted gluten-free bread.
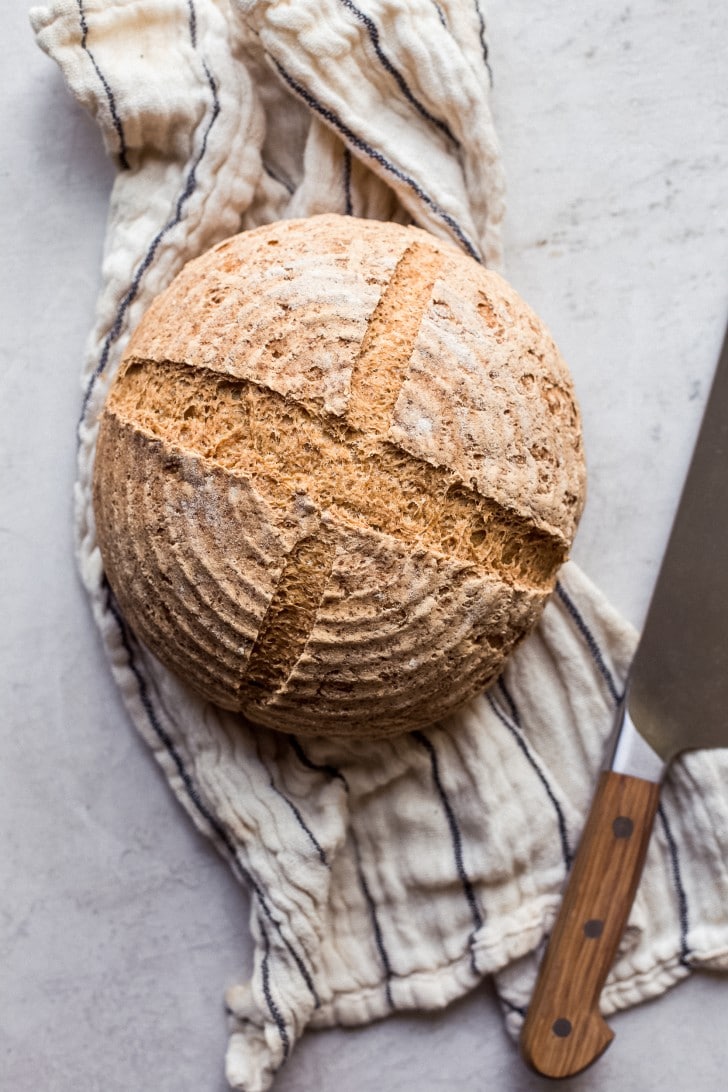
…and I am OH SO happy to introduce you to her!!! This homemade gluten-free bread boule is a winner.
Why you’ll love this gluten-free bread
- Light & fluffy with a nice crumb
- Made with yeast, so you don’t need a sourdough starter
- Made in three and a half hours (just have to wait for it to cool)
- It’s egg-free, dairy-free, vegan, and free of gums, like xanthan gum
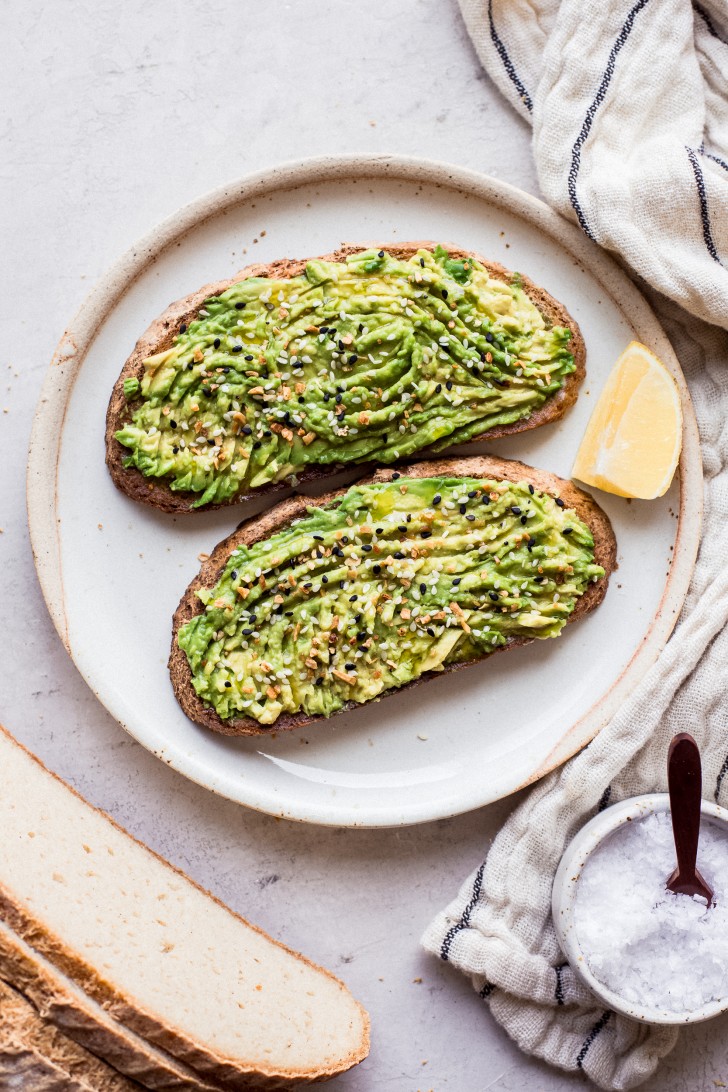
- Makes a great sandwich bread, especially if you make it in a loaf pan

How do you activate dry yeast?
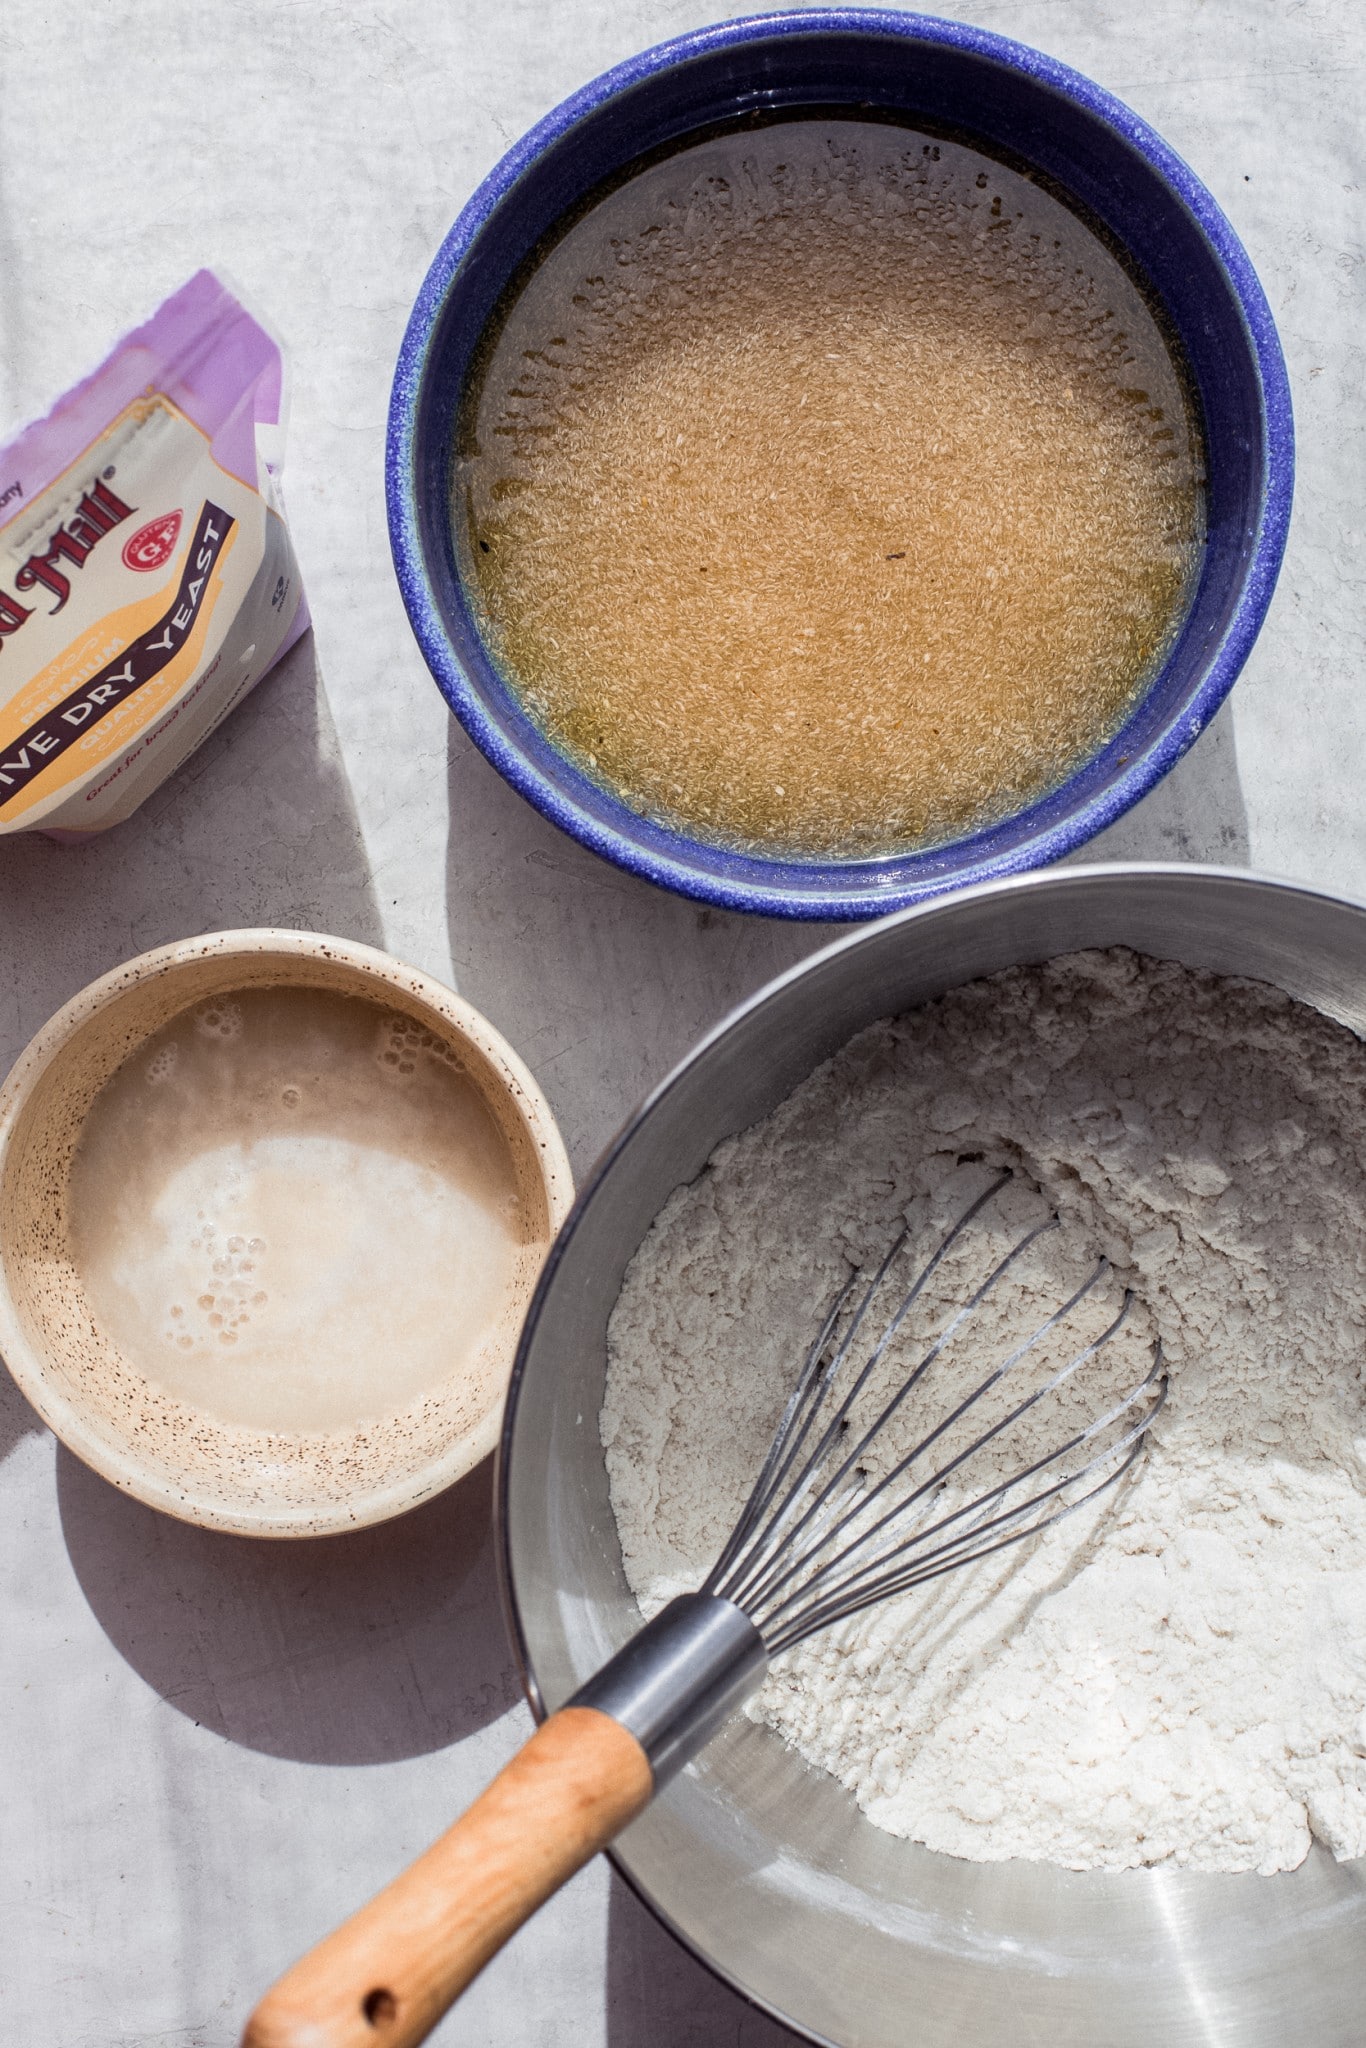
I use Bob’s Red Mill active dry yeast for this recipe. This bread recipe has been developed to use an active dry yeast, as opposed to instant yeast. You could try using instant yeast in this recipe, but I have not tried it, so experiment at your own risk!
To activate active dry yeast, you’ll mix it with warm water (100–110℉) and some sugar. For this recipe, I used maple syrup. You’ll do a quick stir to combine, and then let it sit for 10 to 15 minutes. In that time, you should see it start to bubble, and then it will get nice and foamy on top. If this doesn’t happen, retry with new yeast and water. If the yeast doesn’t get foamy and bubbly, it means it isn’t active and it won’t help your bread rise.
What’s the difference between active dry yeast and instant yeast? Active dry yeast must be activated by warm water before use, usually along with some kind of sugar to help feed the yeast and get it nice and bubbly. Instant yeast is mixed directly into the dry ingredients and is activated when the dough is mixed together. I find it easier to troubleshoot with active dry yeast because if your instant yeast doesn’t activate, you need to restart the whole recipe.

How long does this gluten-free bread take to make?
One of my favorite things about this recipe is that it can be done in about two and a half hours, start to finish!! That is way quicker than sourdough, so this is a perfect last-minute bread recipe when you want some bread to eat that day! And of that three and a half hours, probably only about 30ish minutes (if even) is active time. The rest of it is rising and baking time!
What ingredients do you need to make gluten-free bread?
A note: I don’t share any volume measurements for this bread, because I find it’s so much easier and more accurate to use weight. Please get a baking scale if you’ll be doing bread baking with any kind of regularity – it will make things much easier and more accurate! Plus, less messy measuring cups :)
- Active Dry Yeast: this provides our lift for the recipe and gives us a nice, fluffy loaf!
- Maple Syrup, Honey, or Sugar: most of the sugar is actually “eaten” by the yeast and helps your bread rise – this won’t add any sweetness to the bread.
- Filtered Water: filtered or distilled is important! Hard water can inhibit the rise of your bread.
- Psyllium Husk: our magic ingredient! It helps replace the gluten and adds structure and elasticity to the loaf. More details on this ingredient below!
- Olive Oil: olive oil helps soften the crust and adds to the flavor.
- Potato Starch: make sure you seek out the white, powdery potato starch, not potato flour!
- Tapioca or Arrowroot Flour: interchangeable with tapioca starch or arrowroot starch, these add lightness and fluffiness to the bread.
- Sorghum Flour: this has a light, sweet, mild flavor that works incredibly well in this bread.
- Brown Rice Flour: more of a whole-grain kind of flour, but still lends for a light and fluffy bread loaf. Can be switched out with white rice flour, or another whole-grain flour if you’re avoiding rice.
- Quinoa Flour: I love the light fluffy texture quinoa flour brings to the table, but too much can add a slightly bitter taste, so I keep the amount on the smaller side.
- Sea Salt: for flavor, of course!
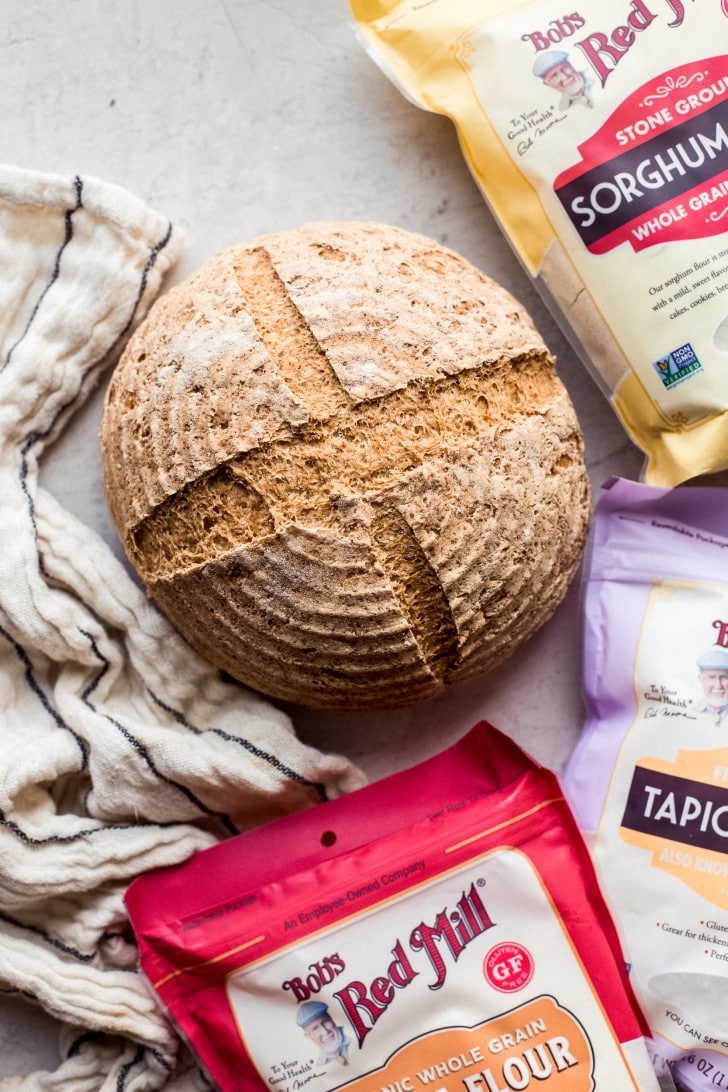
Almost all of the yeast, flours, and starches that I use are from Bob’s Red Mill, one of my all-time favorite brands for all things flour and baking supplies! I love how many organic options they have, how widely available their products are, and that so many of their flours are certified gluten-free. I highly recommend their products for this recipe (and all of my recipes) for great results! They can be found in most grocery stores, as well as on Amazon and many other online retailers.
Can I switch the flours? Yes, you can switch and substitute the whole grain flours (brown rice, sorghum, and quinoa) for each other and for other whole grain flours (buckwheat, millet, white rice, teff, etc.) if you want to experiment. Each has its own properties and flavors, but it can be super fun to experiment here and see which combination makes for your favorite loaf.
All the flours!
 Buy Now →
  Buy Now →
 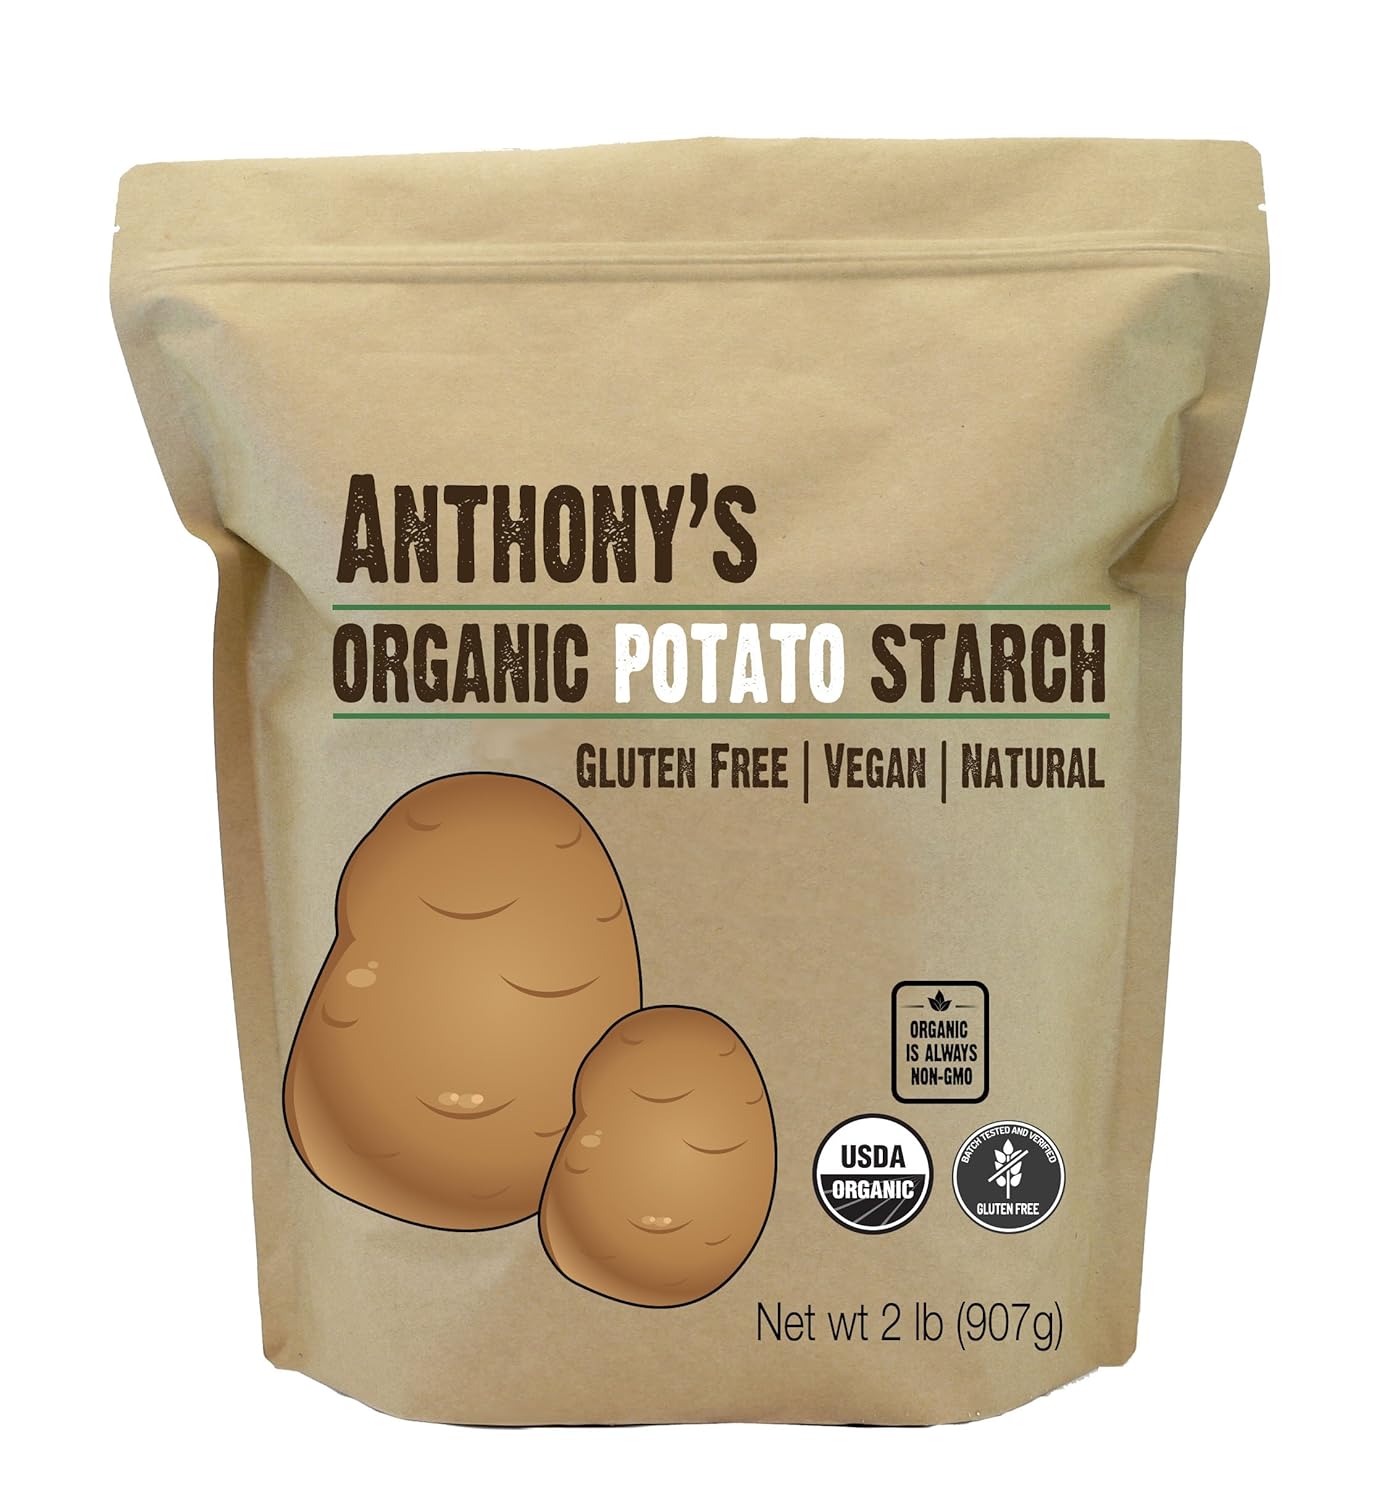 Buy Now →
  Buy Now →
  Buy Now →
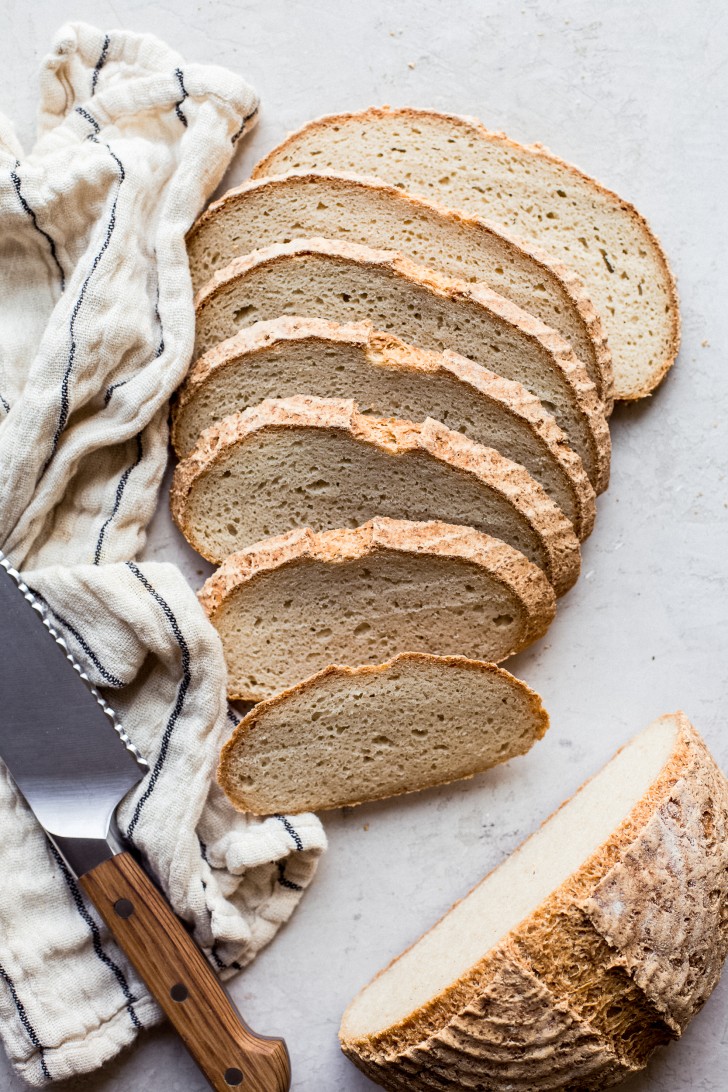
What is psyllium husk? Can I replace it?
Psyllium husk is our gluten for this bread: it provides the binding properties and elasticity that help make the dough easy to work with, knead, and shape. It gives the structure and support for the bread to rise, as well. Psyllium is a form of fiber that is derived from the husks of plantain seeds. It has a lot of health and digestive benefits, but it’s the gelling, fiber-filled aspects of the plant that we’re after!
From my experiments: you need psyllium husk for good gluten-free bread. For my bread recipes, I wouldn’t try to replace it. It makes the dough workable, so it doesn’t squish all over the place. It’s also what makes your bread chewy and stretchy.
NOTE: Psyllium husk and psyllium husk powder are different. You want the full husk. I usually find it in the supplement section of most grocery stores, and it can also be purchased online.
How do you make gluten-free bread?
- Activate the yeast. Combine the yeast with the sweetener and warm water. Let it hang out to activate for about 10 minutes.
- Make the psyllium gel. Mix together the psyllium, olive oil, and water. Whisk and let it set for a few minutes, until it has thickened and become gel-like.
- Mix together your dry ingredients. In a large mixing bowl or the bowl of a stand mixer, mix all of your flours, starches, and salt. Whisk to combine.
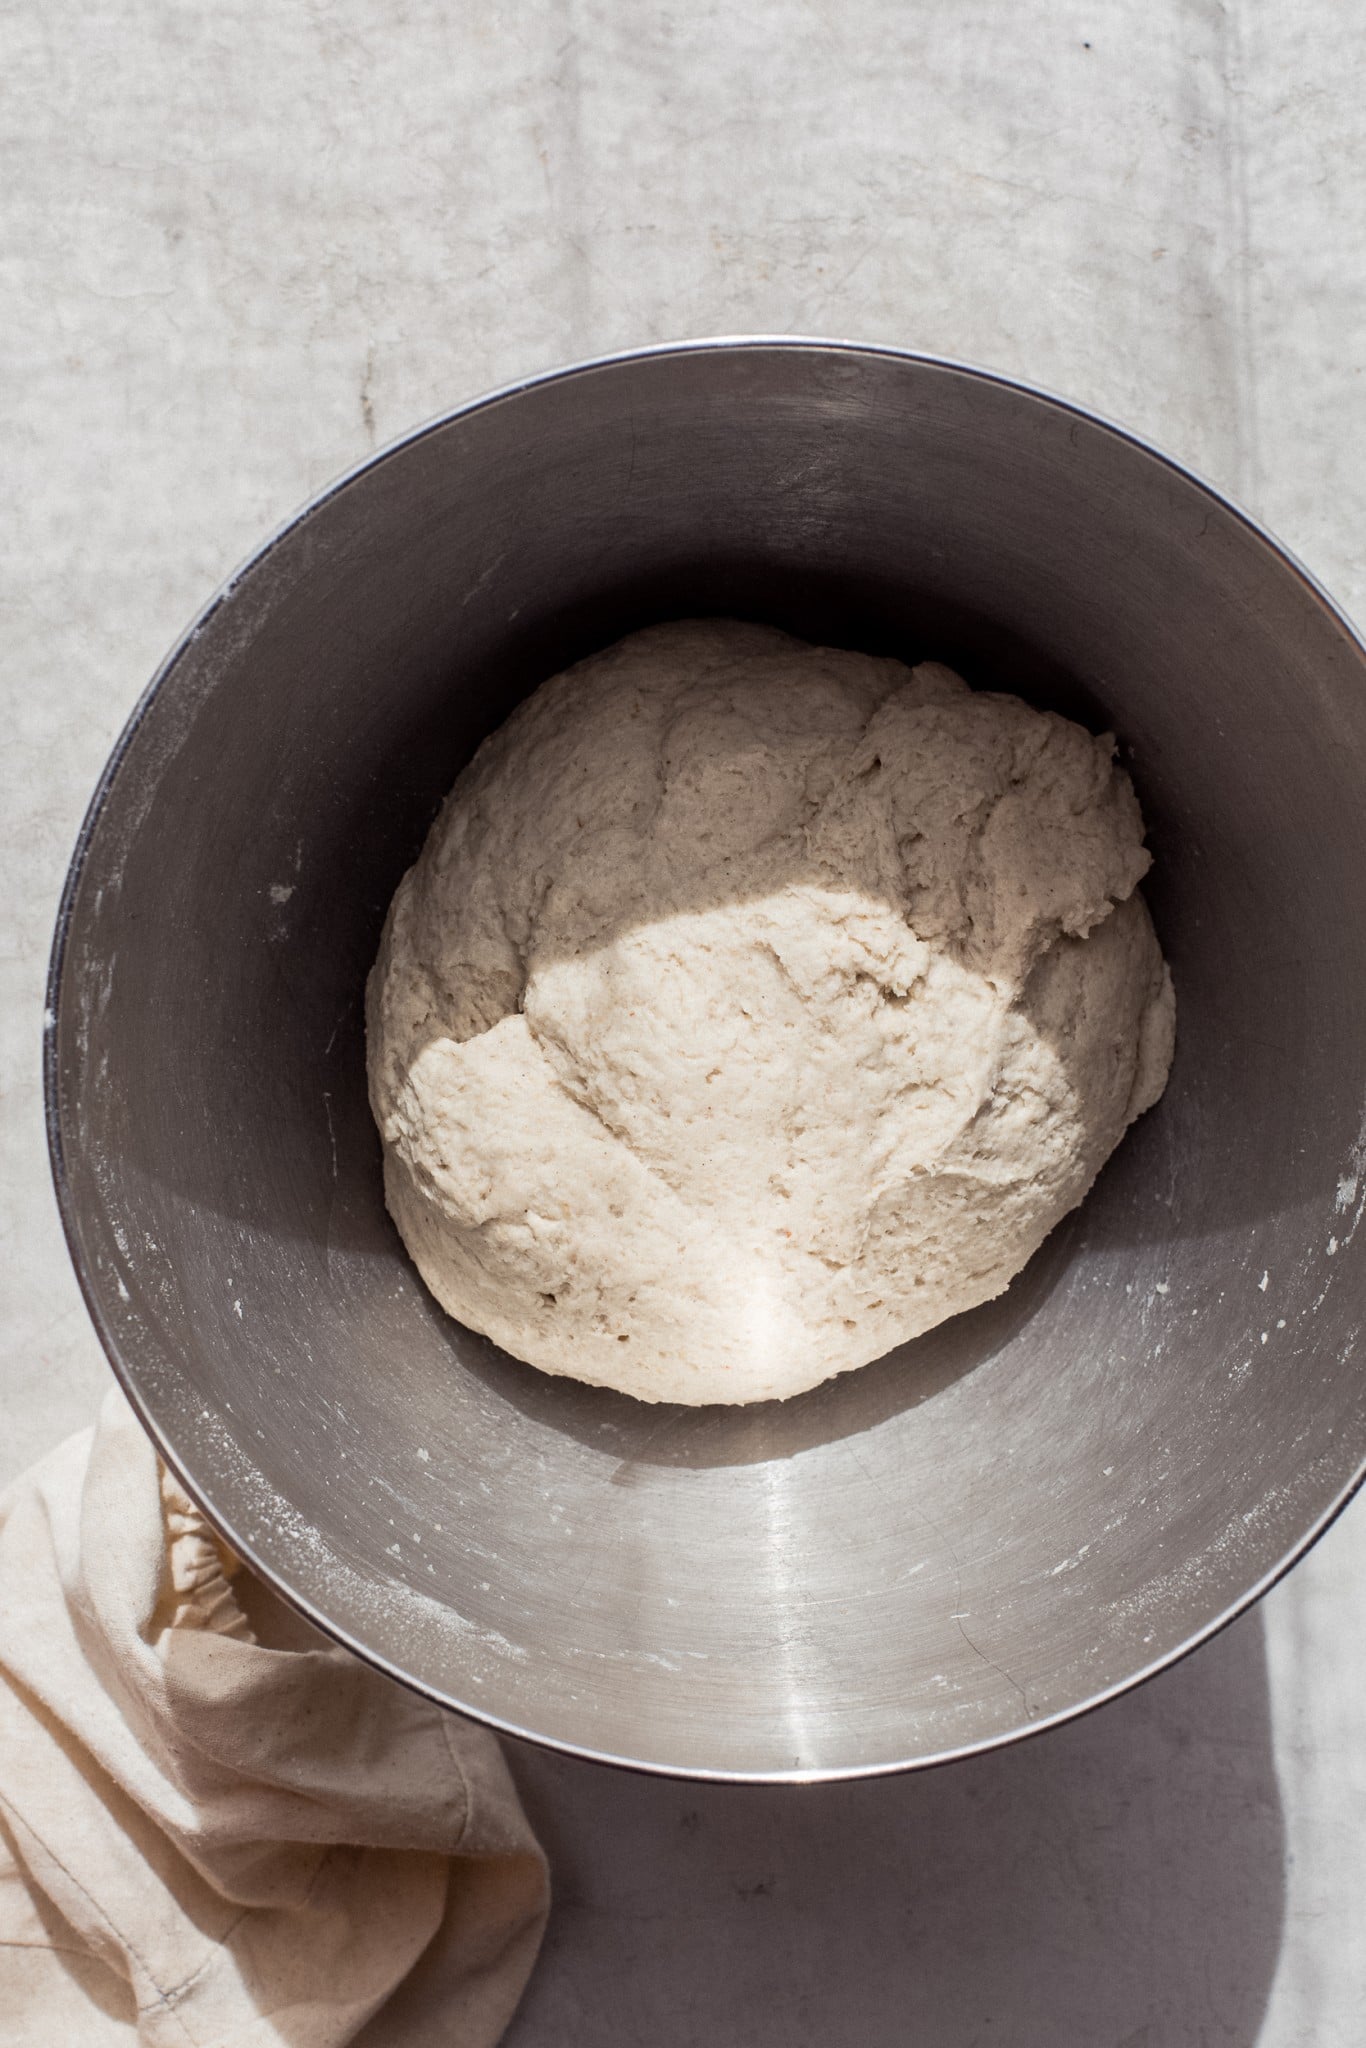
- Combine everything and form into a dough. I mix everything in my stand mixer with the dough hook, but you can also do this by hand. If mixing by hand, I like to use a dough whisk to get it combined. Then, turn it out onto the countertop and use my hands to knead the rest of the flour in.
- Knead and shape the dough. Use your hands to knead the dough into your desired shape/shapes. Then, you’ll place it in the banneton or loaf pan for the proof.
- Rise, score, and bake! Let the loaf rise for one hour, or until it’s light and puffy to the touch, and preheat the oven to 425℉ while it rises. Once the bread has risen, score it with a knife or lame (flipping it out of the banneton onto parchment, or a silicone sling if baking in a Dutch oven). Then, place into your baking vessel. Bake for 1 hour and 15 minutes, removing the lid for the last 15 if baking in a Dutch oven.
- Cool completely. This is definitely the hardest part, but you really need to let the loaf cool completely so the inside can set. I usually try to let it cool overnight. You definitely want it to be fully cool to the touch before cutting into your loaf.
- Slice and eat! Definitely the best part :)
How to Store Your Gluten-Free Bread: If you’re eating and serving it within a day or two, storing it at room temperature in a plastic bag or wrapped in a tea towel is sufficient. If you’re storing it for about three or four days, you can keep it in the refrigerator. Any longer than that, and I recommend slicing and freezing in an airtight bag. You can toast straight from frozen, no need to thaw.
I hope this helps you make some amazing gluten-free bread! Please drop a comment below the recipe card if you have any questions, concerns, or need help troubleshooting! I’m happy to help you figure out what’s going on because I’m on a mission for everyone to have amazing gluten-free bread!
Sending lots of yeasty love your way. Happy baking!
More gluten-free yeast bread recipes
Want to try making gluten-free sourdough bread, too?!
- How to Make a Gluten-Free Sourdough Starter
- Homemade Gluten-Free Sourdough Bread
- The Best Gluten-Free Sourdough Pizza
- Gluten-Free Sourdough Focaccia
- Rosemary Garlic Gluten-Free Sourdough Rolls
- Gluten-Free Sourdough Crackers
Homemade Gluten-Free Bread
Ingredients
To activate the yeast
- 7 g (2.5 tsp) active dry yeast
- 100 g warm filtered water
- 20 g maple syrup, honey or cane sugar
For the loaf
- 20 g whole psyllium husk
- 375 g filtered water
- 15 g olive oil
- 80 g potato starch
- 60 g tapioca flour, or arrowroot flour
- 150 g sorghum flour
- 140 g superfine brown rice flour
- 50 g quinoa flour, or replace with more sorghum flour or rice flour
- 12 g sea salt
Instructions
- In a small bowl, combine the yeast with the sweetener of your choice and warm water, between 100-110℉. It should feel warm, but not hot, to the touch. Let it sit to activate for about 10 to 15 minutes. You should notice it start to to bubble, and then it will get nice and foamy on top.7 g (2.5 tsp) active dry yeast, 100 g warm filtered water, 20 g maple syrup
- In a bowl or liquid measuring cup, mix together the psyllium husk, olive oil, and water. Whisk together, breaking up the psyllium, and let it set for a few minutes until it’s thickened and gel-like.20 g whole psyllium husk, 375 g filtered water, 15 g olive oil
- In a large mixing bowl or the bowl of your stand mixer, mix together all of your flours, starches, and salt. Whisk to combine.80 g potato starch, 60 g tapioca flour, 150 g sorghum flour, 140 g superfine brown rice flour, 50 g quinoa flour, 12 g sea salt
- Add the psyllium gel and the activated yeast mixture to your dry ingredients. If using a stand mixer, fit it with the dough hook and let it mix up the dough until combined and smooth, scraping down the sides a few times during the process, and flipping the dough around to make sure it's fully mixed on the bottom too. You can also do this by hand. If doing it by hand, I like using a dough whisk to get it mostly combined. Then, turn it out onto the countertop and use your hands to knead the rest of the flour in.
- Use your hands to knead the dough and shape it into your desired shape. Then, place it in the banneton (seam side up) or loaf pan (seam side down) for the final proof.
- Cover with a tea towel and let the loaf rise for one hour in a warm place. It should just about double in size, and it will feel light and puffy to the touch when it’s ready. Preheat the oven to 425℉ while it rises with a Dutch oven inside, if using.
- Once it’s risen, score the bread (carefully flipping it out of the banneton onto parchment or a silicone sling if baking in a Dutch oven). If you’re baking in a loaf pan, you may want to brush the top with oil to get a nice golden crust and help soften it slightly.
- Place into your baking vessel if using a Dutch oven. If using a loaf pan, just place right into the oven. Bake for 1 hour and 15 minutes, removing the lid for the last 15 minutes if baking in a Dutch oven. It should be golden brown and crusty.
- Remove from the baking pan and set on a cooling rack to cool completely. This is definitely the hardest part, but you really need to let the loaf cool completely so the inside can set. I try to let it cool overnight, but you'll want to let it cool for at least four to five hours. It should be fully cool to the touch before cutting into your loaf.
- Slice and eat. This bread is great raw, toasted, or however else you want to enjoy it!
Notes
- Banneton: this is a woven basket your bread rises in. You can also use a bowl lined with a clean cloth tea towel, but bannetons do give you beautiful ridges and provide a great environment for your bread to rise. I like using a 7-inch banneton.
- Lame: this is a razor blade you’ll use for scoring your bread before baking. A sharp knife will work well too.
- Stand Mixer: this is optional – I’ve made many loaves using a bowl, a wooden spoon or a dough whisk, and my hands. But if you have one, making bread using your stand mixer and a dough hook makes things super easy.
- Dutch Oven: you don’t need a Dutch oven per se, but it definitely helps: the lid traps the heat and steam, and it helps provide a wonderfully crunchy crust. Preheating the Dutch oven also helps support your bread’s rise once it hits the hot oven.
- Parchment Paper: I find parchment tremendously useful for making a “sling” to help lower your bread into the Dutch oven, so it doesn’t lose its rise from getting “dropped” into the Dutch oven, which can deflate the loaf. You can also use something like this silicone baking mat sling that’s perfect for lowering and lifting your bread into the Dutch oven.
Tools for Bread Making!
 Buy Now →
  Buy Now →
  Buy Now →
  Buy Now →
  Buy Now →
  Buy Now →
  Buy Now →
  Buy Now →
  Buy Now →
  Buy Now →
  Buy Now →
  Buy Now →
I subbed sorghum for 50/50 oat and buckwheat flour and it worked out so good! This bread is really fluffy and delish. I also tried the bagels they are amazing too!! Thanks!
So glad you enjoyed the bread, Isabella! Thanks for the feedback :D
I can’t have rice products. Is there a different gf flour that I can replace the brown rice flour with?
Yes, any other grain flour will work.
I tried this recipe today while waiting for my sourdough starter to mature. I’m letting it cool over night. I’m storing it in a cloth produce bag for now. Can’t wait to try it in the morning. It was really easy to follow the recipe.
Hi there, came out with a lovely flavor but deflated in the oven (used Dutch oven). Do you think it got overproofed? I used arrowroot instead of potato starch and more sorghum as I didn’t have quinoa flour, and psyllium husk powder (16gr as I read your comment to use 80%). Definitely making again so your thoughts are appreciated
Hi Christina, generally the ingredients don’t have as much to do with overproofing as timing & temperature does! How long did you let the dough rise for? Did it seem super soft and puffy going into the oven?
About 80 minutes I think. It had risen a lot, had a decent give when I touched but I wouldn’t say super soft and puffy….
I would try doing a rise closer to 1 hour so it doesn’t have a chance to overproof.
About 80 minutes I think. It had risen a lot, had a decent give when I touched but I wouldn’t say super soft and puffy….
Hi Rita, can you use this recipe to create dinner rolls? If so, how would you suggest doing so? How long to bake? Thanks so much!
Hi Quinlyn, you can divide the dough into 4-8 rolls, you can follow the dough division & baking instructions from this recipe, but they’ll likely only need to rise for about an hour.
Hi! I love the taste of this bread but I’m having trouble getting it to rise. I’ve made it, per the recipe, at least 5 times and am still experiencing issues with it. Any help you can offer?
Hi Jamie, it’s hard to know without any information – is your yeast active or old? Did you change anything about the recipe?
It was purchased within the last 2 months and it’s active. I’m following the recipe as listed. I love the taste of the bread so I want to continue trying with this recipe. Anything I can try?
Proofing longer in a warmer place is a good place to start!
Is the size of your Banneton basket or proofing bowl wider than 7”? A wider loaf would spread the dough out and it wouldn’t rise as tall.
First try at this came out absolutely delicious, with a lovely texture. I look forward to making it again in the future.
Notes: Subbed arrowroot for potato starch (1:1), white rice flour for quinoa flour (1:1), and used instant yeast (that’s what I had on hand). Rising and oven times fit to the written recipe; Dutch oven worked well for baking.
Thanks for sharing, glad you liked it!
This was my first time baking gluten-free bread and when I started kneading the dough I kept adding more and more flour and starches until it became less sticky haha. I didn’t know it should be sticky because it works differently than kneading gluten. After checking youtube videos I realized it actually HAS TO BE sticky lol. I baked at 180C for 1h 15min and it turned out good actually, I was surprised. Anyways, I will try next time following the recipe exactly and I am looking forward to how it’ll turn out! Thanks for the recipe :)
Haha glad you figured it out and that your bread was still pretty good!! It shouldn’t be too sticky – if it seems sticky, let the dough rest for about 10 minutes to let the psyllium absorb more water and it should help it be more workable :)
Hello! I’m new to making GF bread and my mom’s been GF for about six or so years now, so I wanted to try making some for her- the only problem is I’m not really sure where to start with the ingredients. What would you say is essential to the recipe? Are all the different flours required, or can I get away with using just a couple of them? I’m looking forward to making this, thank you!
Hi Orpheus, a combination of flours is best. If you’d like to use a premixed flour blend, this Vitacost blend is the only one I’ve used that gives a very similar outcome to the flour combination I recommend. You can use other whole grain flours, but I’ve found a blend of multiple flours is best for the texture.