Gluten-Free Vegan Pumpkin Waffles (Freezer Friendly!)
These Gluten-Free Vegan Pumpkin Waffles are easy to make with a crispy exterior and a light, fluffy inside. They’re freezer-friendly too, making them perfect for meal prep!
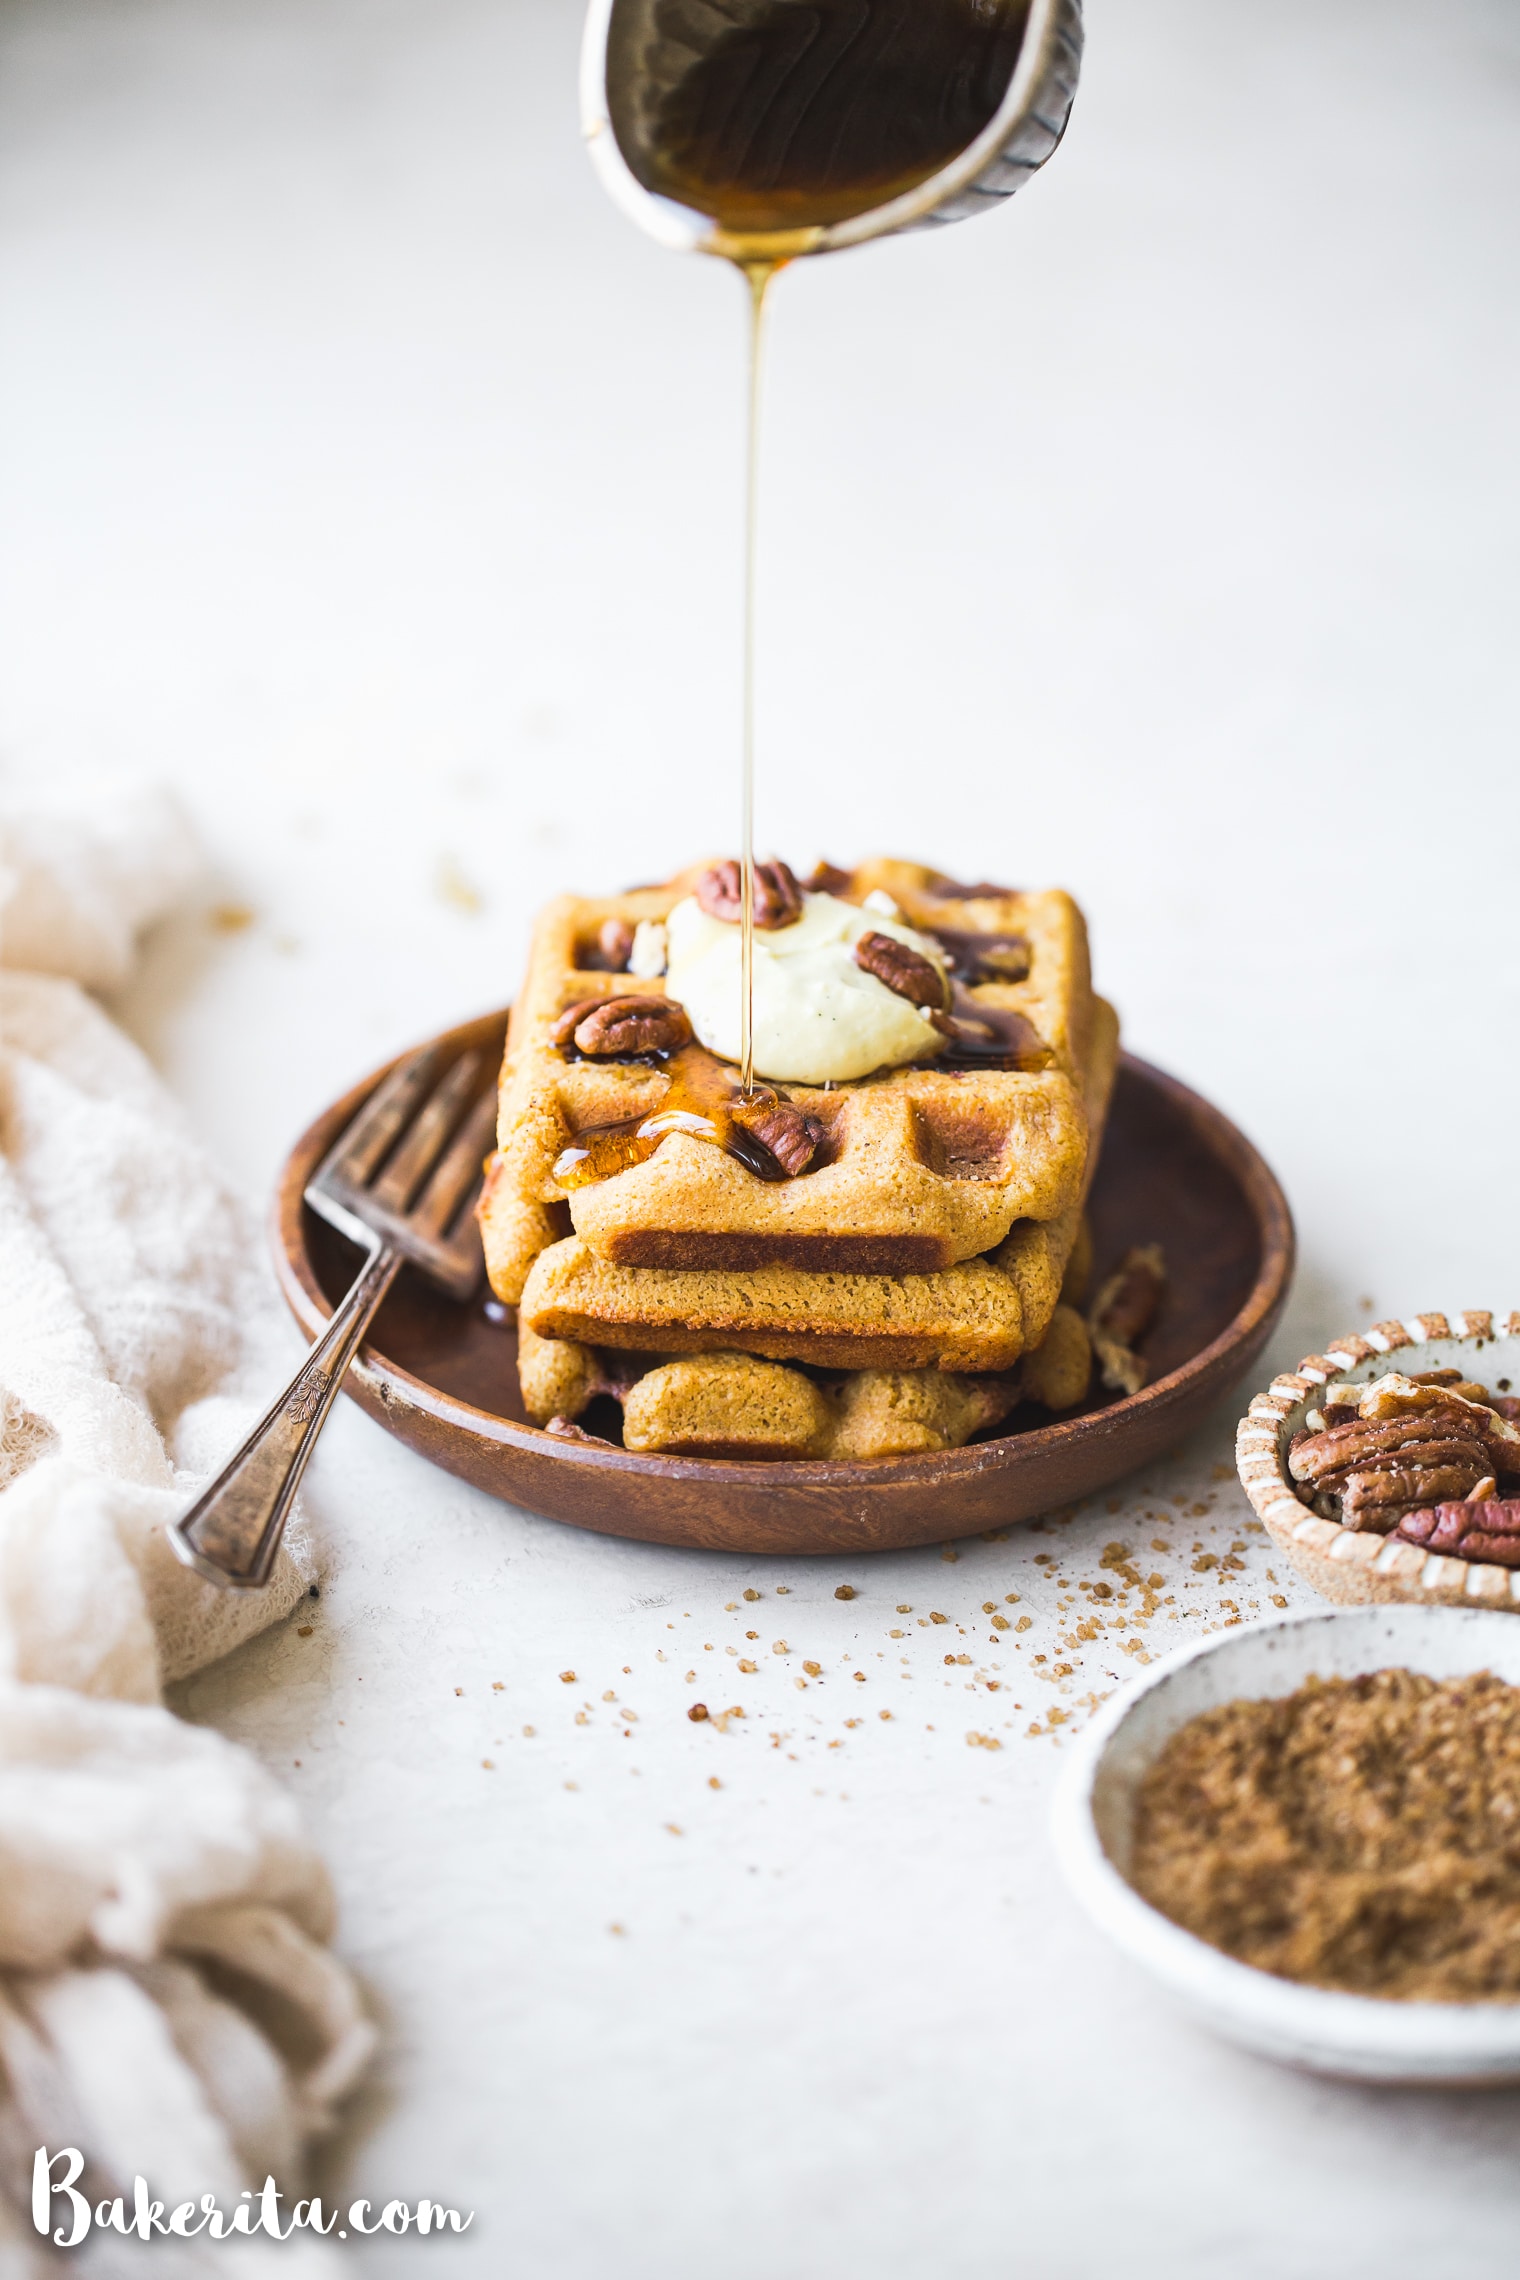
In my adult life, I never had a waffle maker until a month or two back, when I found one at a garage sale and decided it was finally time to get one. It took long enough since I’m definitely a waffle person over a pancake person. Crispy edges will get me every time!
Since I got my waffle maker, I’ve been a fanatic. I have a full freezer stocked with all sorts of waffles, including these paleo vegan waffles and a few other flavors I’ve been testing out! These Gluten-Free Vegan Pumpkin Waffles are definitely my go-to this season, though. The warm pumpkin spices in these fluffy waffles are perfect with maple syrup and pecans. They’re easy to make, too!
More of a pancake person? Try these fluffy & delicious pumpkin pancakes!
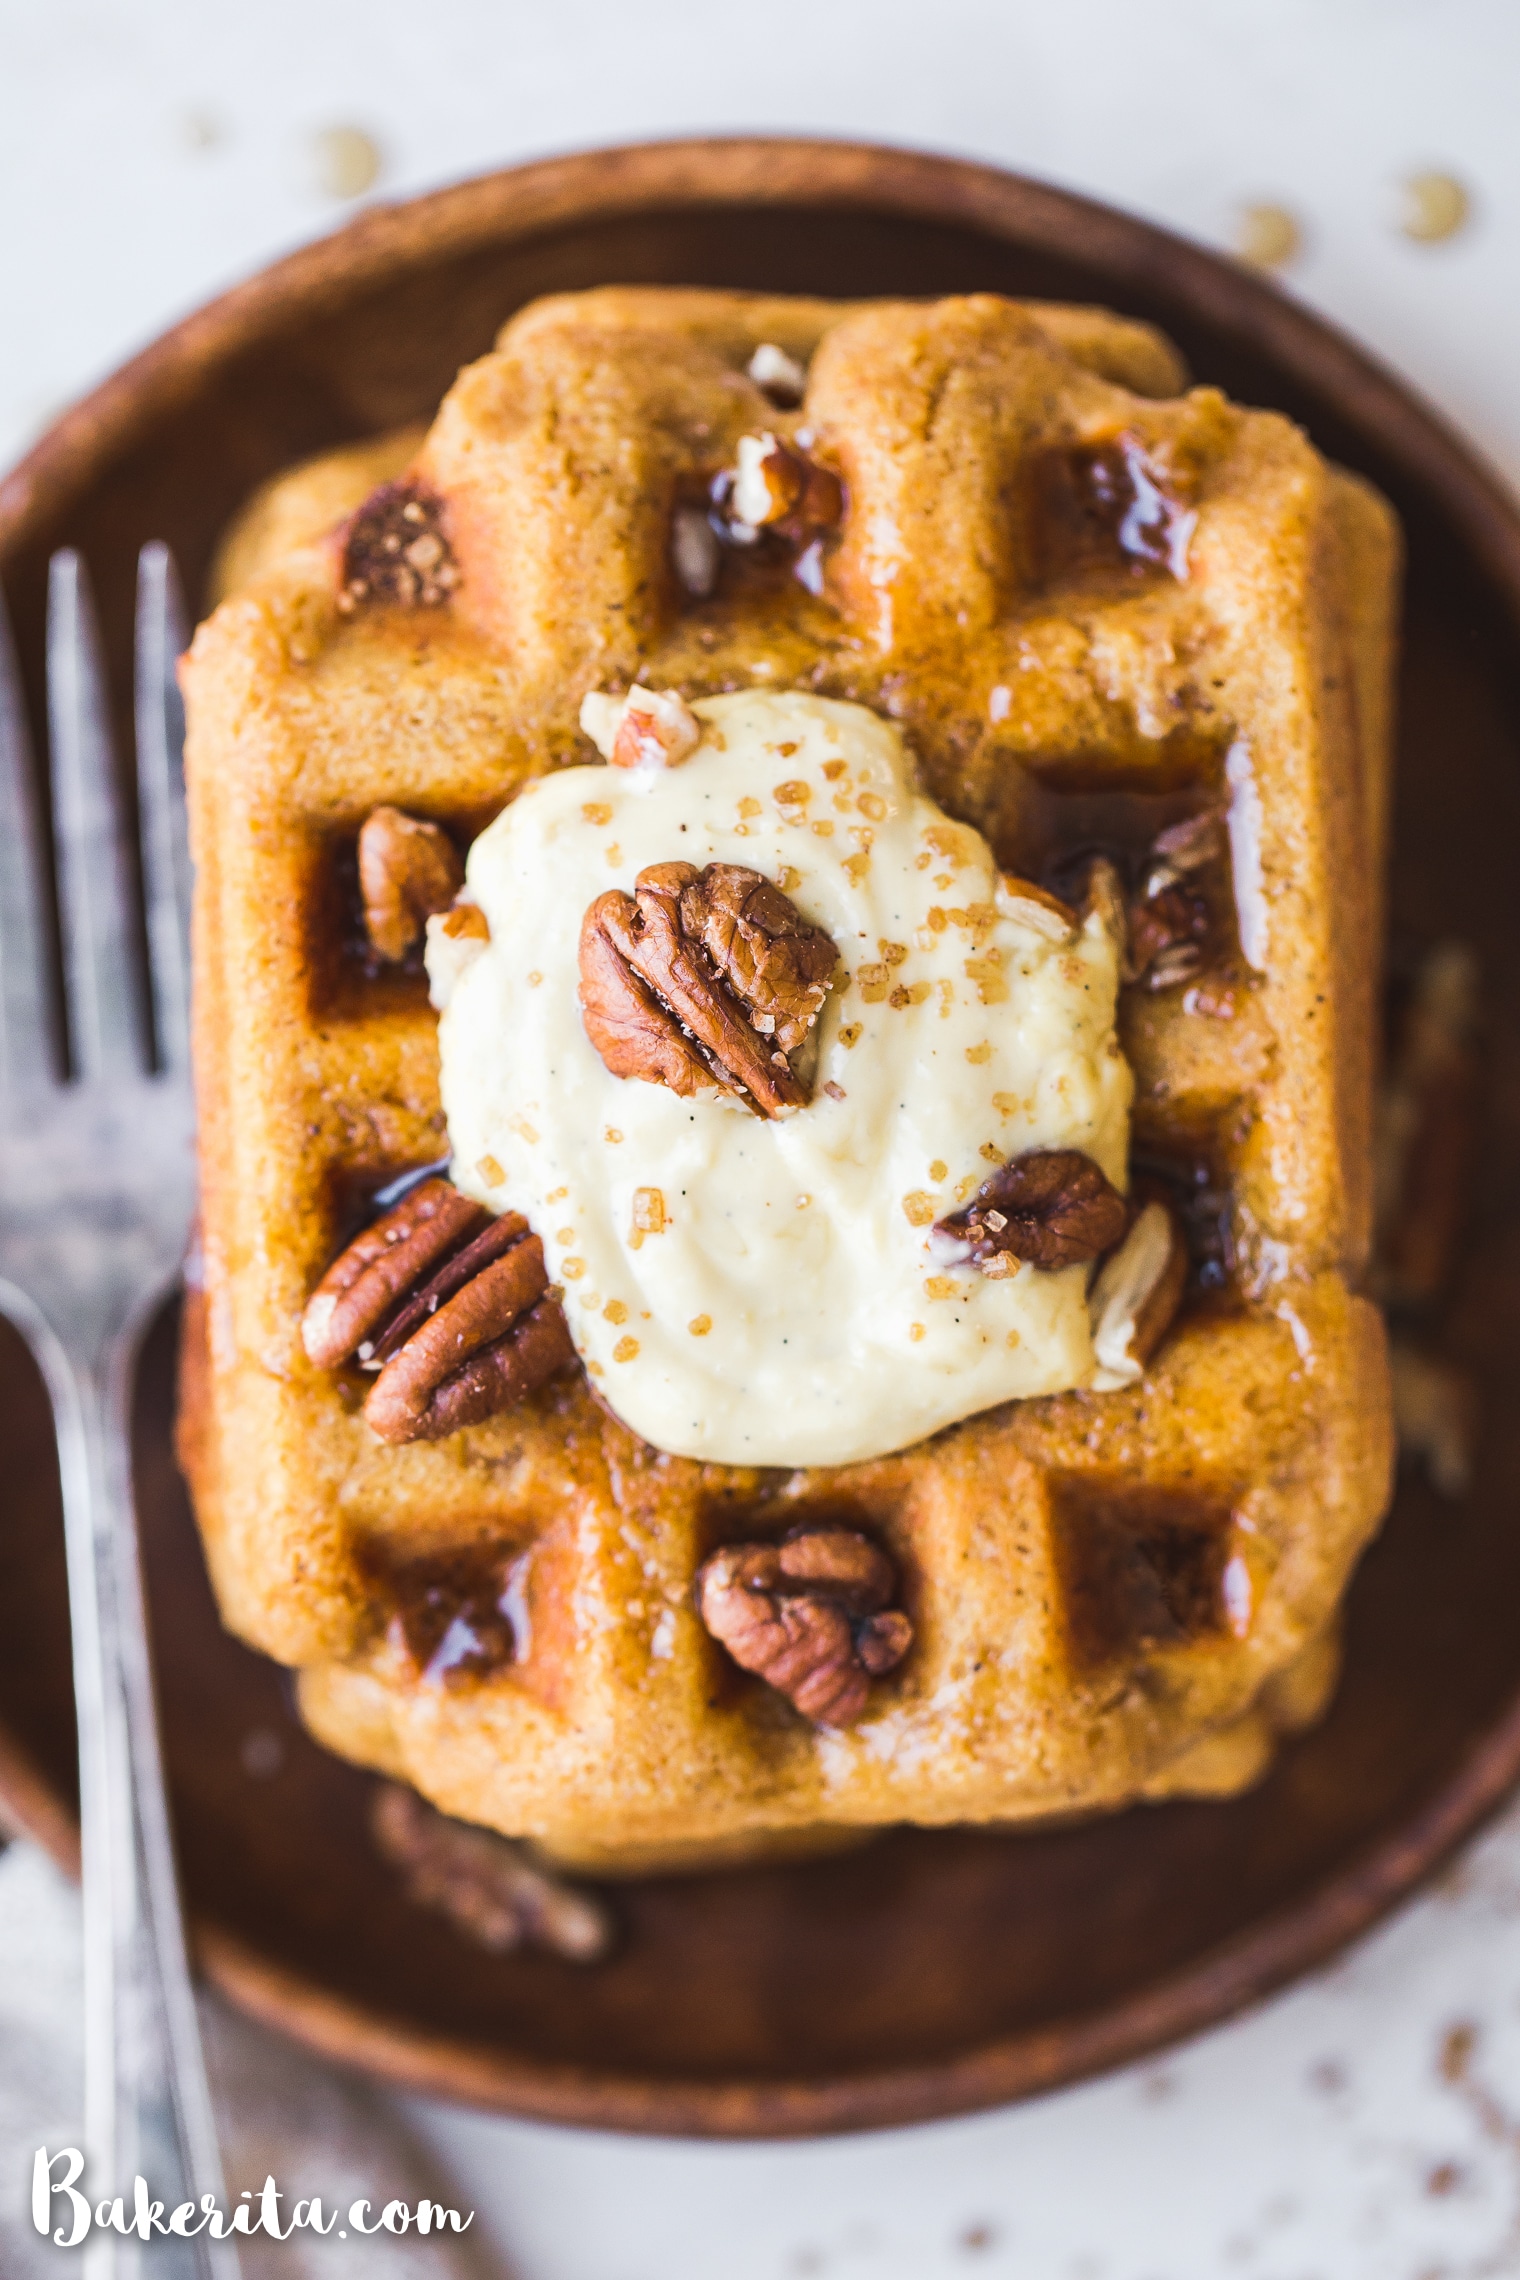
How to make Pumpkin Waffles:
Whisk together the wet ingredients – the dairy-free milk, apple cider vinegar, pumpkin puree, coconut oil, and coconut sugar.
Combine the dry ingredients, which are almond flour, tapioca flour, baking powder, cinnamon, nutmeg, cream of tartar, and salt. Whisk until completely incorporated.
Pour the wet ingredients into the dry and then whisk until fully combined.
Spoon the batter onto a heated waffle iron and let cook until crispy and cooked through. For me, it’s usually about a minute after steam stops coming from the waffle iron.
Serve warm with maple syrup, butter, coconut cream, or whatever else your heart desires! Freeze the leftovers for tomorrow :D

How can I freeze these gluten-free pumpkin waffles?
It’s super easy! It also makes this recipe absolutely perfect for meal prepping, because you can make a big batch of waffles for Sunday breakfast and store the rest in the freezer, ready to eat on your busy mornings after a quick toast.
To freeze, I recommend cooling the waffles completely. Once cool, stack them in an airtight container or place them in a zip bag and seal. Label the bag with the contents and the date and freeze! When you’re ready to eat, simply grab a waffle or two and toast them in a 350°F toaster oven for 5 to 10 minutes or until warmed through.
I hope you love this recipe as much as I do! I’ve got a stash in my freezer right now and you can bet I’m having them for breakfast tomorrow. Want to join me??
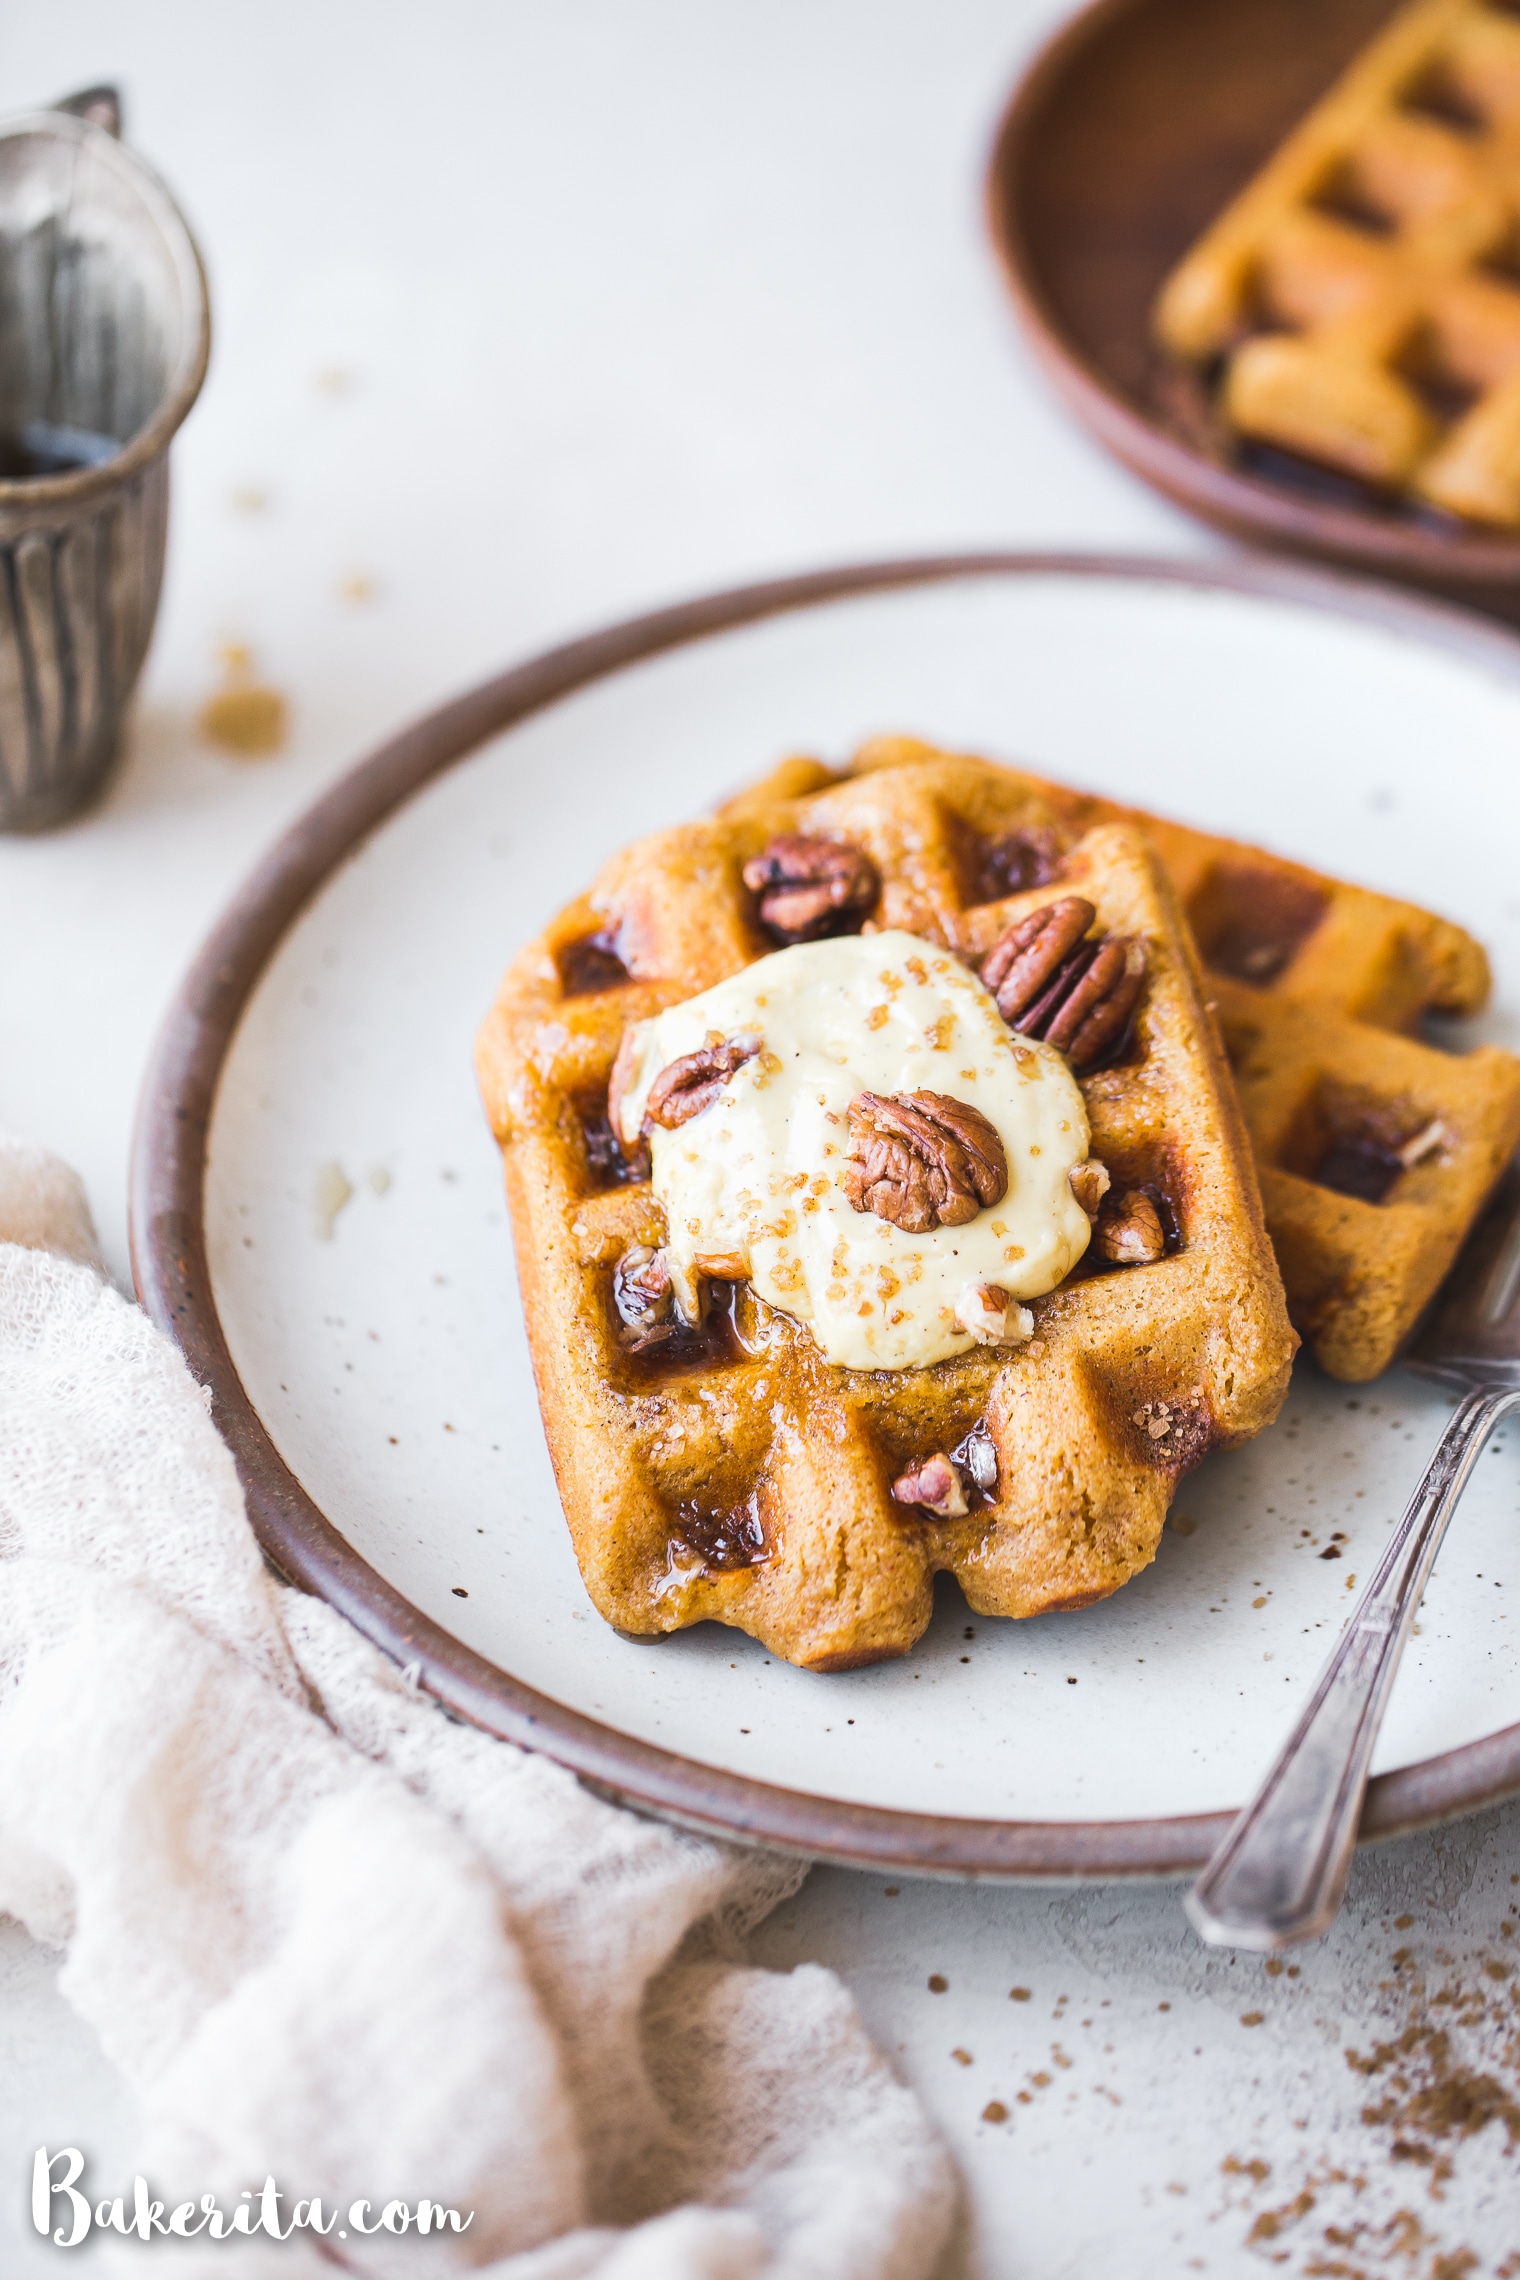
If you like the vegan pumpkin waffles, you’ll love these recipes too!
- Gluten-Free Vegan Pumpkin Pancakes
- Pumpkin Spice Oatmeal with Sauteed Apples
- Vegan Pumpkin Pie Crumb Bars
- Easy Pumpkin Oatmeal
Gluten-Free Vegan Pumpkin Waffles (Freezer Friendly)
- Prep Time: 10 minutes
- Cook Time: 15 minutes
- Total Time: 25 minutes
- Category: Breakfast
- Method: Waffle Iron
- Cuisine: American
- Diet: Vegan
Description
These Gluten-Free Vegan Pumpkin Waffles are easy to make with a crispy exterior and a warm, fluffy inside. They’re freezer-friendly too, making them perfect for meal prep!
Ingredients
- 1 cup (8 ounces/227g) almond milk or dairy-free milk of choice
- 1 teaspoon apple cider vinegar
- ⅓ cup (80g) pumpkin puree
- ¼ cup (50g) refined coconut oil, melted
- ¼ cup (38g) coconut sugar
- 2 cups (192g) blanched almond flour
- ¾ cup (90g) tapioca flour
- 2 teaspoons baking powder
- 1 teaspoon cinnamon
- ½ teaspoon cream of tartar
- ¼ teaspoon sea salt
- ⅛ teaspoon nutmeg
Instructions
- Plug in your waffle iron to let it heat up while you prepare the batter.
- In a small bowl or liquid measuring cup, combine the dairy-free milk of your choice and apple cider vinegar and let stand for 3 minutes. Whisk in the pumpkin puree, melted coconut oil, and coconut sugar.
- In a separate bowl, whisk together the almond flour, tapioca flour, baking powder, cinnamon, cream of tartar, sea salt, and nutmeg.
- Add the wet ingredients to the dry ingredients and whisk to combine.
- Let the batter stand for a few minutes to thicken up.
- Lightly grease the waffle iron and add enough waffle batter to fill the waffle cavity. Cook according to waffle iron’s directions, until golden brown and crispy. In my waffle iron, this takes between 4 and 5 minutes.
- Repeat until all of the batter is gone, adding more oil (if needed) between each waffle.
- Serve with your desired toppings while the waffles are still warm.
To freeze the waffles:
- Let the waffles cool completely before placing in an airtight container or zip bag. Place in the freezer.
- To reheat, toast at 350°F for 5 to 10 minutes or until heated through and crisped to your liking. Best used within 3 months.
Keywords: waffles, vegan, gluten free, pumpkin, maple, breakfast




Hi! :)
What could we subtitute cream of tartar for? Could we use another flour instead of almond meal?
Thanks, they look amazing!
★★★★★
Hi Labaronisimia, I would recommend adding an extra teaspoon of apple cider vinegar in place of the cream of tartar. You could try using oat flour instead of the almond flour, but since I haven’t tested it, I can’t make any guarantees of the result. Enjoy!
Best eggless waffle recipe ever! So flavorful and the perfect comfort breakfast :)
★★★★★
I have no idea what went wrong. I followed the recipe, and I’ve made waffles a million times, so to speak, and only once recall having a waffle stick. When that happened, it was because I was making waffles for the very first time and opened the iron too soon with the first waffle. Typically, I only have to oil my iron for the first waffle, and the remainder of waffles never stick. With this recipe, even after oiling the iron liberally before cooking each waffle, I had to dig out each one using a butter knife (the waffles stuck that bad) and even then, they tended to come out in pieces. When I tried to open my iron with the first waffle, it was as though the iron was glued shut; I thought maybe I was trying to open the iron too soon. But, because enough time had passed and my iron was no longer puffing steam, I knew the waffle was cooked, so I pulled a little harder to open the iron. Instead of opening, I heard a snapping sound and noticed the top heating element had slightly dislodged from the top cover. That was a complete surprise! I could still use the iron, but had to insert a butter knife between the top heating element and the bottom element and pry open the iron to finish the rest of this recipe. As for the waffles themselves, they tasted fine, but the texture wasn’t like a waffle. Instead of having a thick center and crispy outside, every waffle seemed airy and crisp-fried. Again, I’m quite familiar with making waffles — both from scratch and from gluten-free mixes. This recipe’s results completely baffled me.
Hi! So sorry you’re having trouble with this recipe, I know how frustrating that is. For me, I had major sticking when I was using an old, not great waffle iron and they came out perfectly once I got one that was non-stick and worked better, but it sounds like you know your waffle iron pretty well, so I’m not sure what could have happened. Did you make any changes to the recipe that may have impacted it? It’s hard for me to know without being there what’s going on, but I’m happy to help you figure it out as much as I can if you’d like!
Could I use coconut flour instead of tapioca flour? I have some pumpkin purée that needs to be used and this sounds great!!!
Hi Georgia, I never recommend using coconut flour where it’s not called for because it’s SO absorbent and doesn’t work in the same way as other flours – it’s best to use tapioca flour or arrowroot flour here. I hope this helps!
Could i use butter or olive oil instead of coconut oil? Also coukd I use this recipie for pancakes?
Amazing. Thanks for the recipe. Will double next time!
★★★★★
So glad you’re loving the waffles, Astrid!