This gluten-free cinnamon raisin bread is soft, fluffy, and fragrant with cinnamon in every single slice. Made with a custom blend of whole-grain gluten-free flours and psyllium husk for a workable, yeast-risen dough, it toasts beautifully and makes the best French toast you’ve ever had. Vegan and top-8 allergen-friendly.
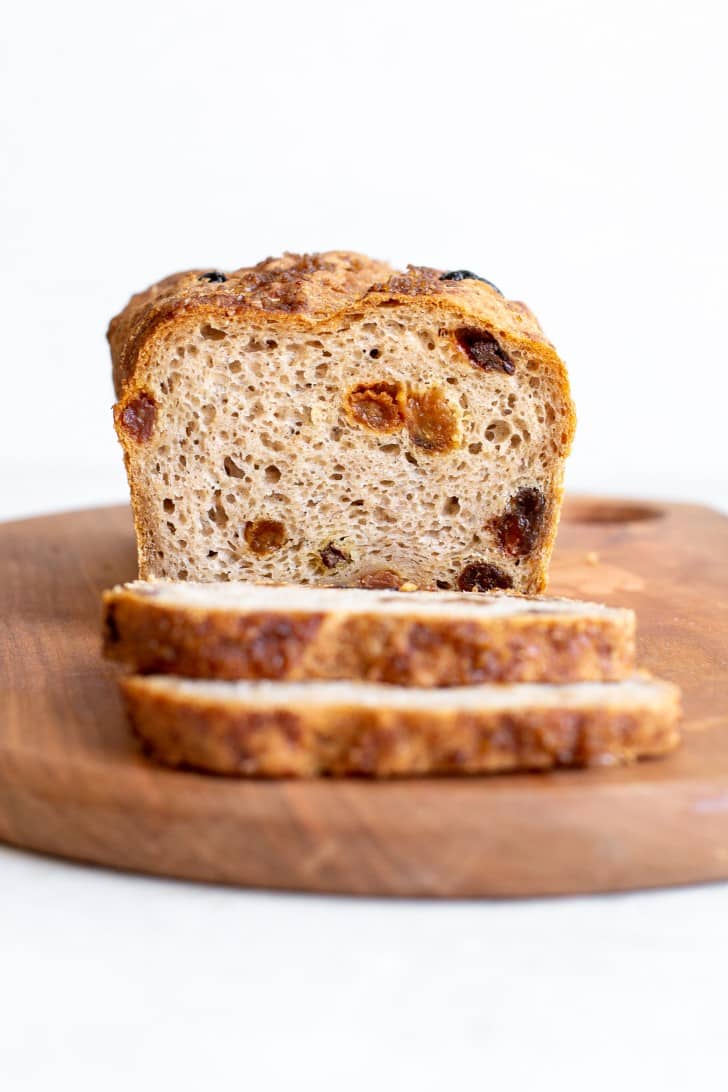
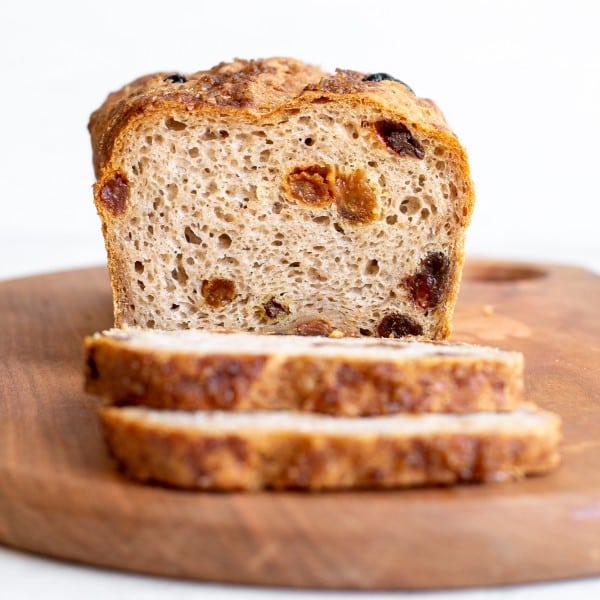
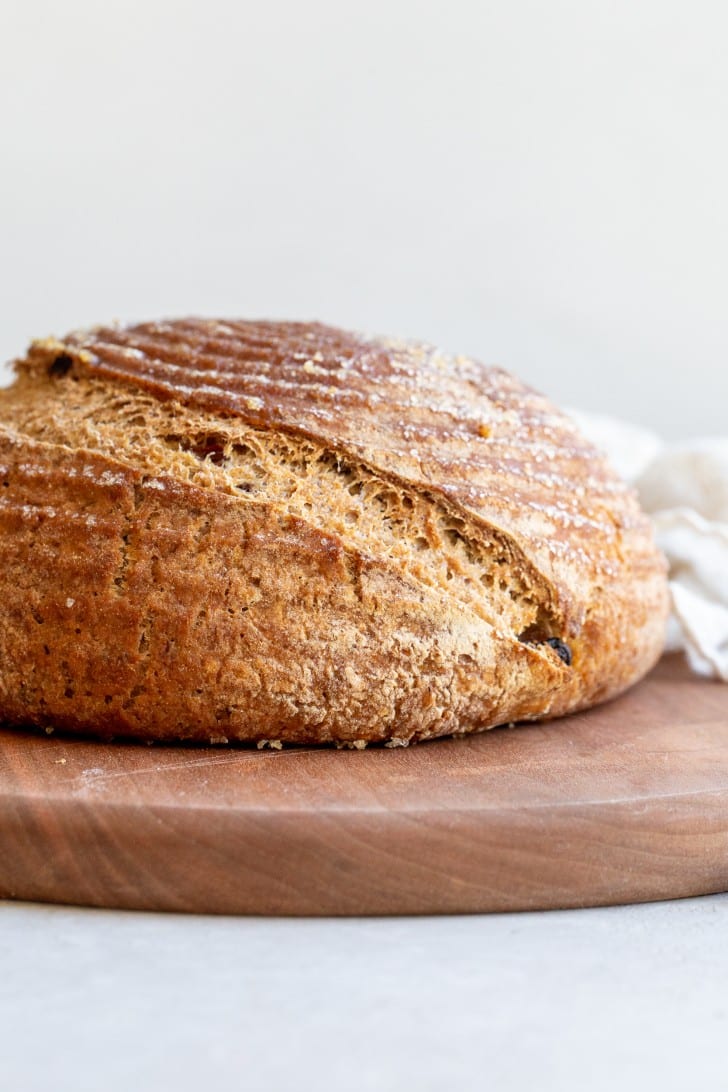
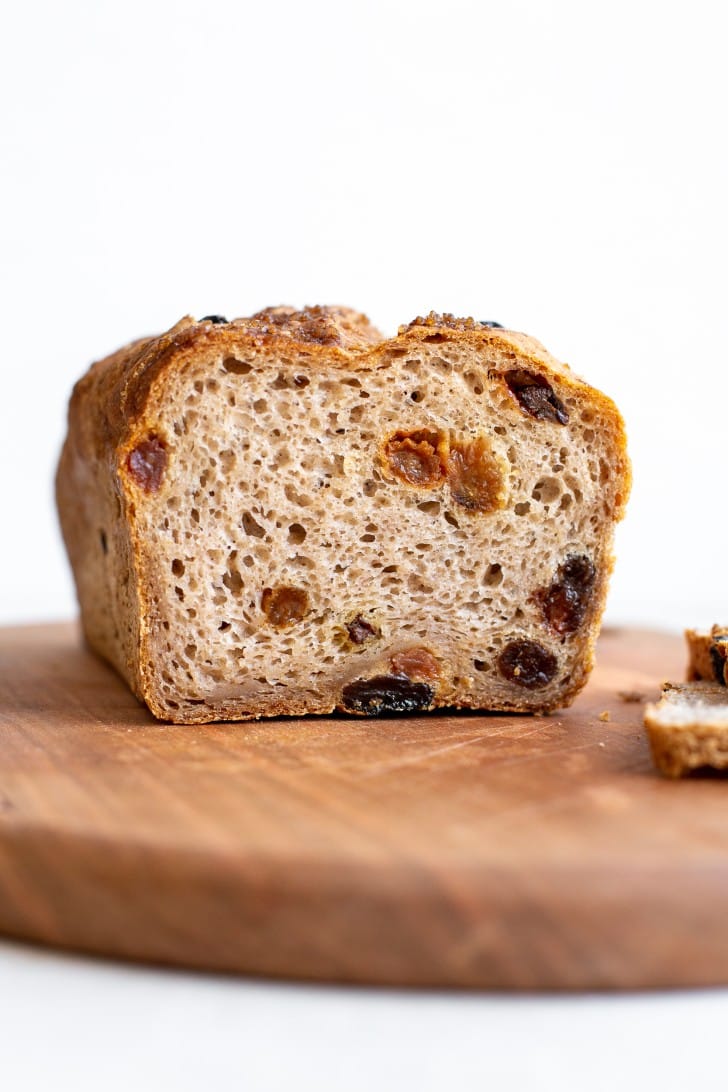
This is the best gluten-free raisin bread I have ever tasted, and I say that having tested it more times than I can count. Light, fluffy, fragrant with cinnamon, plump with raisins, and topped with a cinnamon sugar crust that shatters just slightly when you slice it. I am genuinely in love with this loaf, and once you make it, I think you will be too.
If you’ve been gluten-free for any amount of time, you know that cinnamon raisin bread is one of those things that’s hard to replace. The store-bought versions tend to be dense, gummy, or aggressively sweet. This loaf does. Slice it thick, toast it, add a little butter or almond butter, and you have something that tastes as if it came from a real bakery.
This gluten-free raisin bread is built on the same base as my homemade gluten-free bread, which is the most popular bread recipe on the site for good reason. From there, I added cinnamon throughout the dough, soaked raisins folded in just before shaping, and an optional cinnamon sugar topping that caramelizes beautifully in the oven. It also works as a sourdough if you prefer that route.
If you like this, you’ll definitely want to check out all of my gluten-free bread recipes!
A few things worth knowing upfront:
- Use a kitchen scale. This is non-negotiable for gluten-free bread. Volume measurements aren’t accurate enough with these flours, and the difference between a great loaf and a dense one often comes down to a few grams. A basic scale costs about $10 and will change the way you bake gluten-free.
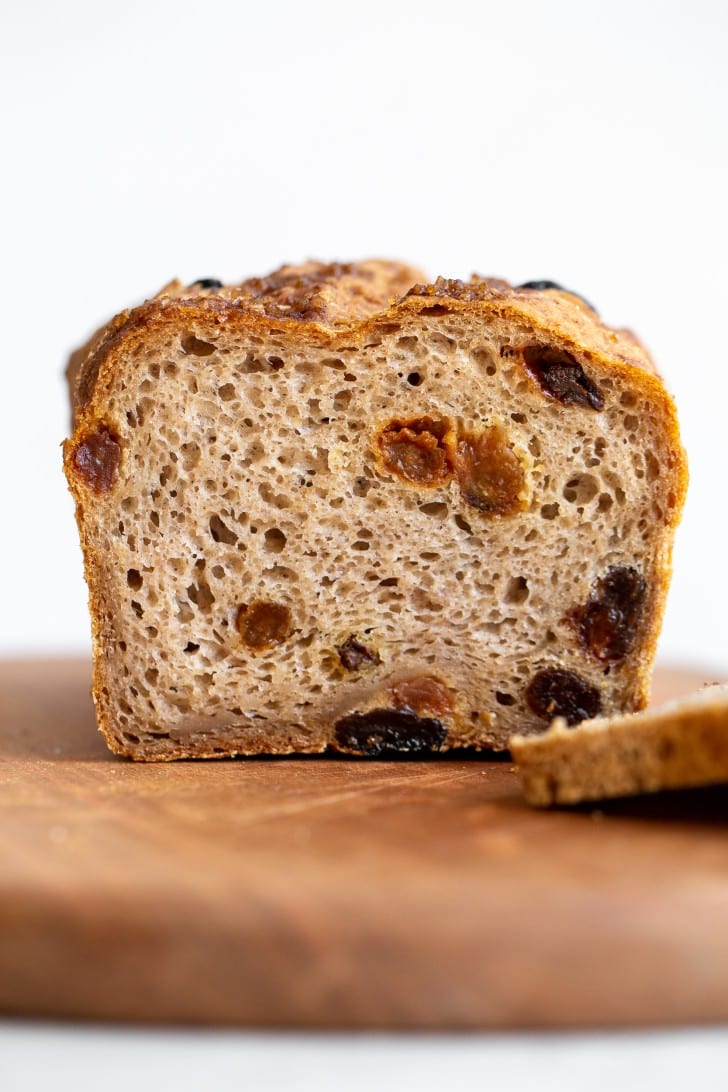
- Soak your raisins. Ten minutes in hot water before adding them to the dough makes them plump, soft, and much better distributed throughout the loaf.
- Don’t skip the cinnamon sugar topping. It’s technically optional, but it creates a beautiful golden, slightly sweet crust that makes every slice look and taste incredible.
- Cool completely before cutting. I know it’s the hardest part. But cutting into a warm loaf causes the interior to gum up. Give it at least four to five hours, or ideally overnight.
Which gluten-free flours should I use?
I don’t usually use store-bought flour blends in my recipes because they aren’t as consistent as blending your own flours. This takes a bit more work and a few more ingredients on hand, but I think the effort is worth it to have consistent results! The flours we use for this recipe are tapioca flour, potato starch, brown rice flour, sorghum flour, and millet flour.
This combination balances the starches and the whole-grain flours to make a bread that is both light and fluffy without being a pure white bread, since we get the added fiber and nutrients of the whole-grain flours.
If you would like to use a mix, I recommend using my homemade gluten-free bread flour blend. If you prefer a store-bought blend, I like this multi-flour blend from Vitacost. This blend uses very similar ingredients to the ones this recipe calls for, with no additives or gums.
Which yeast should I use for gluten-free bread?
For this cinnamon raisin bread recipe, we use active dry yeast. Make sure your yeast is gluten-free, as not all active dry yeasts are. I use this active dry yeast from Bob’s Red Mill. This yeast requires activation with warm water and sugar – we use maple syrup in this case! After mixing with warm water and maple syrup, the yeast should bubble and foam up in about 5 to 10 minutes. If you don’t see any activity, it’s possible your yeast was old, or the water was too hot or too cold (too hot will kill the yeast, too cold won’t activate it).
I have also tested this recipe with instant yeast. To use instant yeast: Substitute 1:1 by weight. Skip the activation step and add the instant yeast directly to your dry ingredients. Combine the warm water and maple syrup separately and add them when the recipe calls for the yeast mixture. Check the dough a little earlier during the first rise, as instant yeast works faster than active dry.
What is psyllium husk?
Psyllium is a form of fiber that is derived from the husks of plantain seeds 1. It has a lot of health and digestive benefits, but it’s the gelling, fiber-filled aspects of the plant that we’re after here!
Psyllium husk is our gluten for this bread: it provides the binding properties and elasticity that make the dough workable, allowing us to knead and shape it just like a traditional gluten dough. It gives the structure and support for the bread to rise, as well.
Substitutes for psyllium husk?
From my experiments: you need psyllium husk for good gluten-free sourdough bread. For my bread recipes, I wouldn’t try to replace it. Psyllium helps make the dough workable, so it doesn’t squish and stick all over the place. It’s also what makes your bread chewy and stretchy.
NOTE: Psyllium husk and psyllium husk powder are different. You want the full husk for this recipe and all of my other bread recipes. You can generally find it more easily anyway – I usually find it in the supplement area of most grocery stores. The powder is much more absorbent, and I haven’t tried it in my tests, but I’ve seen others mention that you can use 75% of the amount called for in psyllium husk, so for this recipe, we use 20g of psyllium husk. If you have powder, you’d want to use 15g.
How to make Gluten-Free Cinnamon Raisin Bread
- Activate the yeast in warm water, with some maple syrup to help give it a boost.
- Mix up the psyllium gel, which acts as our gluten in this recipe, and helps make the dough easy to work with.
- Combine all the flours and dry ingredients in a mixing bowl, then add in the activated yeast and psyllium gel. Mix in a stand mixer or by hand until a dough forms with no dry spots.
- Mix in the raisins and fold in until completely incorporated.
- Let the dough rise for 1 hour, then knock out the air, shape, and place in your loaf pan or banneton for the second rise.
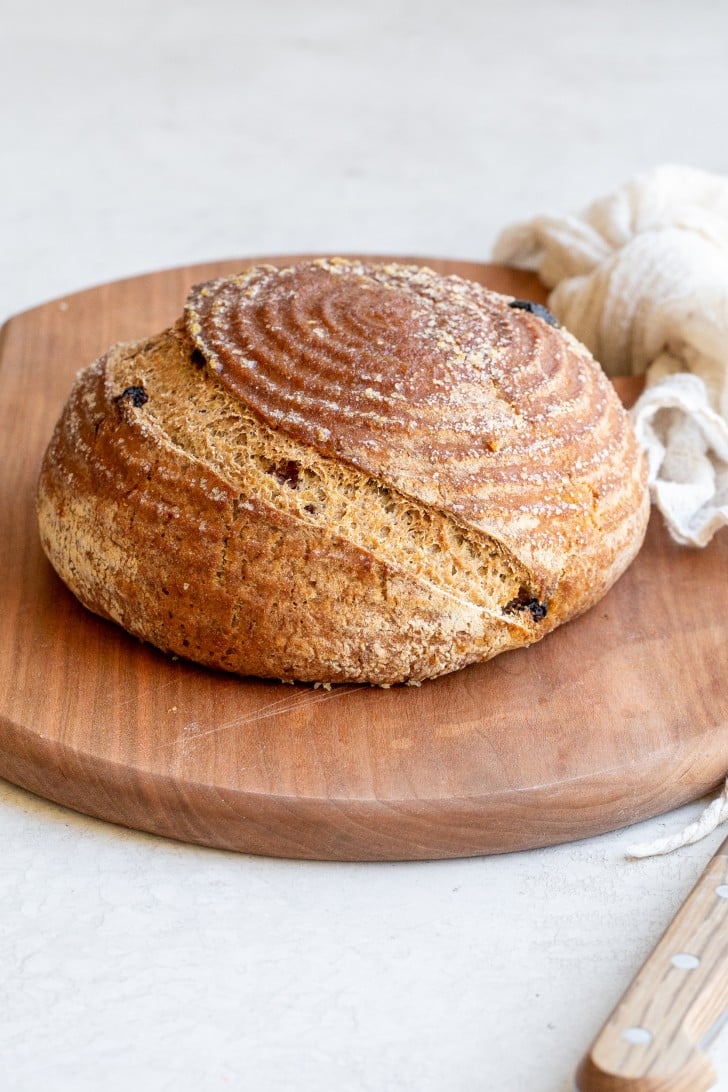
- Score and bake the bread until golden brown and delicious! If you’d like, you can coat the bread in cinnamon sugar before baking for a sweet topping.
- Cool completely before cutting into it – this will help prevent the bread from getting gummy! It’s definitely the hardest part.
Make Ahead & Storage
- Room temperature: Store in an airtight container or bread bag at room temperature for up to two days.
- Refrigerator: Keeps well in the fridge for up to one week. The texture may firm up slightly when cold, but it toasts beautifully straight from the fridge.
- Freezer: This bread freezes exceptionally well for up to three months. Slice the entire loaf before freezing and store slices in a zip-top freezer bag. Toast directly from frozen, no thawing needed.
Pro tip: If you plan to eat the loaf over more than two days, slice and freeze half of it right away while it’s fresh. Gluten-free bread stales faster than conventional bread, and freezing at peak freshness makes a big difference.
Want more delicious gluten-free bread?
- Homemade Gluten-Free Bread
- Easy Gluten-Free Pizza Crust
- Easy Gluten-Free Sourdough Focaccia
- The Best Gluten-Free Sourdough Pizza Crust
- Homemade Gluten-Free Bagels

Gluten-Free Cinnamon Raisin Bread
Ingredients
To activate the yeast
- 7 g (2.5 tsp) active dry yeast
- 100 g warm filtered water
- 40 g maple syrup, honey or cane sugar
For the loaf
- 20 g whole psyllium husk
- 355 g filtered water
- 480 g homemade gluten-free bread flour blend or, 80g potato starch, 60g tapioca flour or arrowroot flour, 125g sorghum flour, 125g brown rice flour and 90g millet flour
- 12 g sea salt
- 4 g cinnamon
- 55 g raisins, soaked in hot water for 10 minutes and then drained
Instructions
- In a small bowl, combine the yeast with the sweetener of your choice and warm water, between 100-110℉. It should feel warm, but not hot, to the touch. Let it sit to activate for about 10 to 15 minutes. You should notice it start to bubble, and then it will get nice and foamy on top.7 g (2.5 tsp) active dry yeast, 100 g warm filtered water, 40 g maple syrup
- In a bowl or liquid measuring cup, mix together the psyllium husk and water. Whisk together, breaking up the psyllium, and let it set for a few minutes until it’s thickened and gel-like.20 g whole psyllium husk, 355 g filtered water
- In a large mixing bowl or the bowl of your stand mixer, mix together all of your flours, starches, salt, and cinnamon. Whisk to combine.480 g homemade gluten-free bread flour blend or, 12 g sea salt, 4 g cinnamon
- Add the psyllium gel and the activated yeast mixture to your dry ingredients. If using a stand mixer, fit it with the dough hook and let it mix up the dough until combined and smooth, scraping down the sides a few times during the process, and flipping the dough around to make sure it’s fully mixed on the bottom too. You can also do this by hand. If doing it by hand, I like using a dough hook to get it mostly combined. Then, turn it out onto the countertop and use your hands to knead the rest of the flour in. Once it's mostly combined, mix in the raisins.55 g raisins
- Knead and shape it into your desired shape. Then, place it in the banneton (seam side up) – I like a 7" banneton, or a loaf pan (seam side down – mine was 8.5 x 4.5") for the proof.
- Cover with a tea towel and let the loaf rise for one hour in a warm place. It should just about double in size again. Preheat the oven to 425℉ while the Dutch oven rises, if using.
- Once it’s risen, score the bread (carefully flipping it out of the banneton onto parchment or a silicone sling if baking in a Dutch oven). If you’re baking in a loaf pan, you may want to brush the top with oil to get a nice golden crust. You can also sprinkle with cinnamon sugar, if desired. It makes a delicious sugary crust!
- Place into your baking vessel if using a Dutch oven. If using a loaf pan, just place right into the oven. Bake for 1 hour and 15 minutes, removing the lid for the last 15 minutes if baking in a Dutch oven. It should be golden brown and crusty.
- Remove from the baking pan and set on a cooling rack to cool completely. This is definitely the hardest part, but you really need to let the loaf cool completely so the inside can set. I try to let it cool overnight, but you’ll want to let it cool for at least four to five hours. It should be fully cool to the touch before cutting into your loaf.
- Slice and eat. This bread is great raw, toasted, or however else you want to enjoy it!
Notes
Make Ahead & Storage
- Room temperature: Store in an airtight container or bread bag at room temperature for up to two days.
- Refrigerator: Keeps well in the fridge for up to one week. The texture may firm up slightly when cold, but it toasts beautifully straight from the fridge.
- Freezer: This bread freezes exceptionally well for up to three months. Slice the entire loaf before freezing and store slices in a zip-top freezer bag. Toast directly from frozen, no thawing needed.

This looks delicious! Is there a substitute for the Millet flour? We have an allergy. Many thanks for sharing!
If I wanted to use eggs instead of psyllium husk, how many would you use? We have an abundance of egg layers at our house an no egg allergy..
Hi Jessica, unfortunately, psyllium and eggs are substitutes for one another, and adding eggs would throw off the liquid ratio in the recipe. Psyllium makes the dough workable similar to a gluten dough, and eggs would make the dough thinner and more sticky. I recommend sticking with the psyllium for this recipe!
You mentioned we could make it as a sourdough. With the discard or fresh aged appropriately? Please explain
Thanks
Hi Shari, you’d want to use my sourdough recipe, increase maple syrup by 20g, reduce water by 20g, and add in the cinnamon and raisins as stated in this recipe.
What size of pan or banneton do you recommend ? Looks delish !
I used an 8.5×4.5″ loaf pan for this, and would recommend a 7″ banneton for a round loaf!
Made this today and everybody loves it!! I think next time I’ll experiment with even more raisins! Also, I was so happy to see you soak your raisins too, it really makes a difference in baked goods! I made this in the 1lb Pullman Loaf pan with the lid for the first hour and removed the lid for the last 15 min. I wasn’t sure if I should score it in the loaf pan, so I did it anyway and did a little light olive oil on the top. Next time I’d probably leave off the olive oil altogether to see which we like better. I may even consider attempting a cinnamon swirl of some kind before the second rise, as it was very workable at that point! Thank you so much, this recipe is a winner!
So glad you’re loving it, Tina!! You’re so right that I forgot to say to score the bread – thanks for pointing that out! And more raisins are always welcome :D
Hi! I would love to make this but I can’t eat rice and anything made from it. Do you think there is anything or two things that could replace the rice flour? Thank you!
Hi Alene! Yes, absolutely – you can replace the rice flour with oat flour, millet flour, or even more sorghum flour. You’ll just want to make sure the combination of grain flours totals 340g. Enjoy!
Thank you so much! Making it asap and will let you know.
Please how do I convert these measurments
It’s much more efficient to bake gluten-free bread with weight measurements than with cup measures! I recommend getting a scale if you’ll be making gluten-free bread with any kind of regularity. You can find them for around $10 on Amazon or at Walmart/Target. And you’ll dirty a lot fewer measuring cups/spoons :) you can convert the measurements online, but I definitely recommend a scale for the best results.
I really enjoyed this recipe! Haven’t had cinnamon-raisin bread in so long since going gluten-free, so this is definitely worth making. Thanks for another great bread recipe :)
So glad you enjoyed it!! Thanks for the feedback :)
Have you substituted the VitaCost gluten free flour mix for all the flour in this recipe? If not, do you think there is a good chance it would work? Thanks!
Yes, I believe I did test this one with that mix – that mix is great and has worked for just about all the recipes I’ve tested with it as I remember! :)
This bread looks good and I’d like to try the recipe, but I would prefer having directions as to how much of each ingredient (cups, Tablespoons,
teaspoons, etc.) because I don’t know how to convert them. Thanks.
Hi Andrea, I’d recommend getting a kitchen scale if you’re going to be baking gluten-free bread with any regularity. You can find them for about $10 and will provide much more accurate results. I never use volume measurements for these recipes so if I were to give them, they’d be untested and not super accurate.