S’mores Fudge
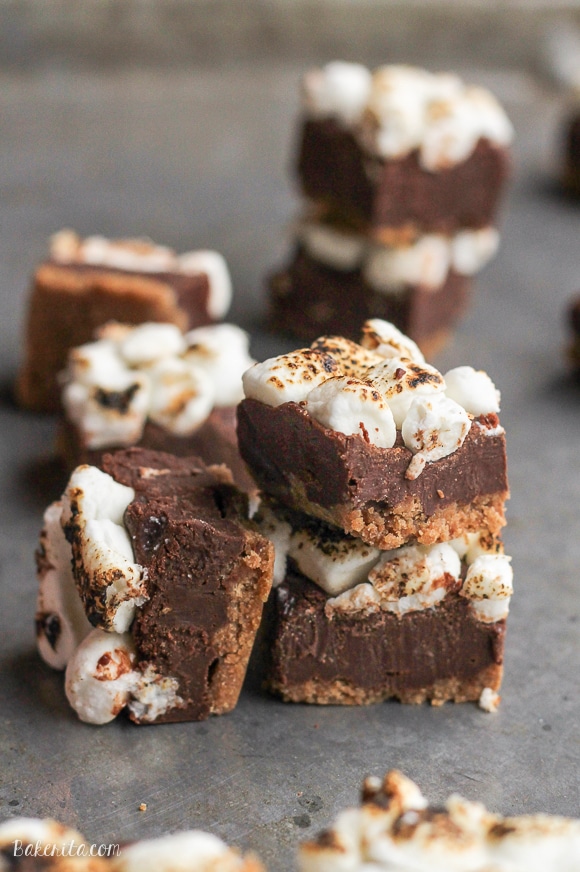
This S’mores Fudge only takes 15 minutes and six ingredients to prep – no baking required! This quick and easy fudge recipe is a no-mess way to enjoy s’mores.
Weather in Seattle has not been my friend recently. When I first moved into my apartment I was stoked on my light situation – a living room with an entire glass wall that gets direct light for half the day? Yes, please! In the summer, I struggled with having too much light. I would be blinded by the sun in my eyes as I stood inside taking photos.
Oh, how I miss those days. They are so long gone. Back in summer, I could be taking photos until 5 or 6 PM…now, the light is totally gone for the day by 4 PM at the latest – but that’s not the main problem. The wall of windows that used to let in tons of light now barely lets in any, but that’s cause there is none, except for the occasional hour where the sun will break through the clouds to grace us with it’s presence.
But, a food bloggers got to do what a food bloggers got to do, so for the past few months I’ve moved my photography operation outside to be able to take advantage of the natural light . I bundle up with my fuzziest jacket and fluffiest scarf and battle against the cold for a drool-worthy dessert photo, and for the most part, my photoshoots have been uneventful besides a confused neighbor or two.
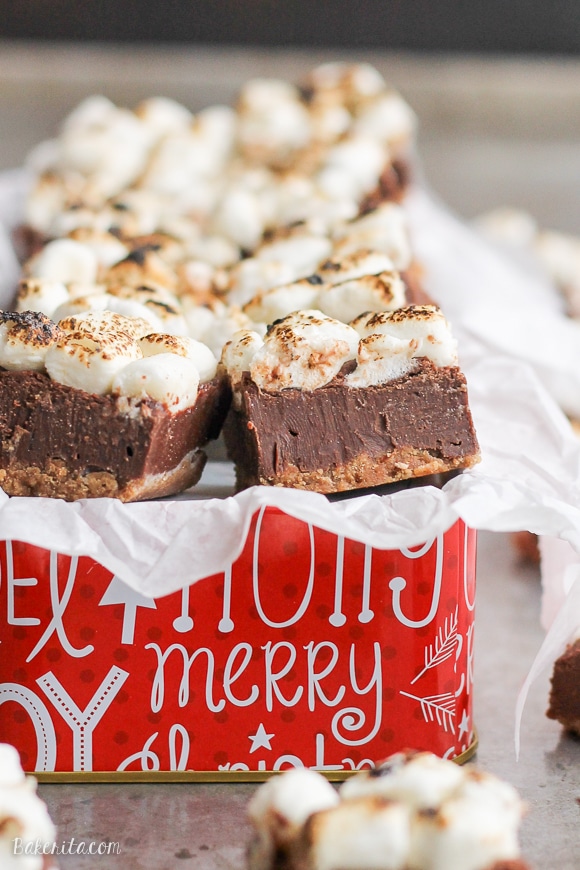
The photoshoot for this s’mores fudge was a bit more eventful then most. I like to photograph things when they’re as fresh as possible, so I toasted the marshmallows on top of the fudge and sliced it up to photograph. After styling on the tray, I headed outside to shoot.
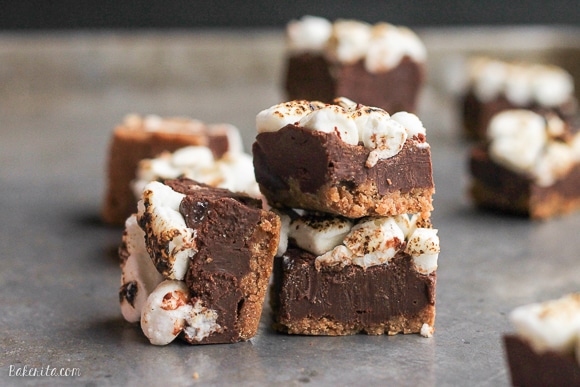
What I didn’t realize was that it was POURING rain. I shoot on a covered patio so I can deal with a little bit of rain, but instead I was getting sideways rain, soaking the tissue paper and getting all over my freshly cut fudge which should be DRY. I pushed the table into the corner as far from the rain as possible, cleaned up as best as possible and set up a makeshift rain shield which somehow managed to block the rain and not the light.
Let’s just say, this shoot was probably one of the quickest I’ve ever done but felt like one of the longest. It was a battle of fudge vs. the elements, and I’d say fudge won. Because doesn’t fudge always win? Especially when it’s s’mores flavored.
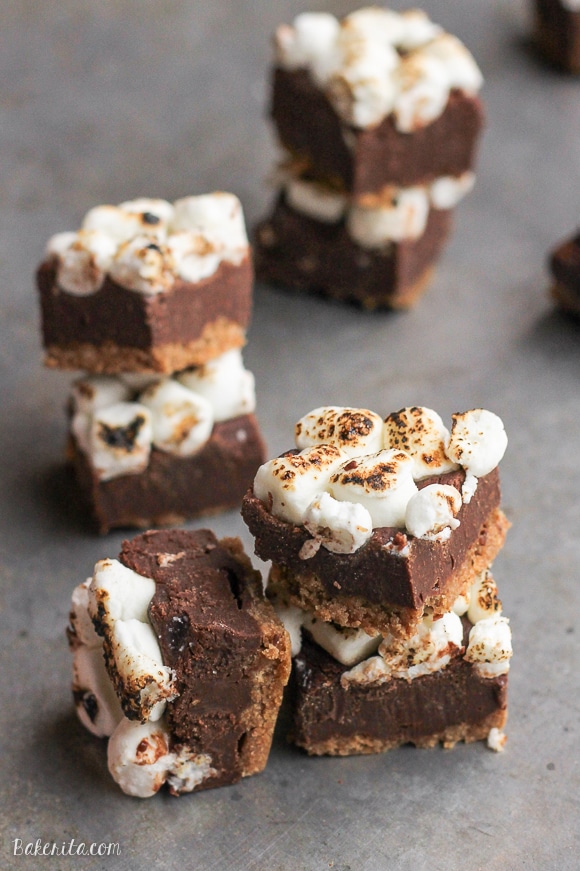
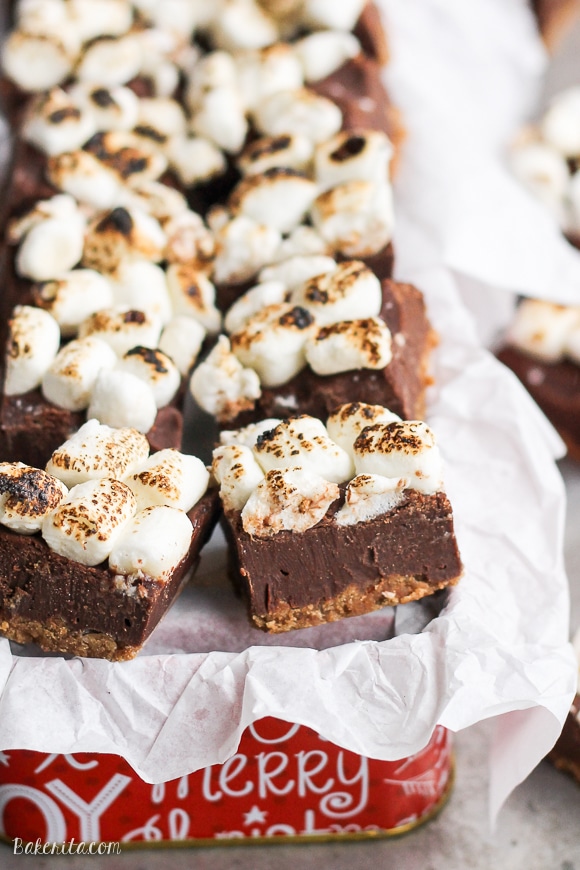
This fudge is a super easy recipe – the fudge itself only requires three ingredients. A quick graham cracker crust and toasted marshmallows on top make this classic summer treat come to life as a portable winter dessert that’s perfect as a holiday gift.
The toasted marshmallows are a must – I used a handheld torch, but if you don’t have one, you can toast the marshmallows under the broiler for a minute or until they’re golden brown. So scrumptious! This recipe makes a seriously big batch of fudge (64 pieces) so plan on giving some out to your favorite family and friends.
Want more s’mores recipes?
Print
S’mores Fudge
- Prep Time: 15 minutes
- Cook Time: 3 minutes
- Total Time: 18 minutes
- Yield: 64 pieces 1x
- Category: Dessert
- Method: No-Bake
- Cuisine: American
- Diet: Vegetarian
Description
This S’mores Fudge only takes 15 minutes and six ingredients to prep – no baking required! This quick and easy fudge recipe is a no-mess way to enjoy s’mores.
Ingredients
For the graham cracker crust
- 2 cups graham cracker crumbs
- ½ cup unsalted butter, melted
For the fudge
- 3 cups semi-sweet chocolate chips
- 1 (14 oz) can sweetened condensed milk
- ¼ cup unsalted butter
- 2 cups mini marshmallows
Instructions
- Line a 9×13″ pan with parchment paper and grease lightly.
- In a bowl, stir together graham cracker crumbs and melted butter. Press evenly into the prepared pan. As is, the crust can be crumbly. If you want a firmer crust, bake for 8 minutes at 350ºF. Let cool while you prepare the fudge.
- Over low-medium heat in a medium saucepan, combine butter, sweetened condensed milk, and chocolate chips. Stir frequently until the mixture is completely melted and smooth, about 3-5 minutes. Remove from heat.
- Pour mixture into a prepared pan. Spread evenly. Sprinkle mini marshmallows on top and press down slightly into the fudge so they stay put. Using a kitchen torch, toast the marshmallows. Alternatively, you can put the pan under your over broiler for about 1 minute or until golden brown – watch carefully.
- Refrigerate until set before cutting into 64 pieces. Store in the refrigerator for up to two weeks.
Keywords: s’mores fudge


Oh no! Sorry you had so much trouble. I know what it’s like to struggle with the light issue. I live in a small place that hardly lets in any light. The struggle is real! On another note, THIS fudge looks absolutely sinful and perfect for gifts for this time of year!
I like your perseverance, it is inspiring, and I think you are the best Bakerita ever.
I am totally in the same position with the light issue. Definitely wishing it was Spring/Summer still around here. Your photos came out great anyways! And this fudge looks heavenly!
Aaw I miss the sunlight too :( It’s practically dark by 3:30 here. Love your photos though! S’mores + fudge sounds like the best thing ever! Looks so decadent and delicious!
★★★★★
This fudge is seriously unreal- those marshmallows on top?? Wow! Pinning!
haha our UPS guy thinks i’m mad – I take photos right where you can see in the front door – I get the strangest looks!
But this fudge! Sounds fantastic!
This fudge looks INCREDIBLE! Oh and I hear you about the lighting situation. We just moved house and adjusting to the lighting is so annoying! And then all of a sudden the seasons change and all the timing for the best light is different again. Your photos look fantastic though!
Despite you light issue you photos are beautiful and this recipe looks delicious!! My mouth began to water just by reading the name of the title…i definitely want to try this recipe!
For someone who had so much trouble, your pictures are absolutely gorgeous! As a s’smores lover, my best friend would go nuts over a huge box of this.
I hear your pain!! My problem is not being able to eat the food whilst waiting for that perfect light.
Haha always a struggle!!
Gosh! I miss the light too! I know what you mean about confused neighbors and your rain story is hilarious! Love the fudge and I’m glad it didn’t melt in the rain!
Haha so am I!! Thanks, Rachelle :)
I feel like my lighting here is bad enough in CA, but it must be even harder in Seattle where it rains so much more. I’d never know you had lighting difficulties by the looks of any of your photos! This fudge looks so sinful and delicious, Rachel!
Haha, I’m totally not brave enough to shoot outside! I bet you needed a slice or two of this fudge afterwards to reward yourself!
It’s been an adventure for sure, haha! Thanks, Ashley.
WHOA! These pictures still look amazing, even with all that lighting drama!! Seriously…s’mores fudge…BE STILL MY HEART!
★★★★★
I am totally feeling your dark days in Seattle pain. SO. DARK. But you are right, this fudge totally wins! S’mores fudge? With toasted marshmallows?? Yes, that wins, and I think it was even worth doing out in the rain for a photoshoot :)
★★★★★
I’m on a total s’mores kick! This past weekend we had our annual cookie party and my husband and I made s’mores cookie cups…that was before i saw this awesome recipe! I seriously cannot wit to make this, it sounds delish!!
I’m so glad you saved this fudge from the rain, Rachel! ;) I love the way your photos turned out! S’mores sounds like the perfect fudge flavor!
OMG that reminds me so much of the Auckland winter – the drizzly, grey rain and early sunsets.. makes it so much harder to photograph (luckily we are now in summer so not such an issue haha!) You are doing amazingly well though, I would never have known that you haven’t had ideal lighting conditions. AND this fudge looks gorgeous, I love the layers and textures! x
And when fudge wins….we win!!!! These look amazing! And thank you for roughing the elements to get us this glorious recipe! Loved your post! :)
★★★★★
Finding light is the hardest in the winter! I feel like I’m out of luck after 2pm here. This fudge looks amazing, Rachel! I love how easy this is to whip up!
I so know how you feel! I don’t have great light to start with but I have to be totally finished by 3 or I am just out of luck! I miss the Summer sun!
That is some dedication! I feel the loss of light as well, although probably not as much as you in Seattle. It’s so changeable where I am. Once second the light is glaring and the next, I can’t even get close to a good exposure. But your hard work paid off, these look delicious!
These looked so good I had to make them. (being stuck inside in the Seattle rain, it gave me an excuse for a Holiday treat. I followed the recipe exactly and had problems with the graham cracker crust, it didn’t stick together. Would you suggest adding in more butter or sugar?
Never the less even with the crumbling crust… everyone has loved them so far!
★★★★
Hi there! Actually to make the crust less crumbly, the best thing to do is bake it! I’ll add some alternate instructions in case other people want to do this too, but baking the crust at 350 for about 6-8 minutes in the oven will make it much less crumbly. Glad you’re enjoying them regardless!
Perfect… thank you so much!
★★★★★
I know it’s been a bit since you posted this recipe, but how long does the fudge last if it’s frozen? Would it thaw and still taste as amazing as it does normally? Thank you!
★★★★★
Hi Elli, I never tried freezing this fudge so I’m not exactly sure, but it should freeze and defrost just fine with no ill effects :)
I’m not sure if you’re still checking this blog post regarding the S’Mores fudge, but I have a question. My daughter was trying to prepare this, and she couldn’t get the fudge to “stick” to the graham cracker crust – when she cut it out of the pan, the fudge separated from the crust. Is there a trick to getting the two layers to stay together? Thank you!
★★★★★
Hi A, how odd! I didn’t have that issue with the fudge. You could try tapping the pan hard against the counter a few times after pouring the fudge on, this should help it sort of settle into/onto the crust better. Hope this helps, and that you guys are enjoying the fudge regardless!
Wow! This stuff is amazing! Perfect amount of sweet and a little squish and a little crunch! I am making this ever year for the rest of my life! Do you think lays potato chips, the plain kind would work in a fudge! I’m craving some salty with my sweet?
★★★★★
So so glad you’re loving it, Sandra! Potato chips would probably be fabulous – I’d recommend either a crust of them on the bottom, or crushed and sprinkled on top. They’d probably get soft after not long if mixed in.
Many of us are baking for friends and bazaars etc. It would be so helpful if everyone would put storage info in their instructions. For example, does the s’mores candy need to be refrigerated? Thank you
★★★★★
Hi Carol, I added a note to the recipe – this fudge is best stored in the fridge!
Hey! How long do you think it will take to set in the refrigerator? I have a Friendsgiving coming up and I’m trying to time everything out. Thank you for your recipe! Looks delicious!
★★★★★
Hi Grace, I’d give it at least four hours to make sure it’s fully set.