Vegan Creamy Cheesecake (NO Soaked Cashews)
This Easy No-Bake Vegan Creamy Cheesecake can be prepped in a few minutes, with NO soaking or blending cashews! We use nut butter to create a simple, delicious no-bake vegan cake that can be easily made cashew-free by using your favorite nut or seed butter. Gluten-free & paleo!
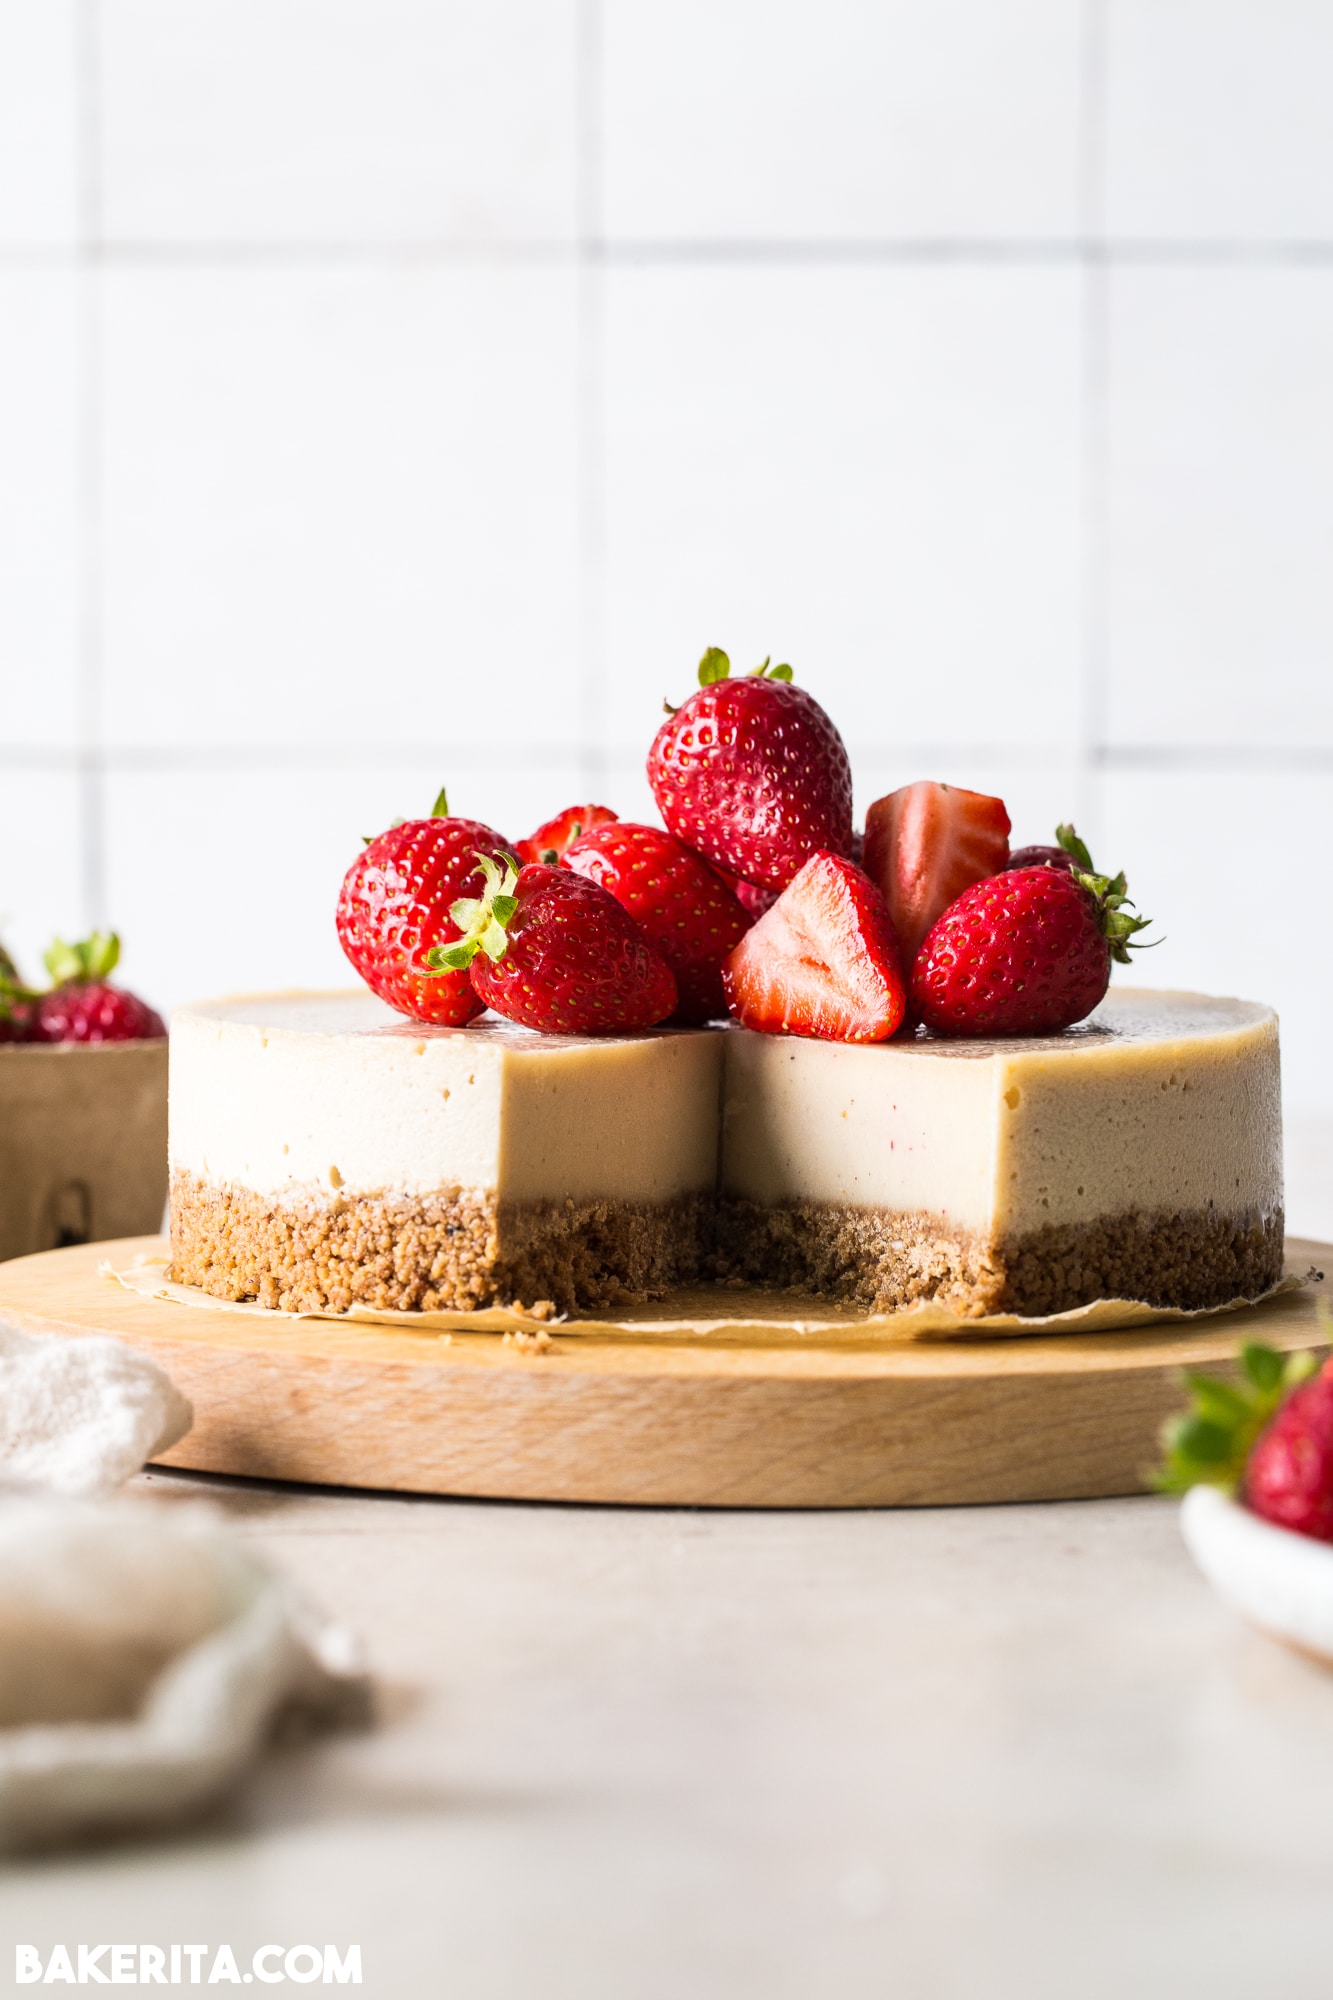
I’m a major lover of cashew-based vegan cheesecakes. They’re a fabulous way for us vegans or dairy-free folks to have delicious cheesecakes, without all of the cream cheese. I have so many favorite cashew cheesecakes in my best-selling cookbook, Bakerita.
But cashew cheesecakes do have their own annoyances. Namely, soaking and blending the cashews. It requires forethought. And since cashew cheesecakes also need some time to set in the fridge or freezer, the presoak can make it a long while from when you start preparing to when you finish and are ready to eat.
Luckily, we’ve solved that issue here. Instead of soaking and blending cashews, we have a new creamy cheesecake hero: nut butters!
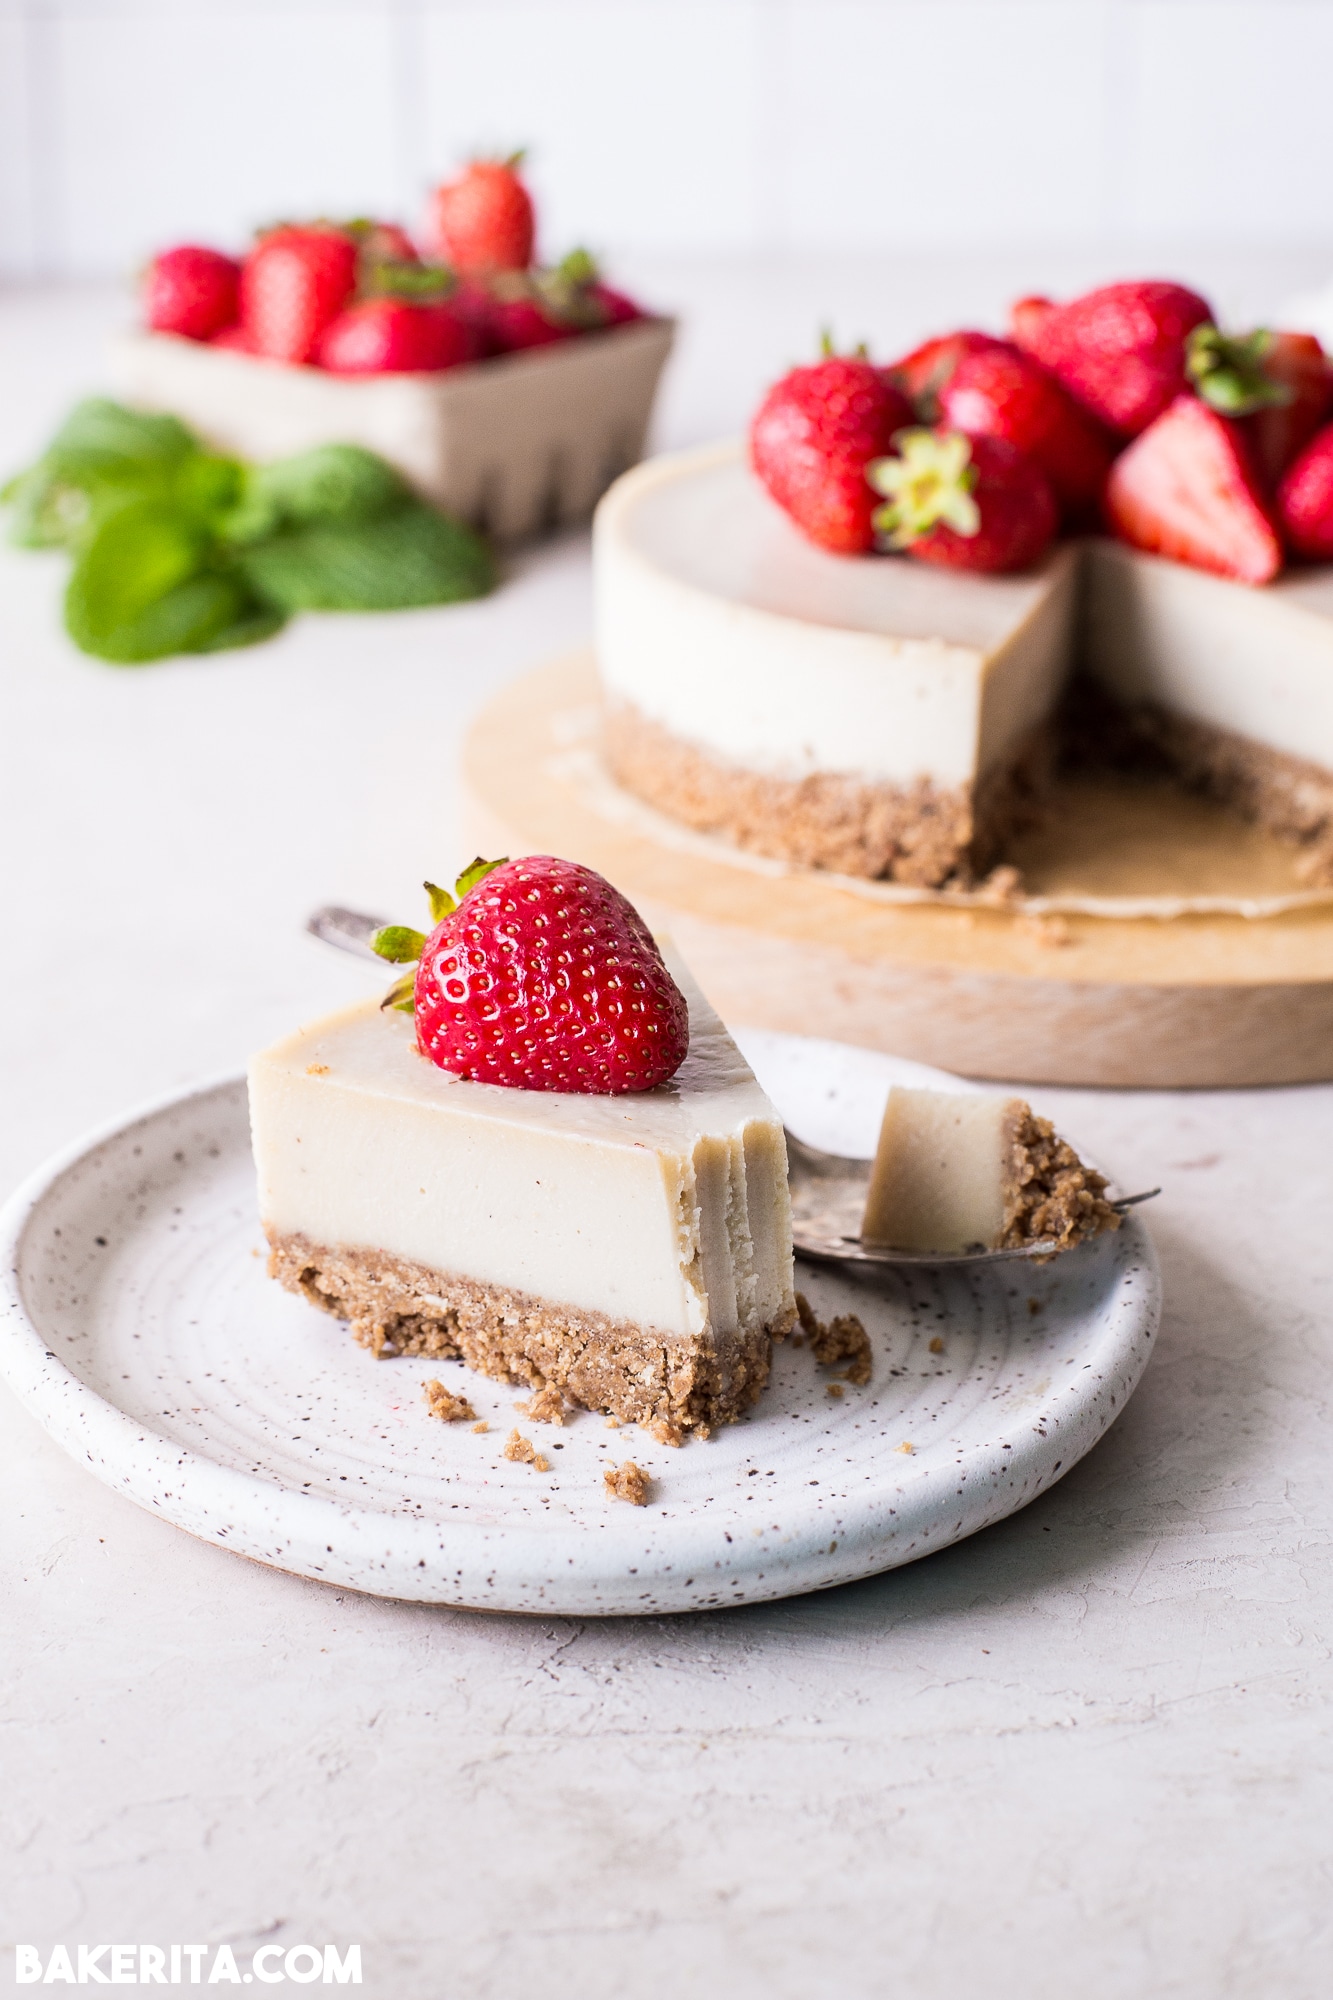
Why use nut butter instead of soaked cashews?
The primary reasons are ease of use and flexibility. The nut butter instead of the cashews make for a super smooth and creamy cheesecake that is hard to achieve with soaked cashews if you don’t have the right blender.
- You don’t need the forethought of presoaking the cashews.
- No need for a high-powered blender to make the cheesecake.
- You can vary the flavor by using your favorite nut butter, instead of cashews being the only option.
- Make it nut-free by using sunflower seed butter or pumpkin seed butter!
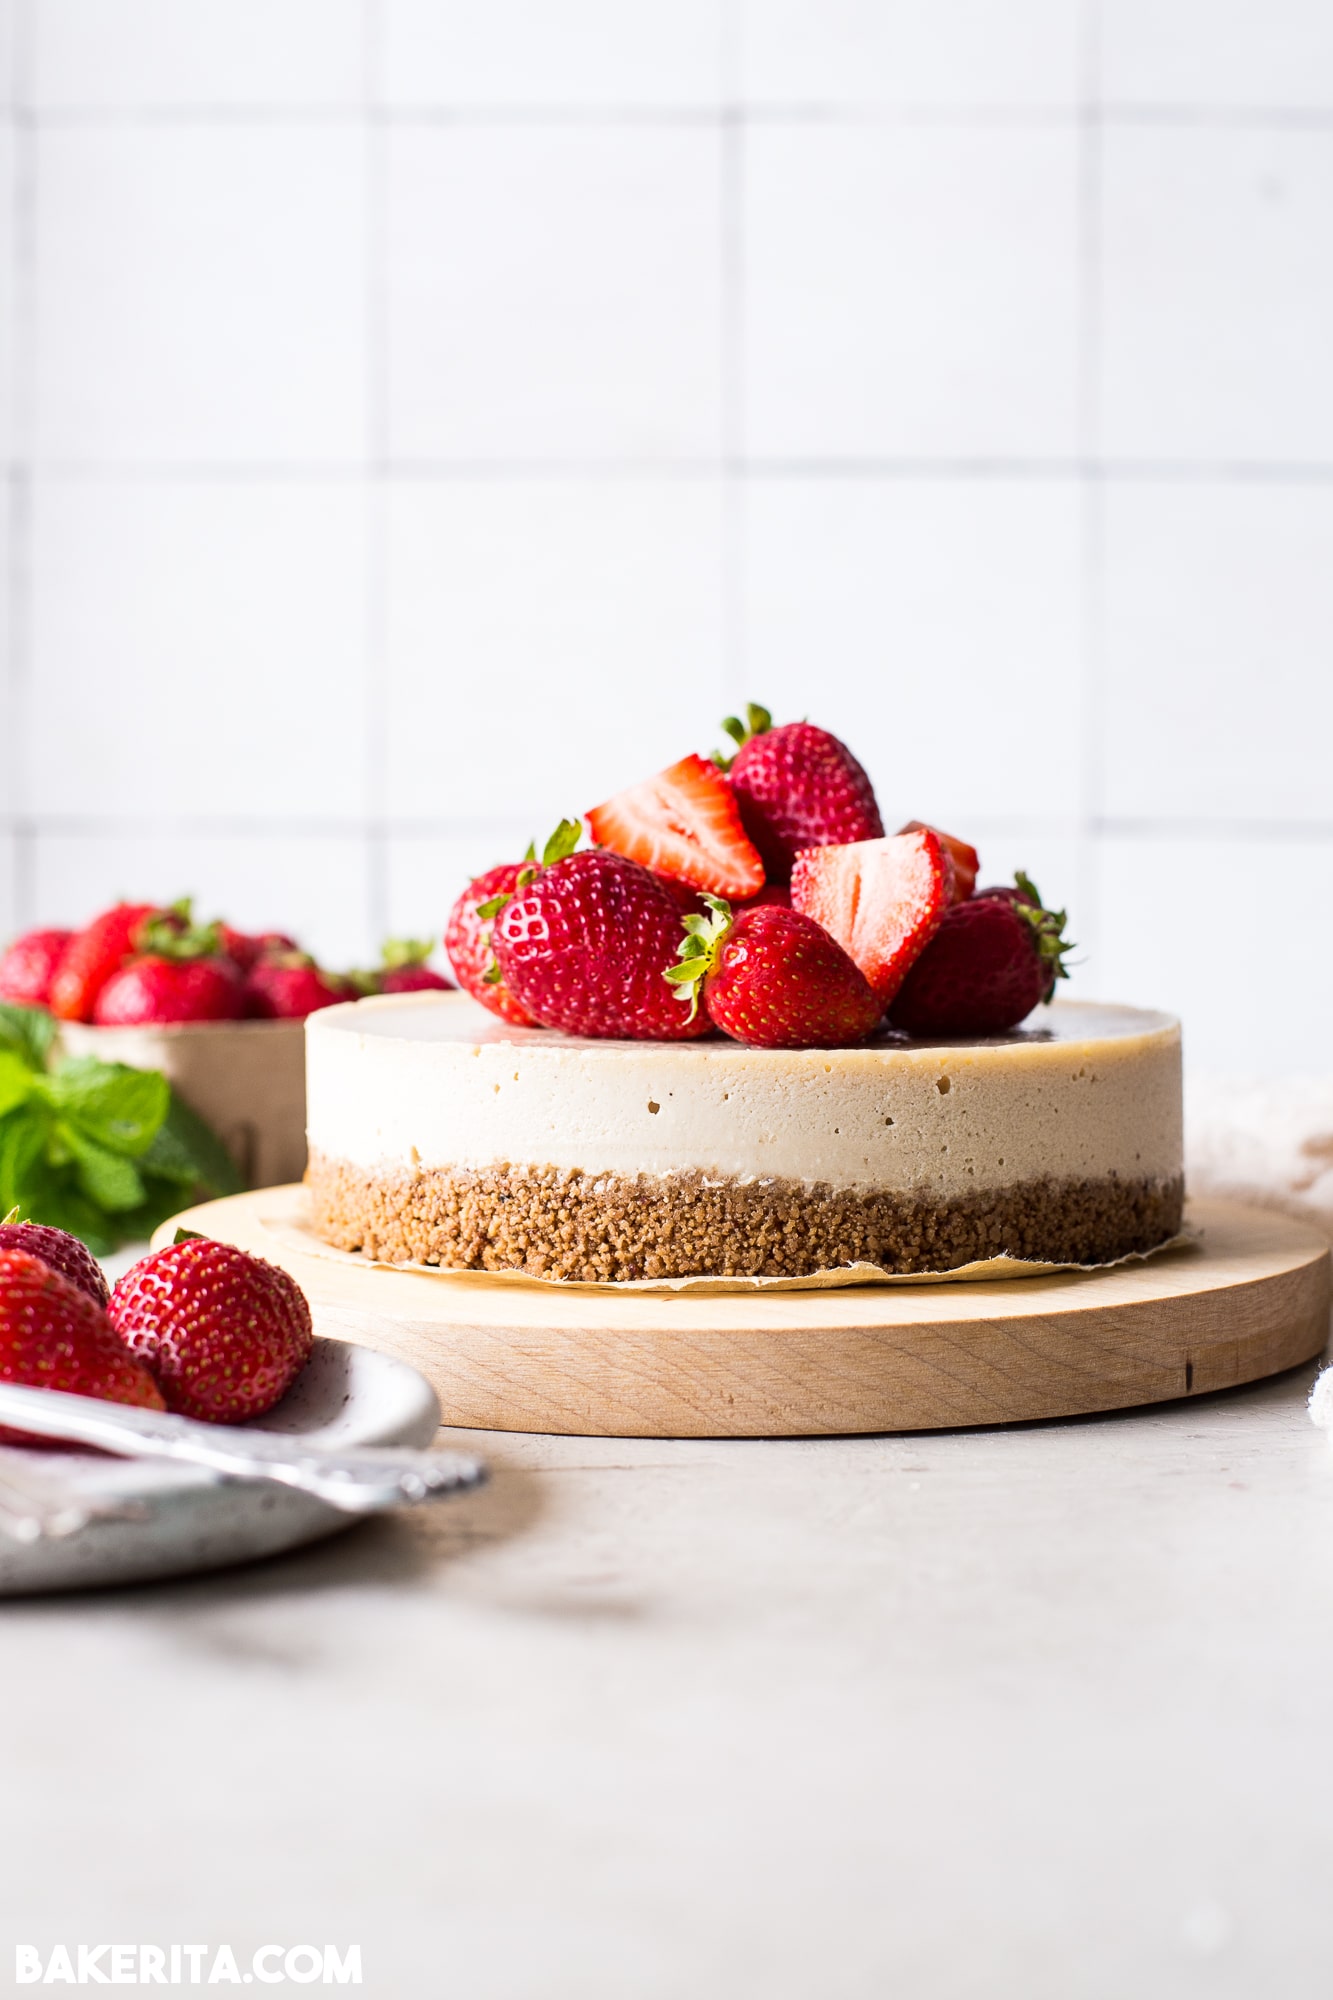
Let’s make the most creamy cheesecake! Here’s what you’ll need:
- Cashew Butter or another favorite nut or seed butter
- Full-Fat Coconut Milk
- Maple Syrup or your favorite liquid sweetener
- Coconut Oil helps firm up the cheesecake, so don’t replace it with another oil. Use refined coconut oil to remove the coconut flavor. You can also use melted cacao butter.
- Lemon Juice: half the amount of apple cider works as well.
- Vanilla Extract & Salt
For the crust, I kept it simple with a crunchy cookie + coconut oil crust. You can see the full crust and filling recipe in the recipe card below!
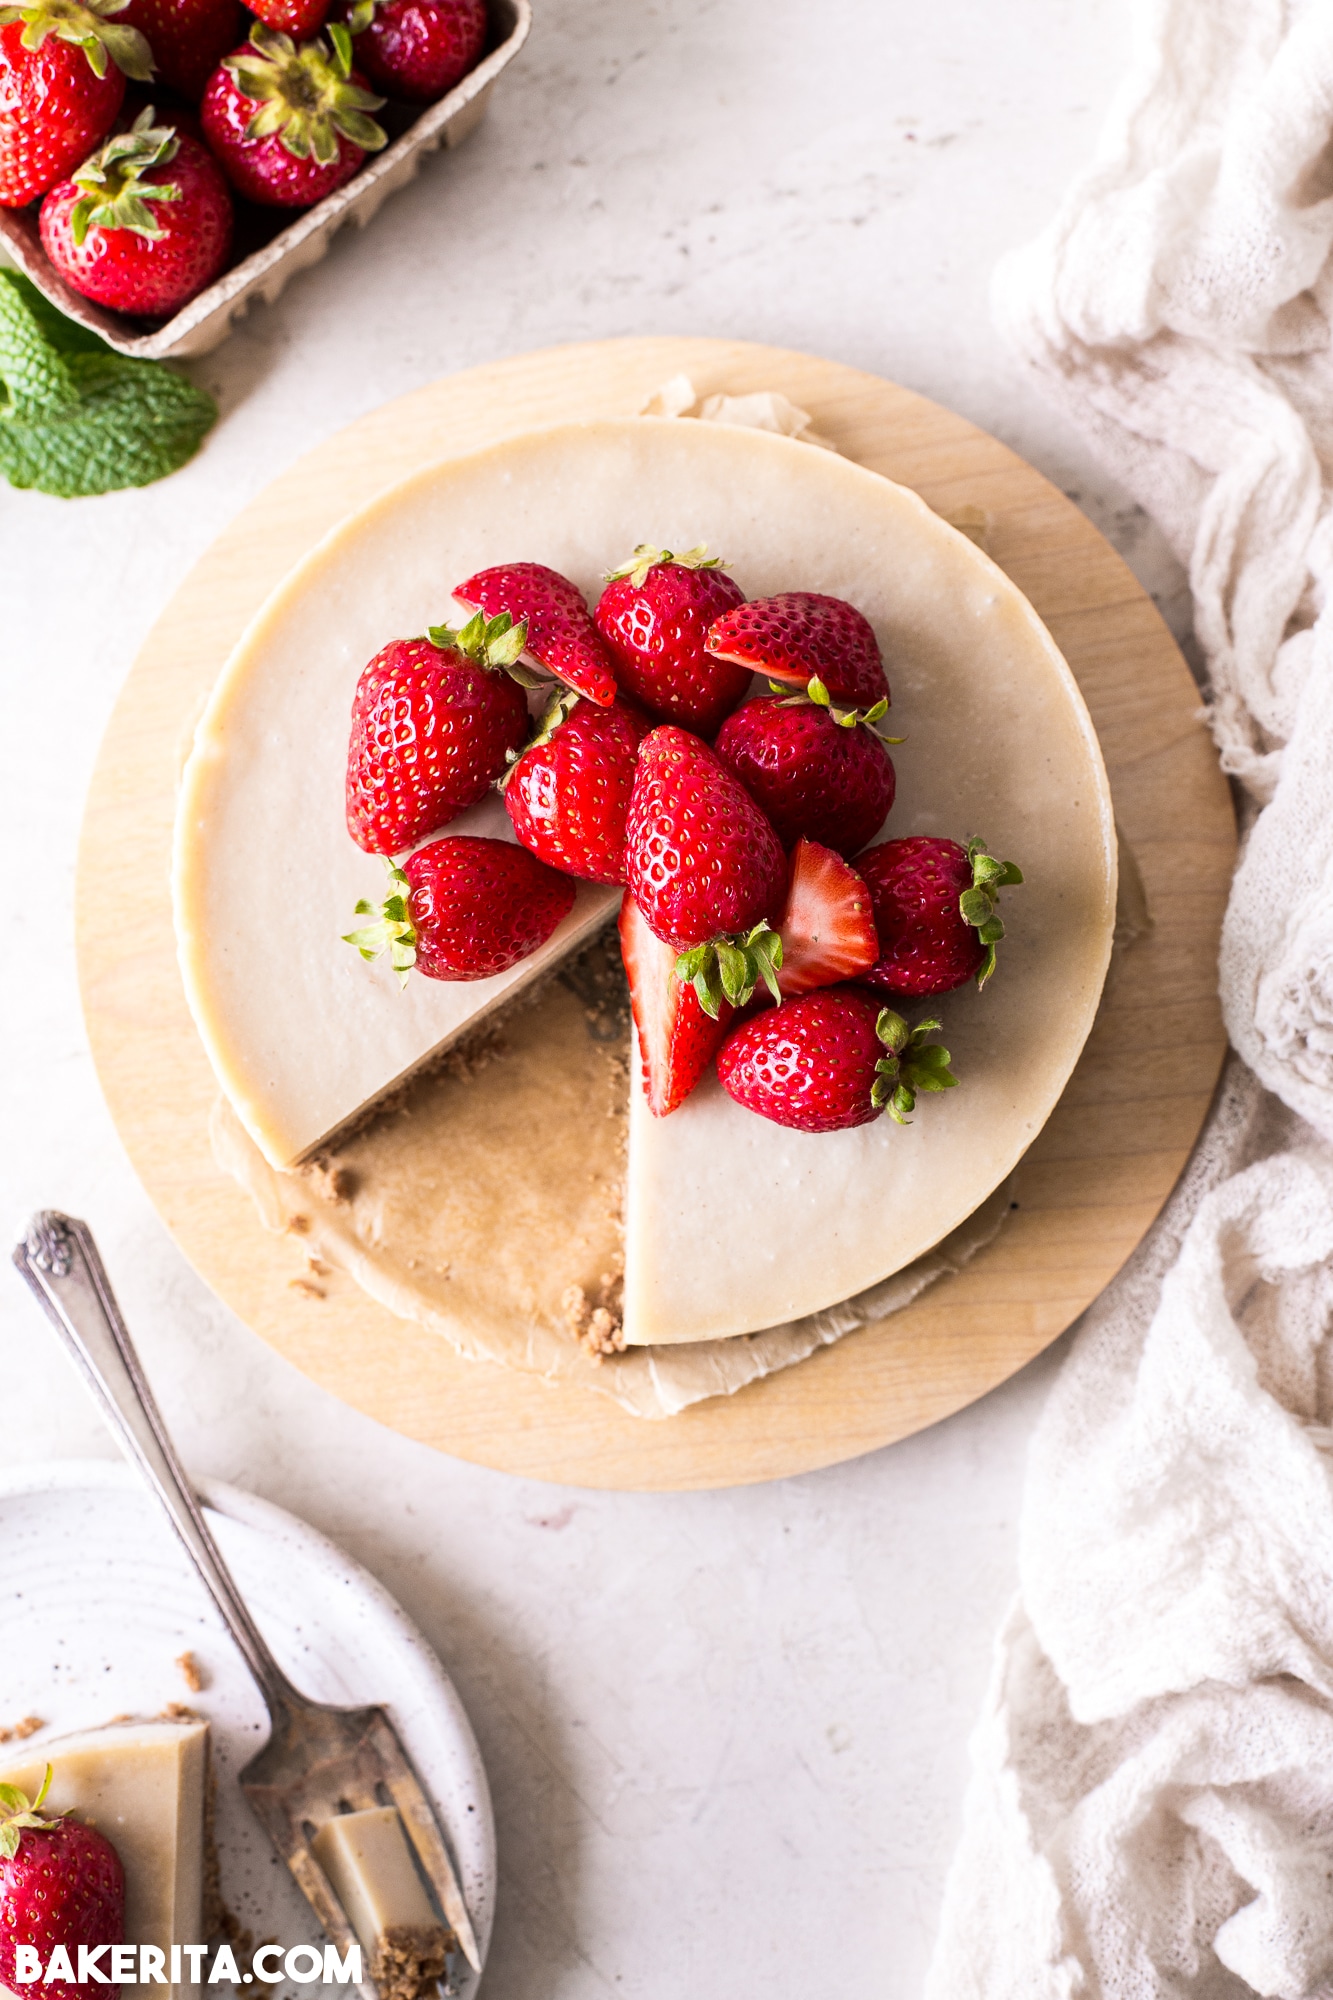
Here’s how to make this easy vegan cheesecake:
- First, prepare the crust and press into the bottom of your 6″ springform pan. Set aside.
- In a large mixing bowl, blender, or food processor, combine all of the other ingredients.
- Blend until completely smooth, using a whisk if you’re mixing it up in a bowl.
- Pour the prepared cheesecake batter into the pan over the crust, and tap against the counter a few times to even it out and release any air bubbles.
- Refrigerate for at least four hours, or freeze for two hours, or until completely firm.
- Garnish as desired and serve chilled. Enjoy!!
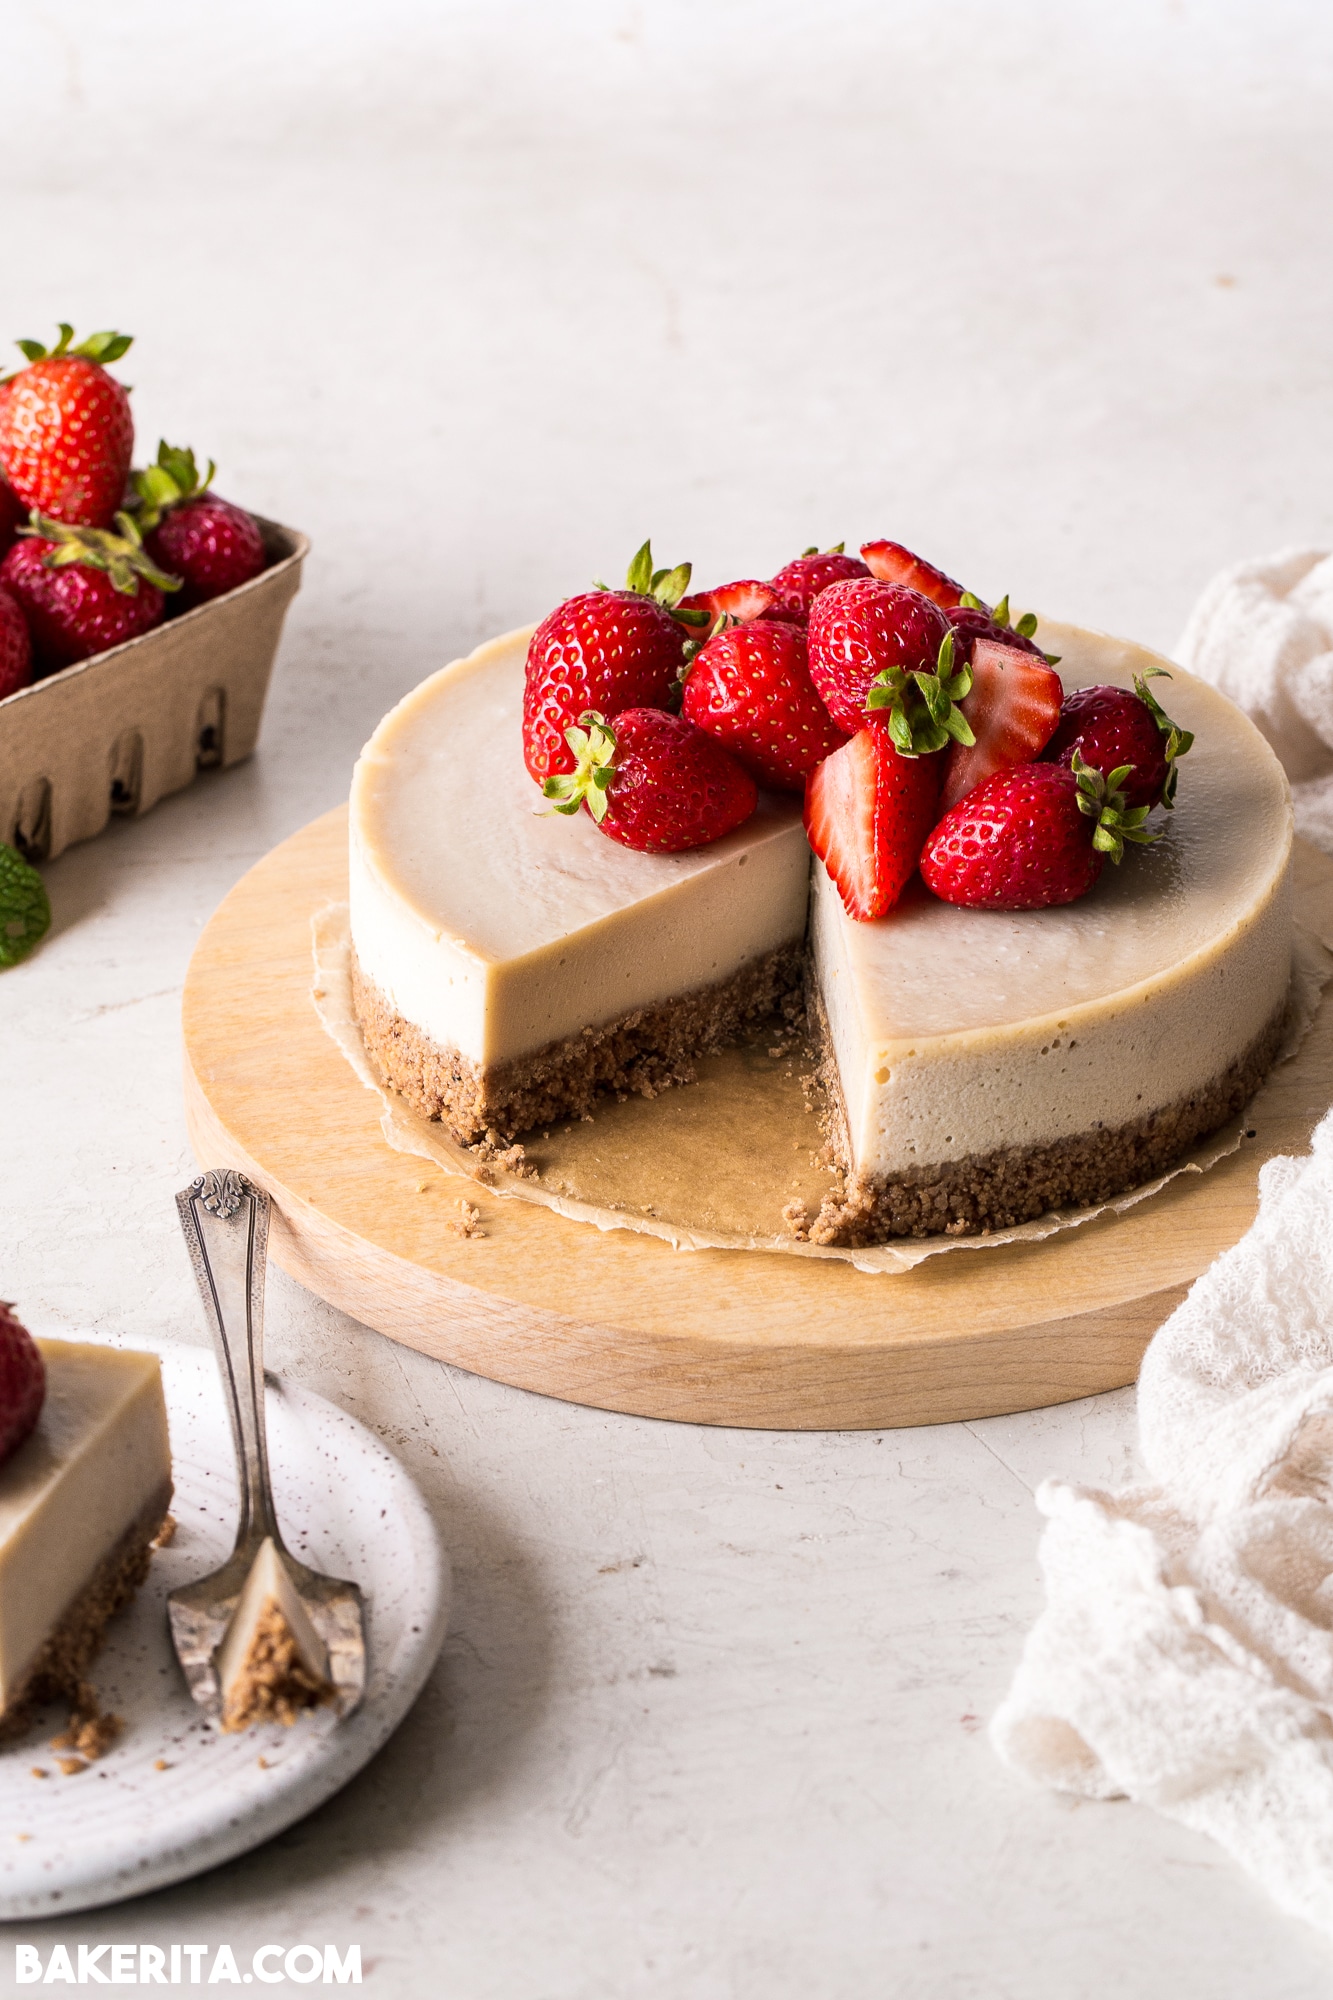
Customize to your tastes
One thing I adore about this vegan creamy cheesecake recipe is the versatility. You can add a variety of flavors, switch out the nut butters, add fabulous toppings, and more to make this vegan cheesecake recipe exactly what you want it to be.
Here are some of my favorite ideas:
- Blend in freeze-dried fruit for a fruity flavored cheesecake
- Use a flavored nut butter to add tons of flavor
- Vary the crust flavor to suit your tastes
- Mix in berries or other fruit that you love
- Go crazy with toppings – caramel, chocolate, and fruit are all so good!
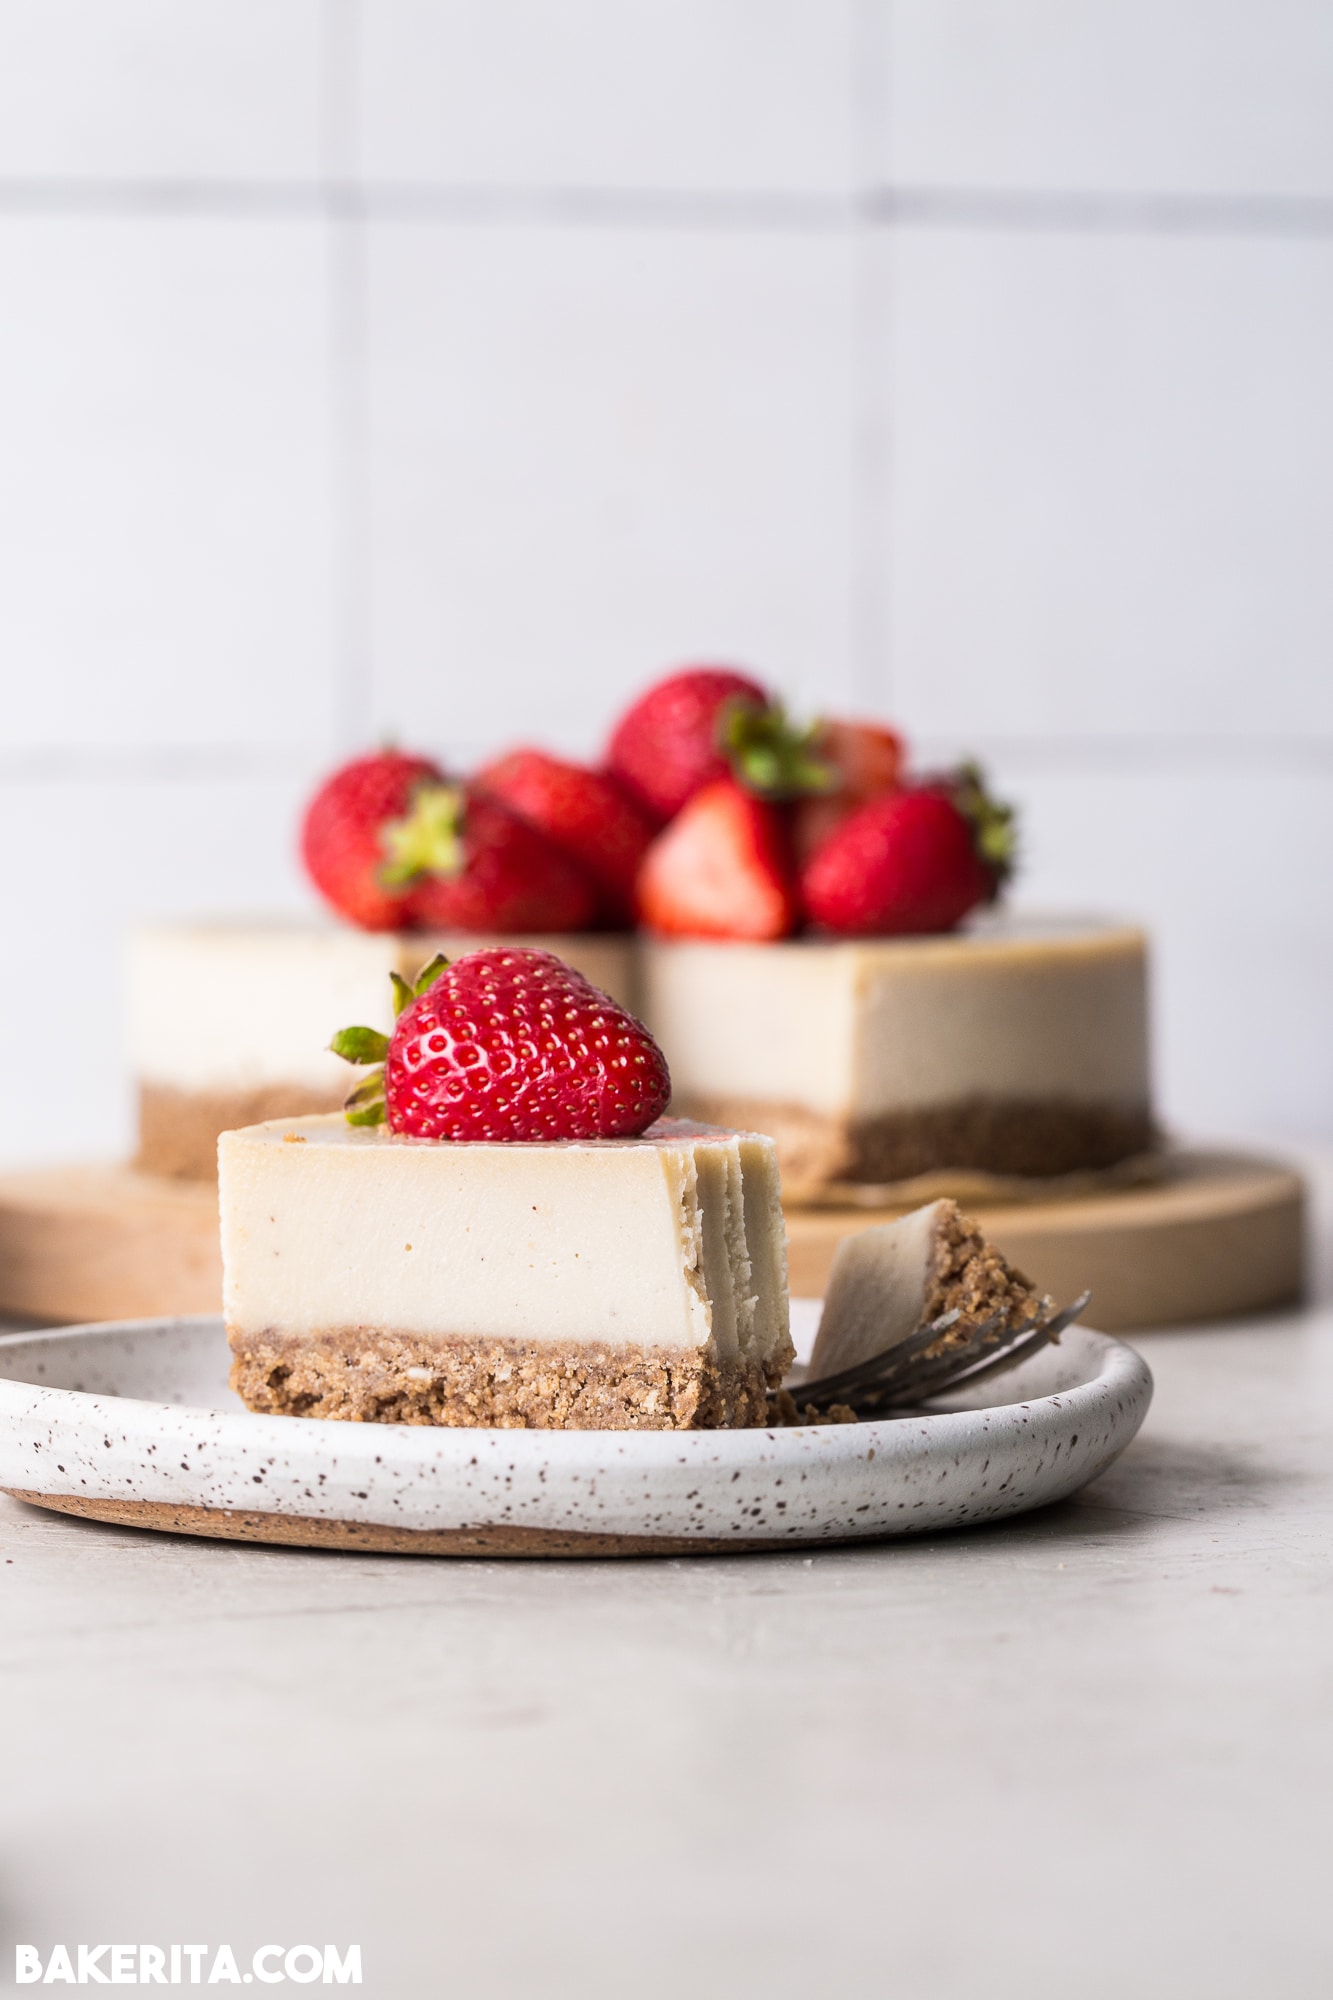
How to serve and store vegan cheesecake
I like serving this super creamy cheesecake straight from the fridge for a cool, refreshing treat. The nut butter helps keep it super smooth and creamy!
It will stay good in the refrigerator for about 4 to 5 days.
You can also keep it in the freezer for up to three months. I recommend wrapping in plastic wrap and/or sealing in an airtight container to avoid freezer burn.
More vegan no-bake cheesecakes:
- Layered Vegan Blueberry Cheesecake
- Vanilla Cheesecake with Chocolate Ganache
- Strawberry Orange Cheesecake with Coconut Crust
- Lemon Cheesecake with Citrus
- Mint Chocolate Chip Cheesecake
Vegan Nut Butter Cheesecake
- Prep Time: 15 minutes
- Chill time: 4 hours
- Total Time: 4 hours 15 minutes
- Yield: 8 slices 1x
- Category: Dessert
- Method: No-Bake
- Cuisine: American
- Diet: Vegan
Description
This Easy No-Bake Vegan Nut Butter Cheesecake can be prepped in a few minutes, with NO soaking or blending cashews! We use nut butter to create a simple, delicious no-bake vegan cake that can be easily made cashew-free by using your favorite nut or seed butter.
Ingredients
For the crust
- 1¼ cup crunchy cookie crumbs, about 2 cups whole cookies, I used Simple Mills
- 3 tablespoons refined coconut oil
- ¾ cup (192g) cashew butter or favorite nut or seed butter of choice, just make sure it’s on the thicker side!
- ½ cup canned full-fat coconut milk
- 3 tablespoons maple syrup
- ¼ cup (50g) coconut oil, melted, use refined for no coconut flavor. Can use cacao butter instead!
- 1 tablespoon lemon juice
- 1 teaspoon vanilla extract
- ¼ teaspoon kosher salt
Instructions
- First, prepare the crust. In a blender or food processor, pulverize the cookies until they’re fine and mostly crumbs. Either blend in the coconut oil, or move to separate bowl and stir together.
- Press evenly into the bottom of your 6″ springform pan. A flat bottomed measuring cup can help press it into place. Set aside.
- In a large mixing bowl, blender, or food processor, combine the nut butter, coconut milk, maple syrup, coconut oil, lemon juice, vanilla extract, salt, and any other flavorings, if using. I find using a blender or food processor easiest to make sure you get out any clumps of nut butter.
- Blend until completely smooth, using a whisk if you’re mixing it up in a bowl.
- Pour the prepared cheesecake batter into the pan over the crust, and tap against the counter a few times to even it out and release any air bubbles.
- Refrigerate for at least four hours, or freeze for two hours, or until completely firm.
- Garnish as desired and serve chilled. Enjoy!!
Keywords: cheesecake, vegan cheesecake, cashew butter, nut butter, coconut milk, maple syrup, gluten-free, paleo


The Bakerita has done it again!…we have Thoroughly enjoyed multiple Delectable recipes from her kitchen and this one is no different. This “cheesecake” is excellent! The texture is smooth and creamy and the flavor is deliciously rich. I used “goodie girls birthday cake cookies” for the crust and I doubled the filling recipe. My family of 4 in-hailed it and asked for seconds! Thank you Rachel for all the work you put in creating these recipes- our tastebuds are beyond grateful We Appreciate you!
★★★★★
So happy to hear this Debbie, thanks for the feedback and SO glad you and your family loved it!
Hi, Rachel! I’d love to make this for my mom’s birthday this weekend and use the caramel sauce recipe from the Pecan Praline Cheesecake in the Bakerita book. Do you think I can use McVitie’s Digestive Original biscuits for the crust and crush ’em with a rolling pin? Or do I need a cookie with filling? Thank you in advance!
Hi Nicca, that sounds SO fabulous!! Any good cookie you love will work – the ones I used did not have a filling, so definitely isn’t necessary here, the coconut oil should give you all the binding you need. Enjoy!
I just made this and it’s firming up in the fridge. I tasted the batter and it’s amazing!! My only question is what type of nut butter did you use for the one in the picture? I used cashew butter and my batter is a much darker color. Still tastes wonderful. Love your recipes!
★★★★★
Hi Allison – I used raw cashew butter from the brand Artisana. If yours was roasted, that’s likely why the color would be darker! It can also just vary based on brands. So glad you’re enjoying it!!
Hi Rachel! I’m ecstatic to find this recipe as I’ve been searching for a cashew-free vegan cheesecake for awhile now. This looks so decadent! I’m running to the grocery store as I type to get all the ingredients. Every recipe I’ve made of yours turns out amazing and I know this one will too. Thanks so much!!
★★★★★
Woohoo!! I hope you love this recipe, Meg – let me know what you think after you give it a try!!
Im trying to lose weight and wondering how many calories does this cheesecake have per serving?
Just added nutritional info – you can see it at the bottom of the recipe card!
Hello Rachel and happy new year!
Your Cheesecake looks so tasty!
Need your help for some substitues please..
Im from France and hard to find some Vegan and Gluten-Free biscuits..do for the crust can I use Nuts and Shredded Coconut with Dates for example and in which quantities?
For the filling you use only thick part of the Coconut Milk (Cream)?
And can I use Coconut Butter instead of Coconut oil?
Many thanks in advance!
Henri
★★★★★
Yes you can! You can use the crust from this cheesecake recipe if you’d like, or another cheesecake recipe on my website. Yes you only use the coconut cream from the coconut milk, and coconut butter should be fine. Enjoy!