
Homemade Asiago Everything Bagels are quicker and easier than you’d think – and taste so much better than one’s from the store! You can have these on the table within 2 hours.
 Homemade asiago everything bagels. Please don’t look at “homemade” and “bagels” and get nervous – bagels are EASY and I need to share my thoughts as to why you all need homemade bagels in your life.
They taste fresh, with a crispy outside and a chewy crust and a soft, tender crumb. You control the chewiness based on how long you boil them. You can make them ANY flavor you want (I did asiago, asiago + everything, everything, and chocolate chip!). Be creative. And for real: these take like, 2 hours MAX from start to finish.
 I had a lot of technical issues (AKA my oven started spewing out black smoke) along the way, and they still didn’t take more than a few hours. I can’t even tell you how worth it is to try making these. If you’ve never used yeast before, don’t be scared! It’s a totally simple process, and the results are so worth the effort.
I love using instant yeast – no need to proof, just stir it into your dry ingredients, add your warm liquid, and you’re good to go! Totally takes the scare factor out of baking with yeast. I mentioned my love for instant yeast in my last post for Pumpkin Pecan Cinnamon Sugar Pull Apart Bread too!
 In fact, since I started baking more with yeast…I just want to make more and more stuff using it because it’s so much easier than I ever anticipate it being. It takes a little bit longer for the final product, yeah, but homemade breads are just so darn rewarding and nothing is better than ripping into a piece of hot, fresh out of the oven bread. It’s the truth.
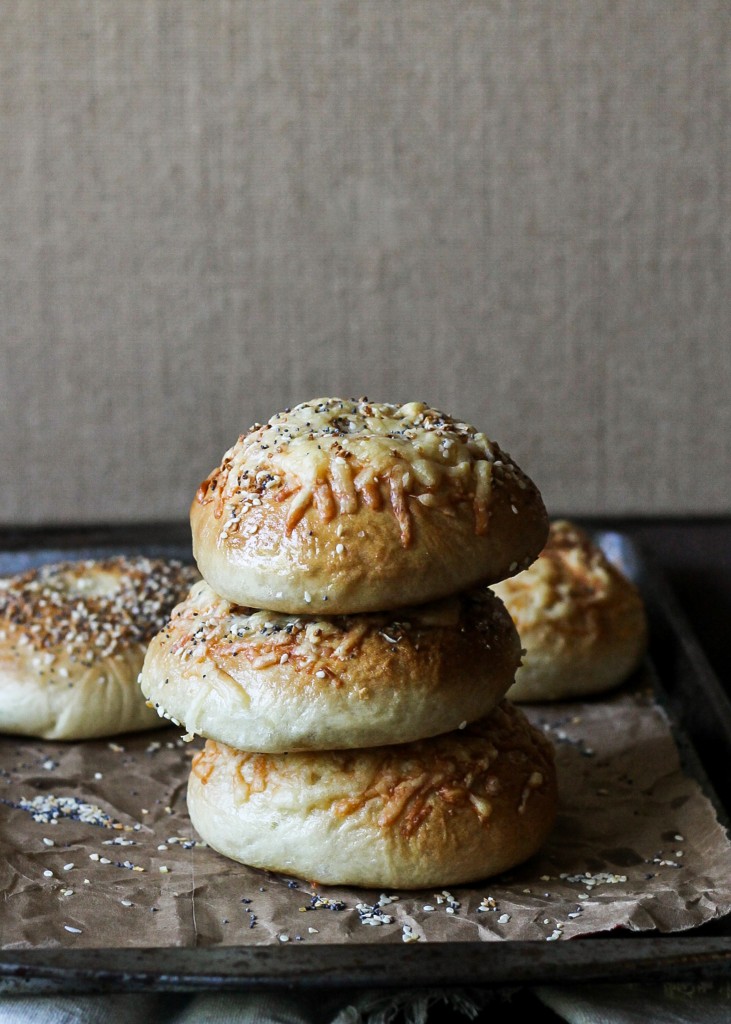
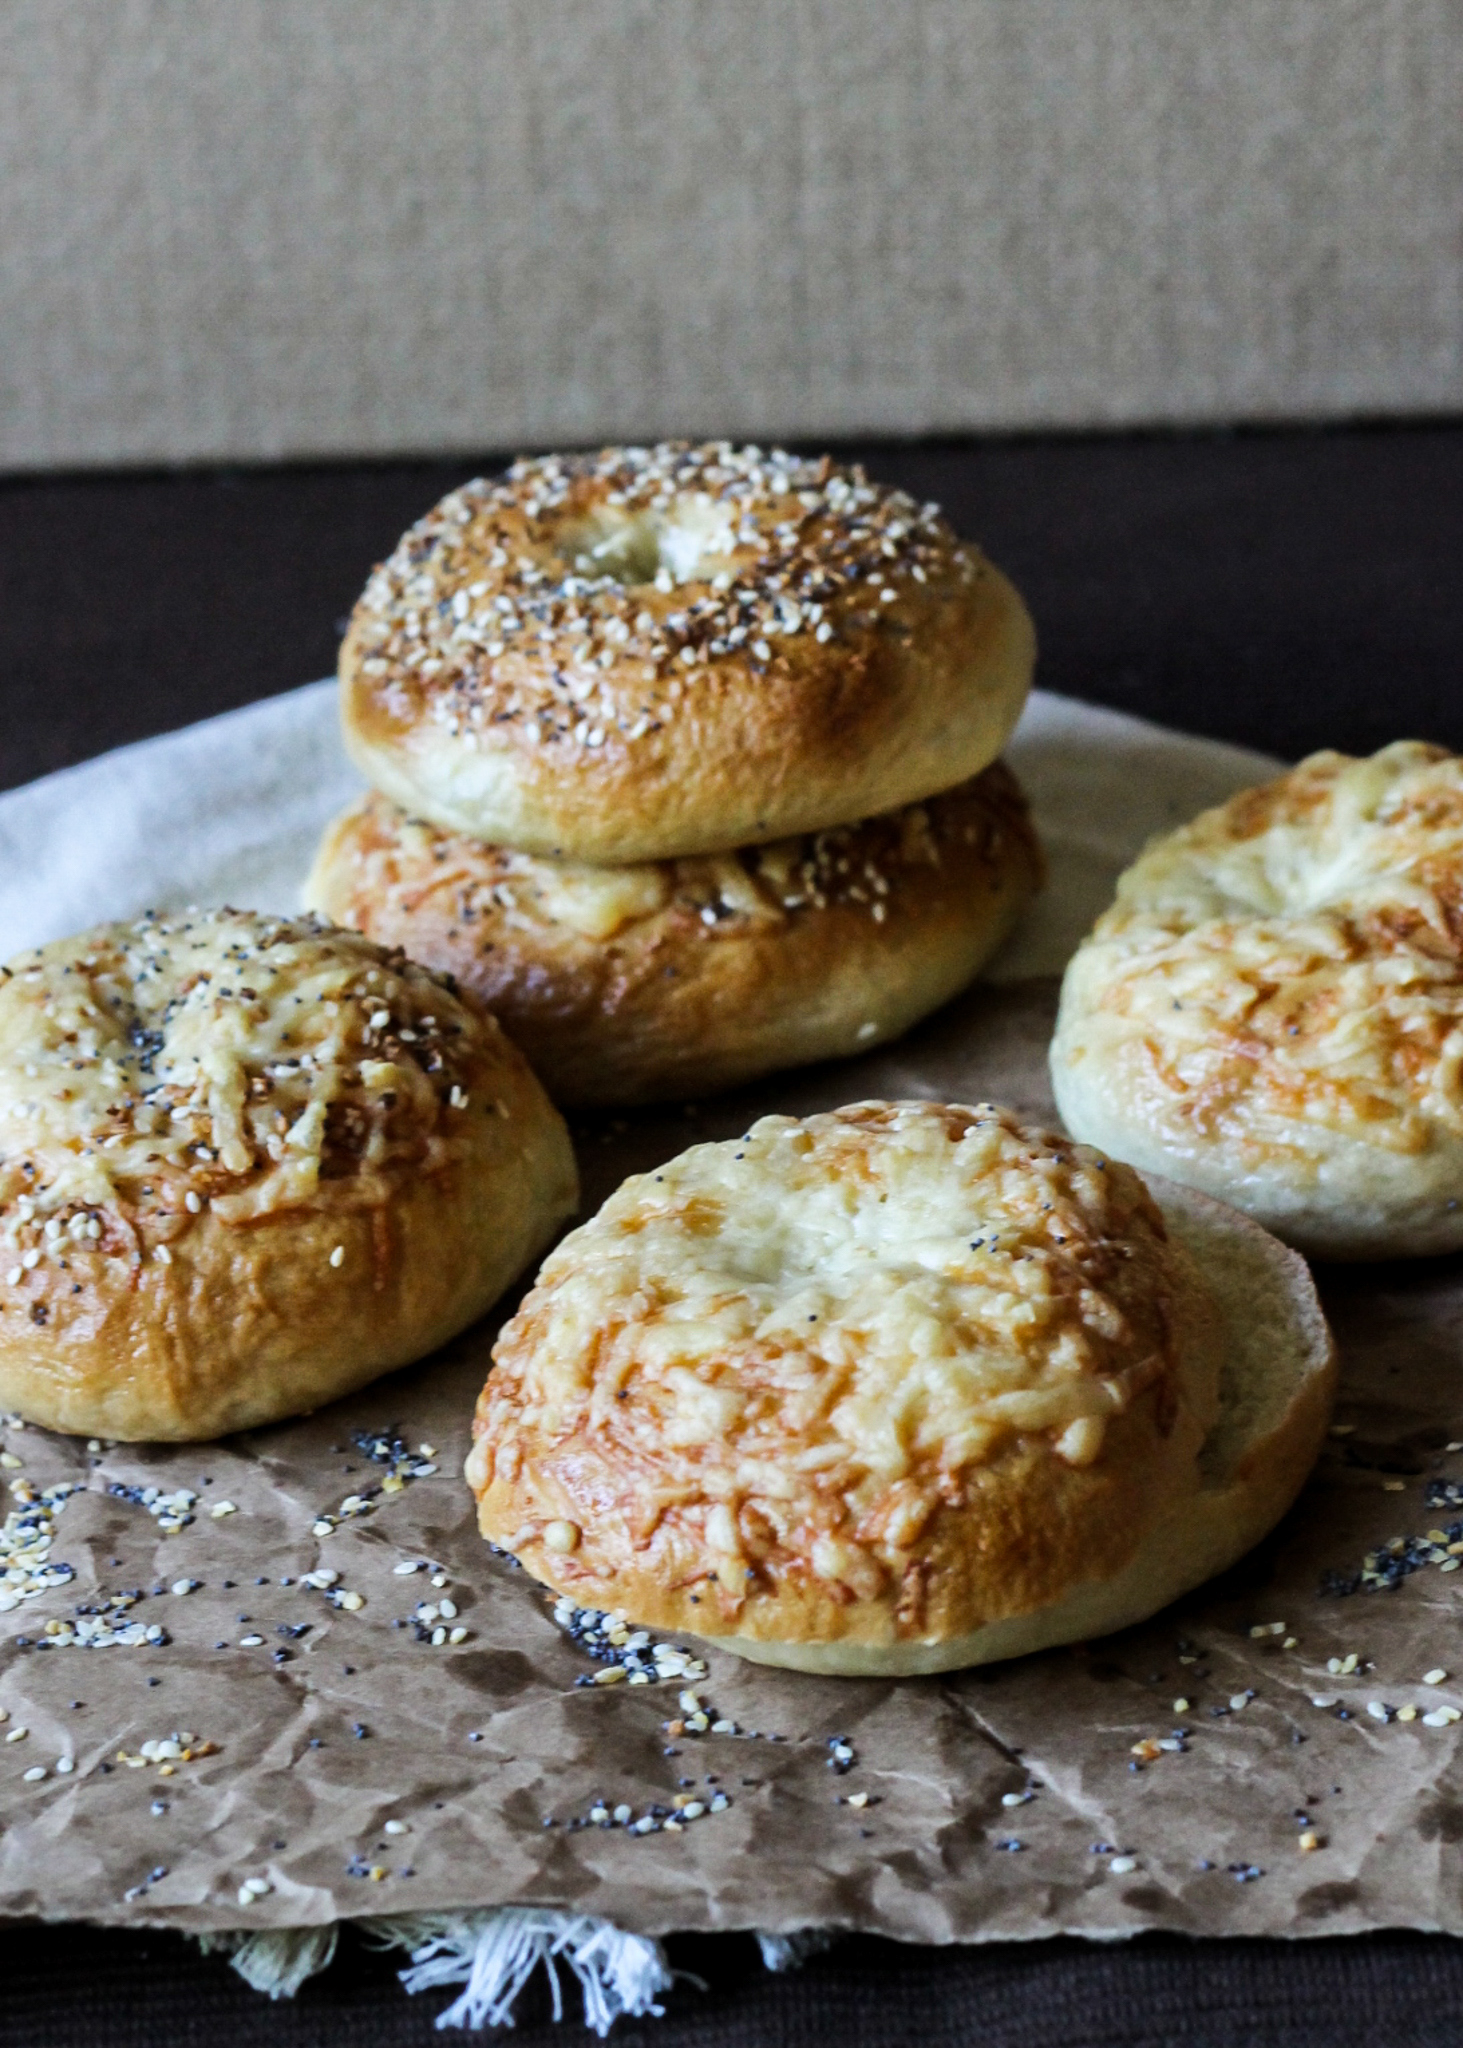
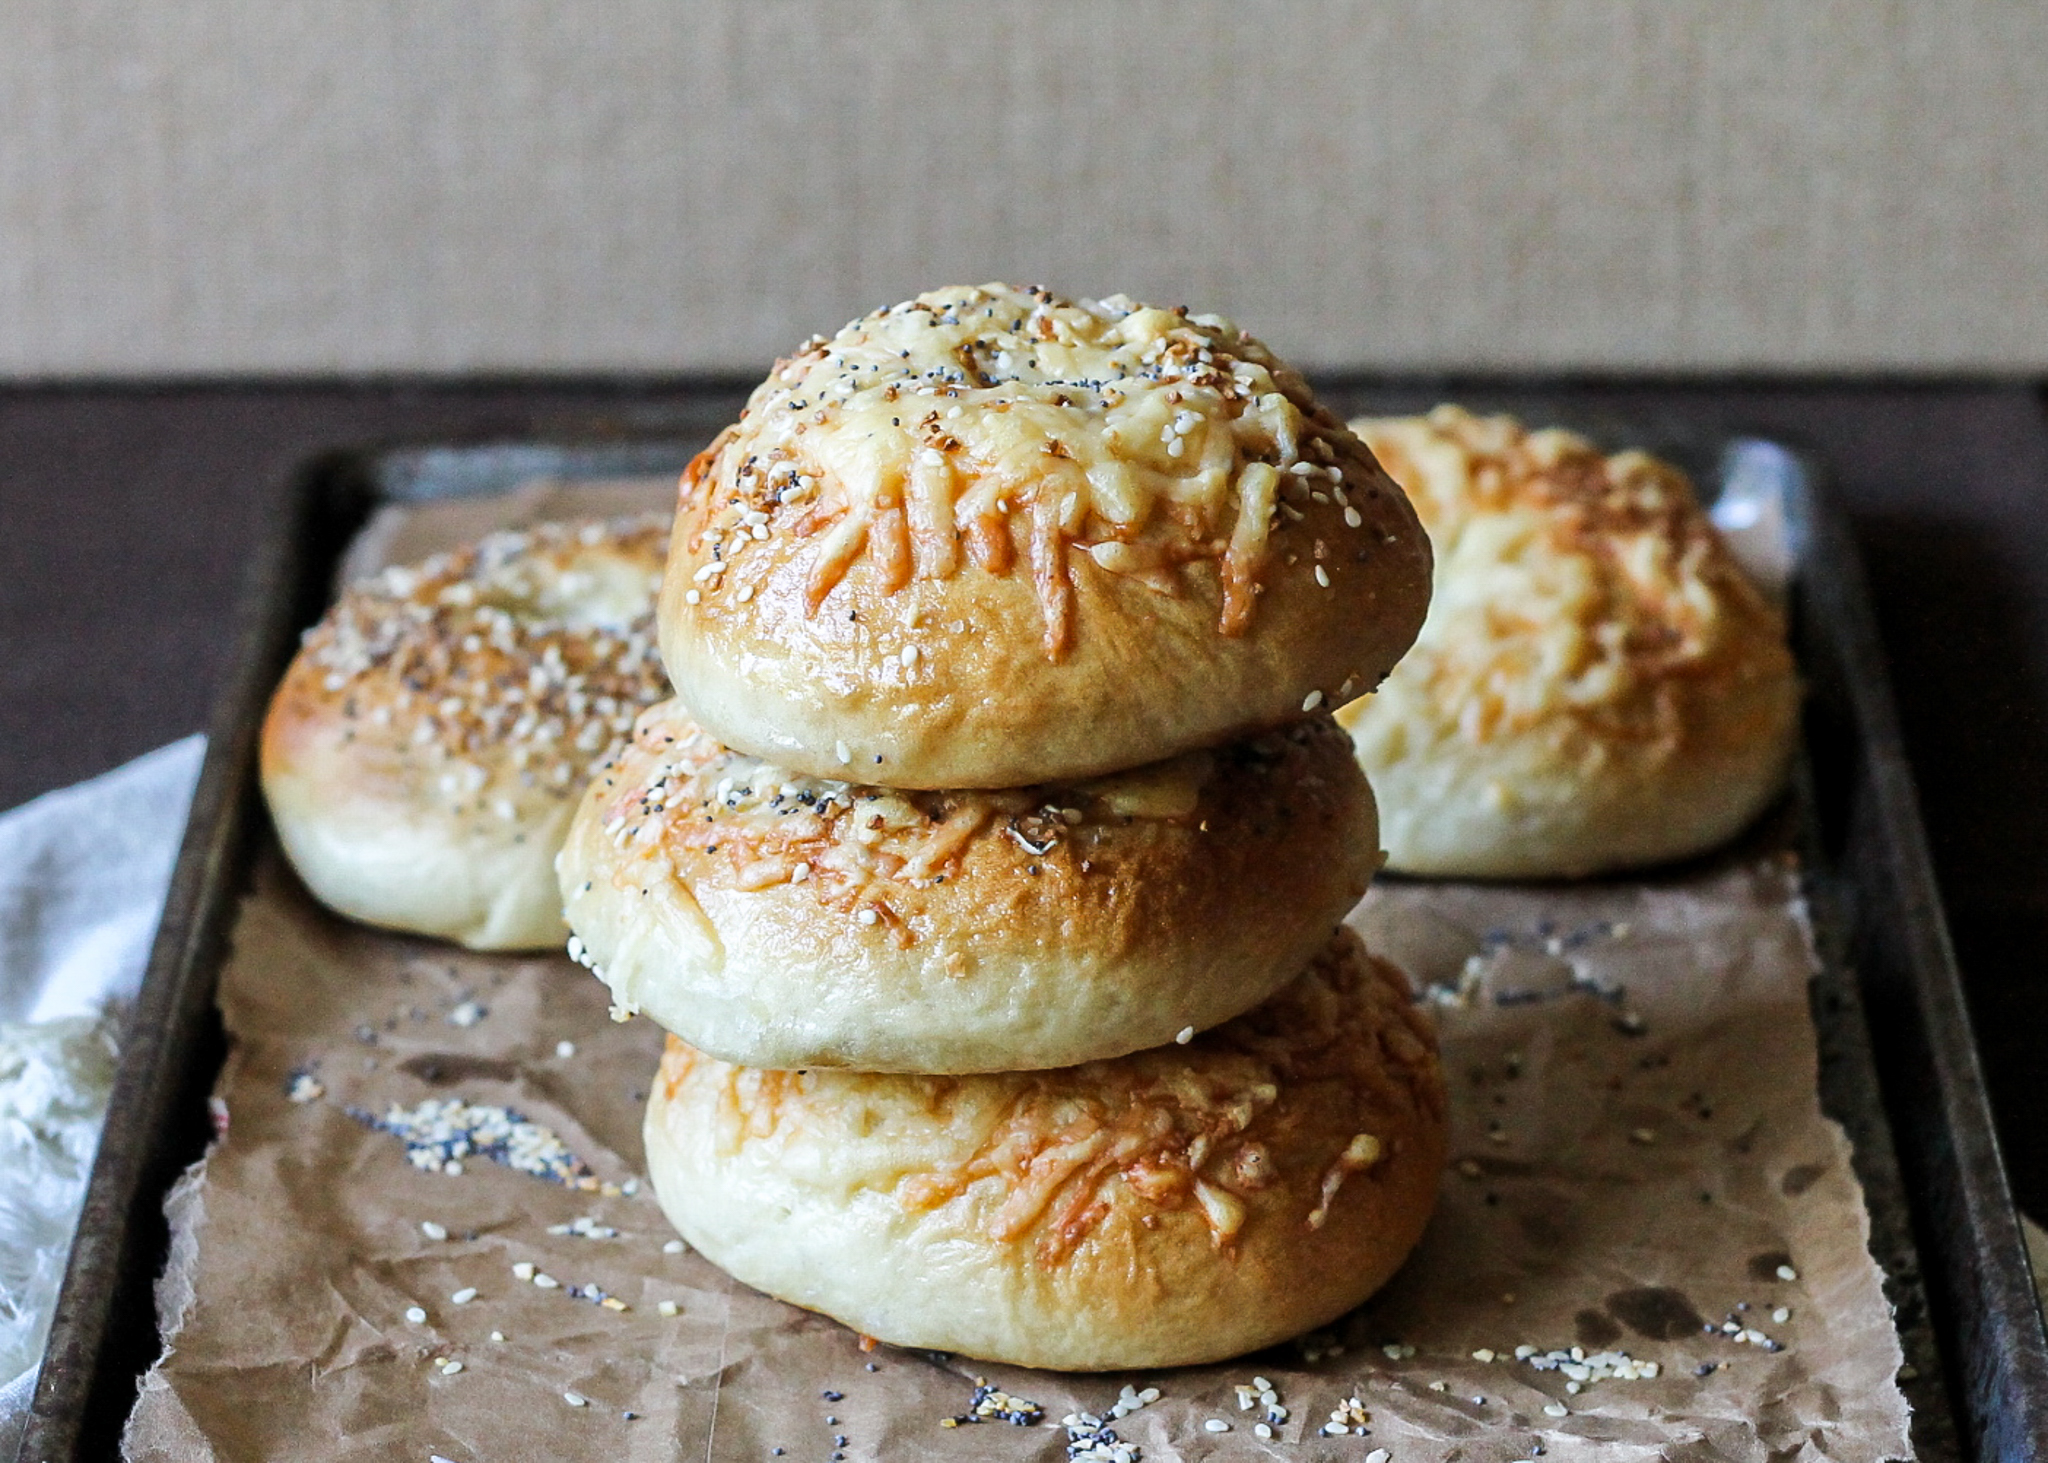
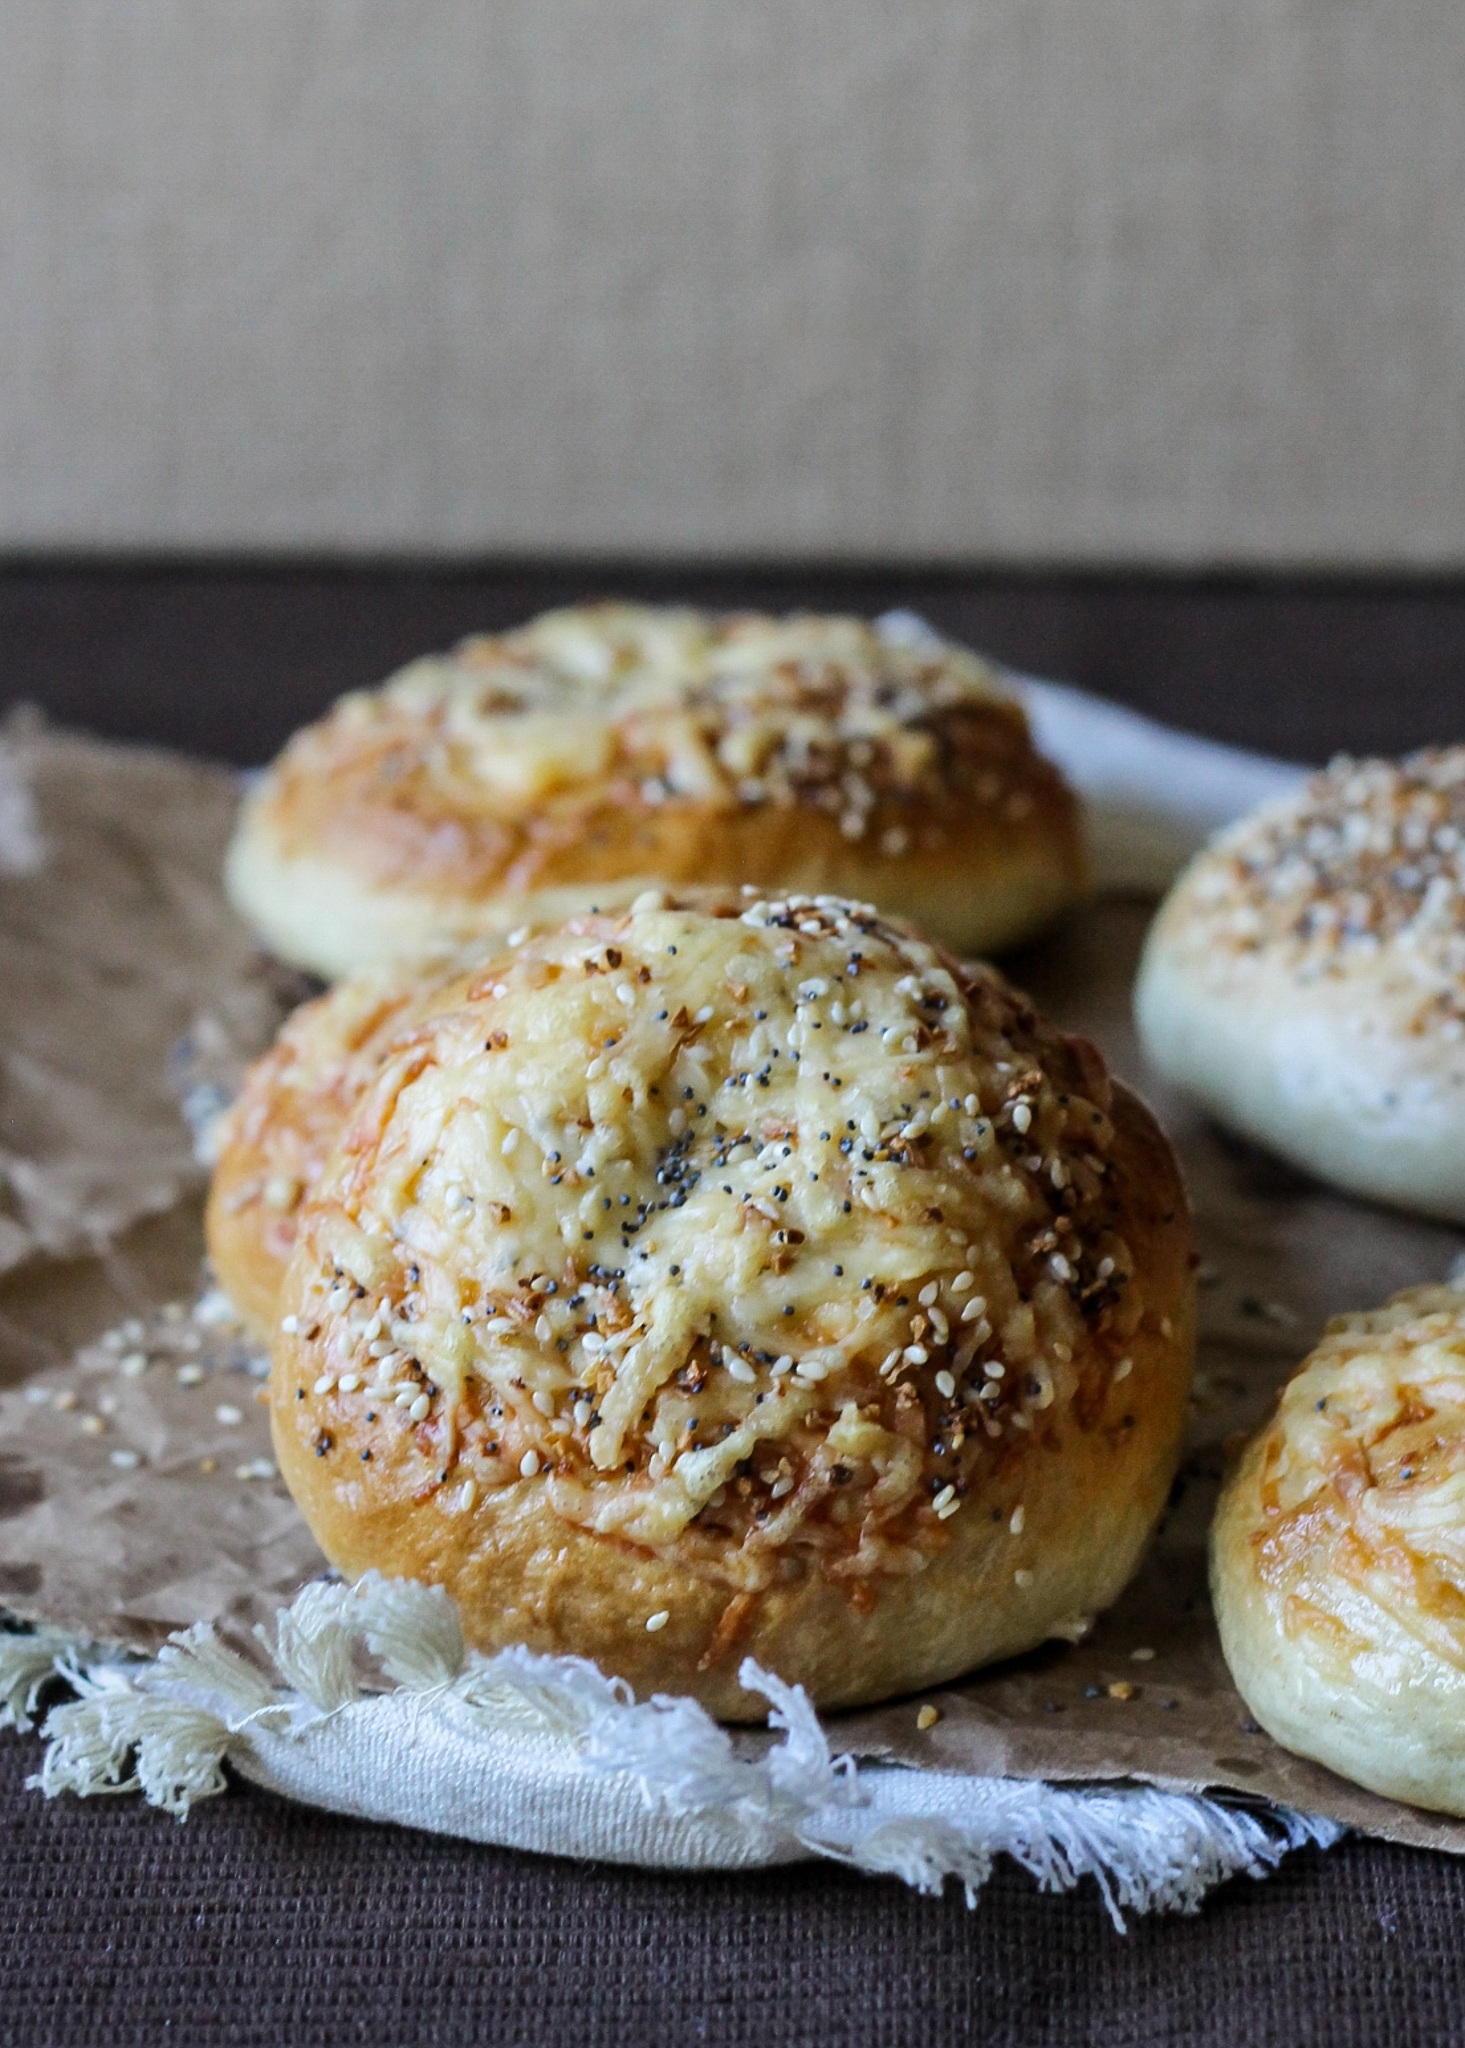
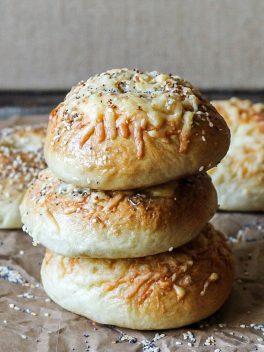
And, cheese makes everything better, so I piled asiago onto my everything bagels. But I also left some plain everything, a few just asiago, and some chocolate chip (for chocolate chip, just knead some chocolate chips into the dough when you’re shaping it into the bagel shape). All were delicious, and all of them were gone by the time we went to bed the day they were made.
I think it’s time for another bagel making day! I highly encourage you to have one as well. :)
 P.S. I totally wrote the first part of this post when I just eaten one of these bagels toasted with butter, and reading the description now makes me need to have these again! Bagels are in my immediate future. They should be in yours too.
Homemade Asiago Everything Bagels
Ingredients
- 1 1/4 cups warm water, 105°F to 110°F
- 1 1/4- ounce packet instant dry yeast, 2 1/4 teaspoons
- 4 cups bread flour
- 2 tablespoons honey
- 2 teaspoons kosher salt
- 4 teaspoons granulated sugar
- 1 large egg white
- Asiago cheese, shredded
- Sesame seeds, poppy seeds, dried onion, dried garlic, or coarse salt for topping
Instructions
- Combine 2 cups bread flour, yeast, honey, salt, sugar and warm water in the bowl of a stand mixer fitted with a dough hook attachment. Mix on low, slowly add remaining 2 cups of flour.
- Mix on low until most of the loose flour has been worked into the dough and the dough looks shredded, about 2 minutes. Increase the speed to medium low and continue mixing until the dough is stiff, smooth, and elastic, about 8 to 9 minutes more. The dough should be dry, not tacky or sticky, and somewhat stiff. Add more flour if necessary.
- Shape the dough into a ball, place it in a large oiled bowl, and turn it to coat in oil. Cover the bowl with a damp towel and let the dough rise in a warm place, until it is puffy and springs back when you poke it, about 20 minutes. It will not double in size.
- While the dough rises, preheat the oven to 425°F. Fill a saucepan with water and bring to a boil over high heat, then reduce heat to medium low and let simmer. Cover until you’re ready to boil the bagels. Line a baking sheet with parchment paper greased with oil or cooking spray. Place a metal rack inside of a second baking sheet and set aside.
- Turn the risen dough out onto a dry surface. Divide the dough into 12 equal pieces, about 3 ounces each. Roll each piece into a 9-inch-long rope, lightly moisten the ends with water, overlap the ends by about 1 inch, and press to join so you’ve created a bagel. As necessary, widen the hole in the middle so it is approximately the size of a quarter. Cover the shaped bagels with a damp towel and let rest 10 minutes.
- After resting, stretch the dough to retain the quarter-size hole (the dough will have risen a bit) and boil the bagels, taking care not to overcrowd the pan (I could only boil 2 at a time). Make sure they have room to bob around. Cook for about 30 seconds on each side until the bagels have a shriveled look, then remove to the baking sheet with the rack in it. Adjust heat as necessary so the water stays at a simmer.
- Once all of the bagels have been boiled, whisk together 1 tablespoon water and the egg white until evenly combined. Brush the egg wash all over the bagels, then sprinkle as desired with asiago cheese and everything toppings. Arrange the bagels on the baking sheet lined with parchment paper about 1 inch apart and bake. Rotate the pan after 15 minutes and bake until the bagels are a deep caramel color and have formed a crust on the bottom and top, about 10 minutes more. Remove from the oven and let cool on a rack for at least 30 minutes so the interiors finish cooking and the crusts form a chewy exterior.
Recipe adapted from The Chow

I love homemade bagels! They really are more simple than what most people think. Pinning!
Girl these look amazing! I just made homemade bagels for the first time over the summer, and you’re right, they’re a snap! Next I gotta try your asiago version ;)
I love making homemade bagels- I made them last year for a kitchen challenge and I feel like making them again after reading this- it’s been far to long.
These are my boyfriend’s favorite flavor! I love working with instant yeast, it’s def. not as scary as most think it is! I think I need to make home made bagels need to happen!
These asiago bagels sound incredible! I have never tried making homemade bagels and keep meaning to try. Yours look amazing!
These look fantastic. I love bagels and I’ve never made them. Will be trying this soon!
There’s nothing like a bagel in the morning, and these look awesome and so delicious!
I’ve never tackled homemade bagels but these look and sound so delicious I might have to embrace them and try it!
Love bagel for breakfast, but never made my own. By the way, beautiful looking blog. :)
These bagels look really good and I love how they are on the go friendly.