
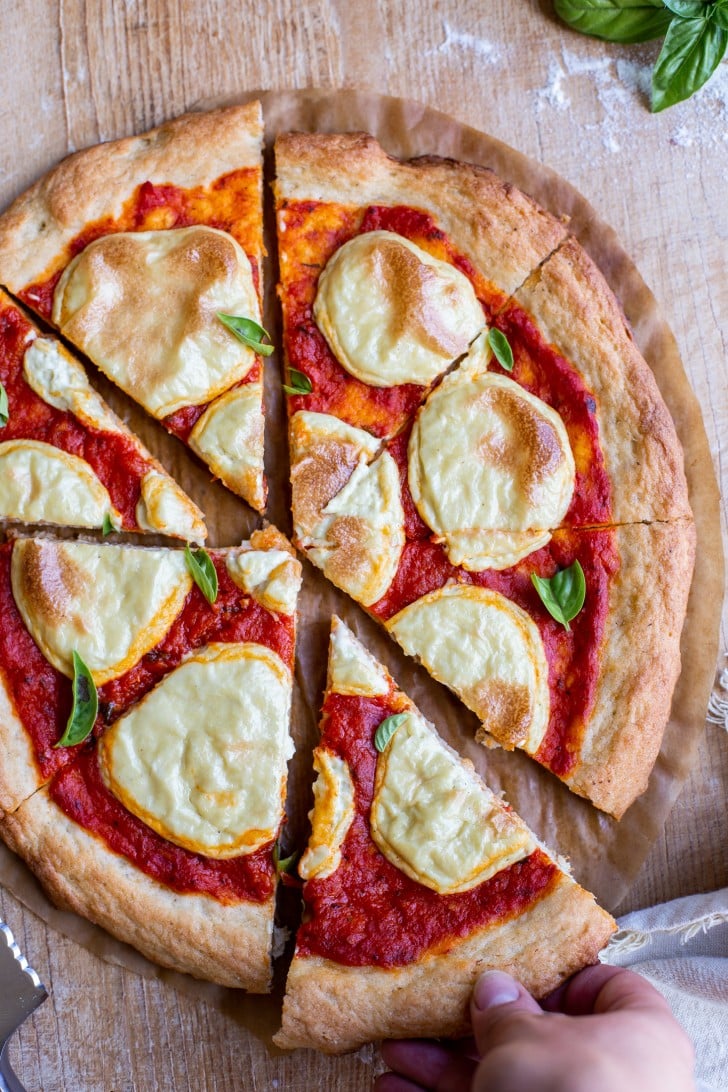
This is the best easy Gluten-Free Pizza Crust – it’s fluffy, chewy, crispy, and works great for either a thin or thick crust. It’s vegan & Top 8 allergy-friendly, and made with just 8 ingredients in about an hour. Time for pizza night! Thanks to Bob’s Red Mill for sponsoring this post.
Have a gluten-free sourdough starter? You’ll love this gluten-free sourdough pizza crust!

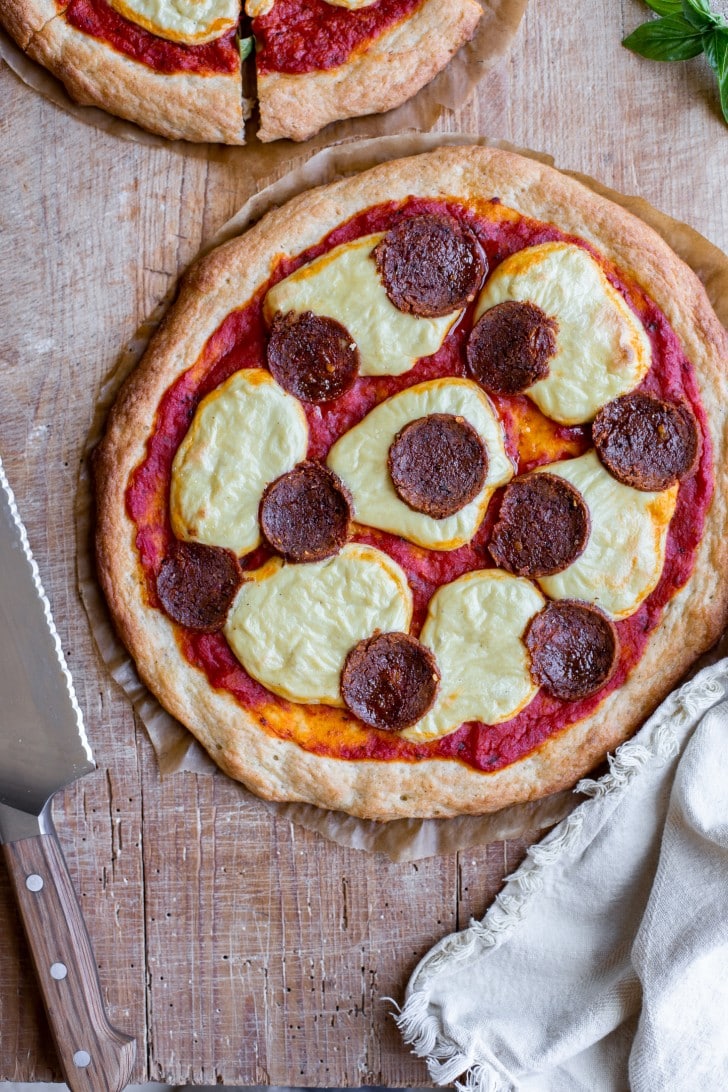
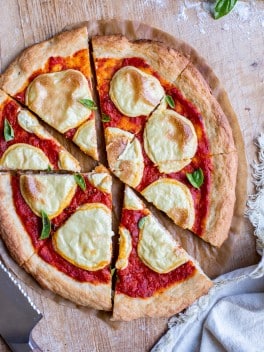
I’m eating the pizza that you’re looking at while I write this…oh my, it is so good. I wish I could teleport a slice right to you so you too can be enjoying delicious gluten-free pizza at this very second.
Unfortunately, technology hasn’t advanced there quite yet, but I can teach you how to make this amazing fluffy and crispy gluten-free pizza crust. It’s so easy, you can be enjoying it in about an hour and a half, give or take a bit.
If you don’t want to mess with yeast, I do have this other amazing gluten-free vegan pizza recipe, but if you have a little extra patience, I think this one is even better. Working with yeast is pretty simple, and the results are truly outstanding. Let’s get into it!
Why You’ll Love This GF Pizza Crust!
- Easy to make
- Vegan, nut-free & dairy-free
- Only 8 ingredients!
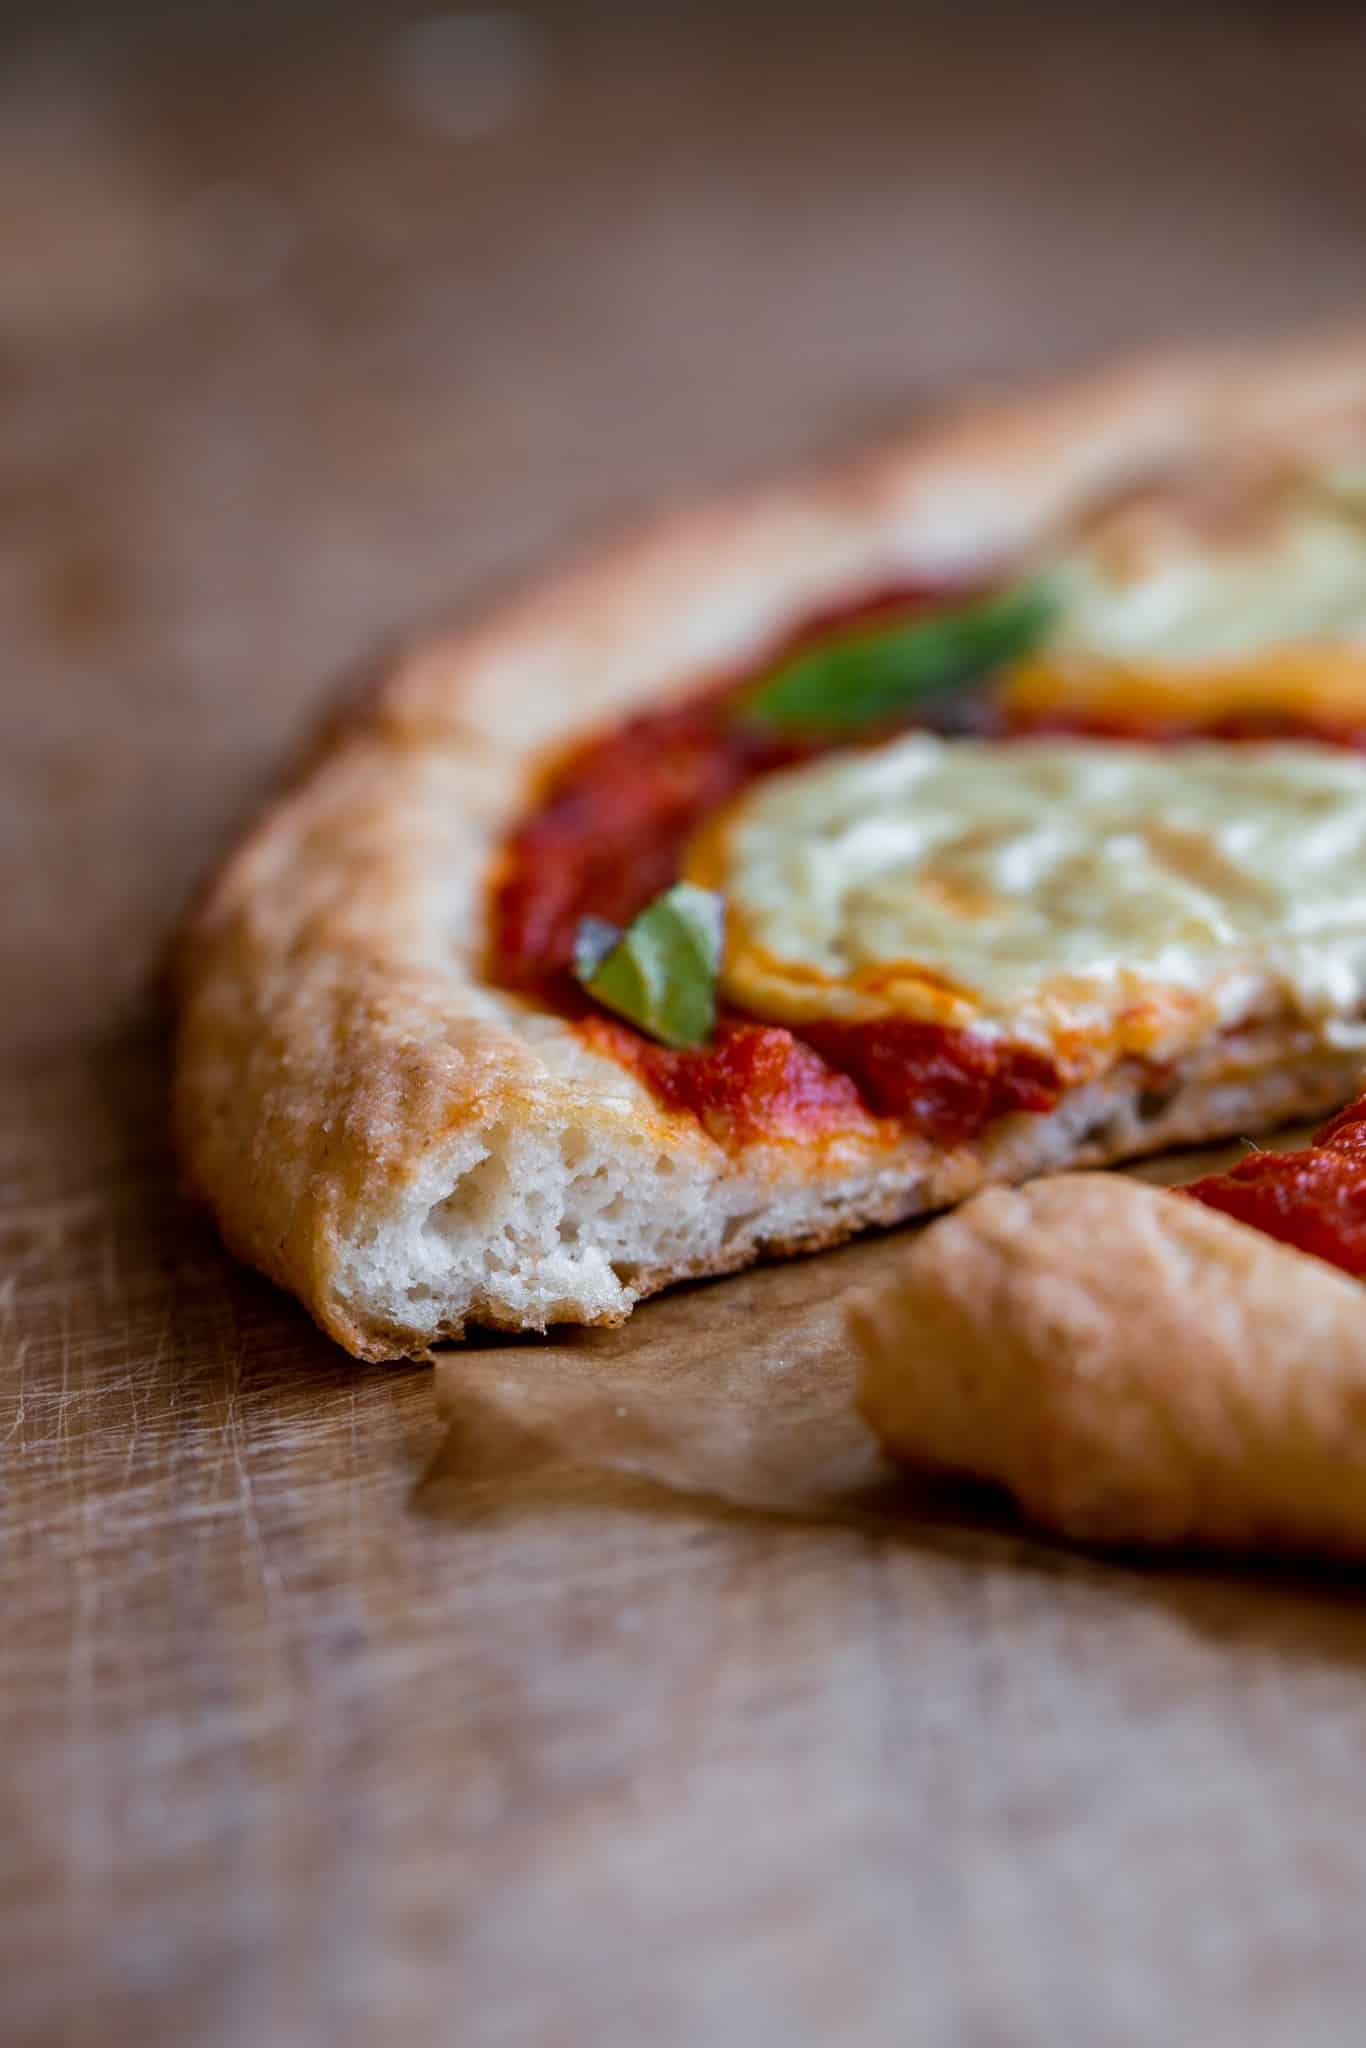
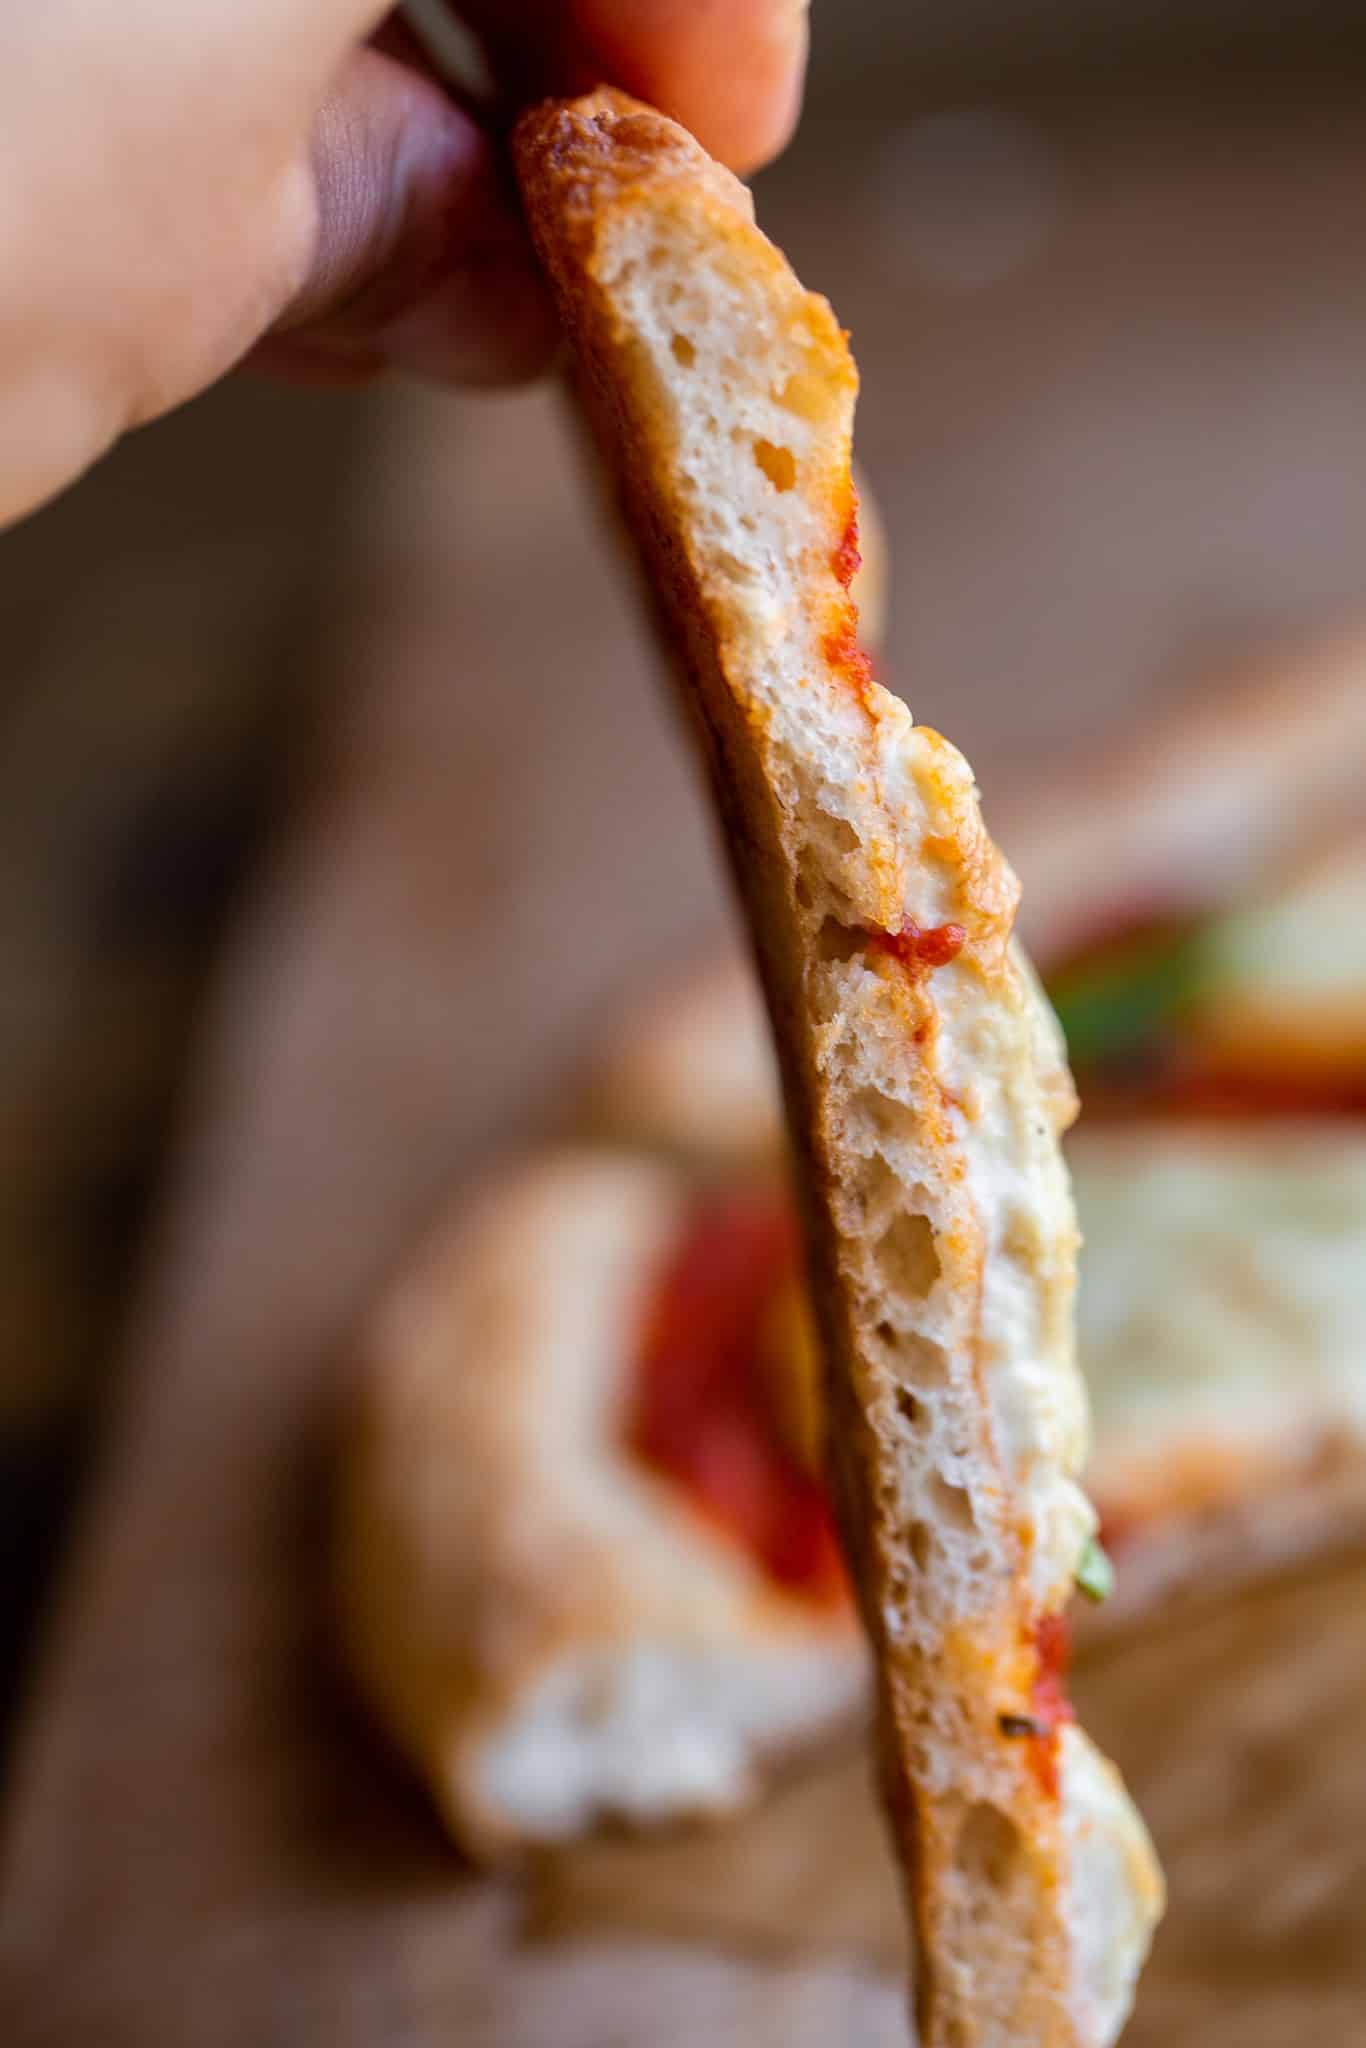
- Chewy and crisp texture
- Fluffy crust
- Can be made thin or thick depending on your preference
- Work with all your favorite toppings
- Freezes well to make ahead of time
If you’re looking for more perfected gluten-free recipes try this amazing homemade gluten-free bread, the best gluten-free chocolate chip scones, and my all-time fave gluten-free chocolate chip cookies!
What you’ll need to make this crust:
- Active Dry Yeast: I use active dry yeast from Bob’s Red Mill. This gives the crust it’s lift and fluffiness! Bob’s yeast comes in a bag instead of individual packets which I love (less waste!) and always activates well and quickly.
- Sugar: this sugar doesn’t add sweetness per se, it’s used to feed the yeast and help your dough get nice and active.
- Psyllium Husk: don’t skip or replace this! It gives this gluten-free pizza crust it’s chew and elasticity. It also makes the dough super easy to work with!
- Filtered Water: filtered is always best so minerals and chemicals in hard water don’t interfere with the rise.
- Starch: I used Bob’s Red Mill Potato Starch for the starch component. Tapioca flour and arrowroot flour also work well here, or you can use a combination of these starches, which add a light and fluffy texture and help the crust get crispy.
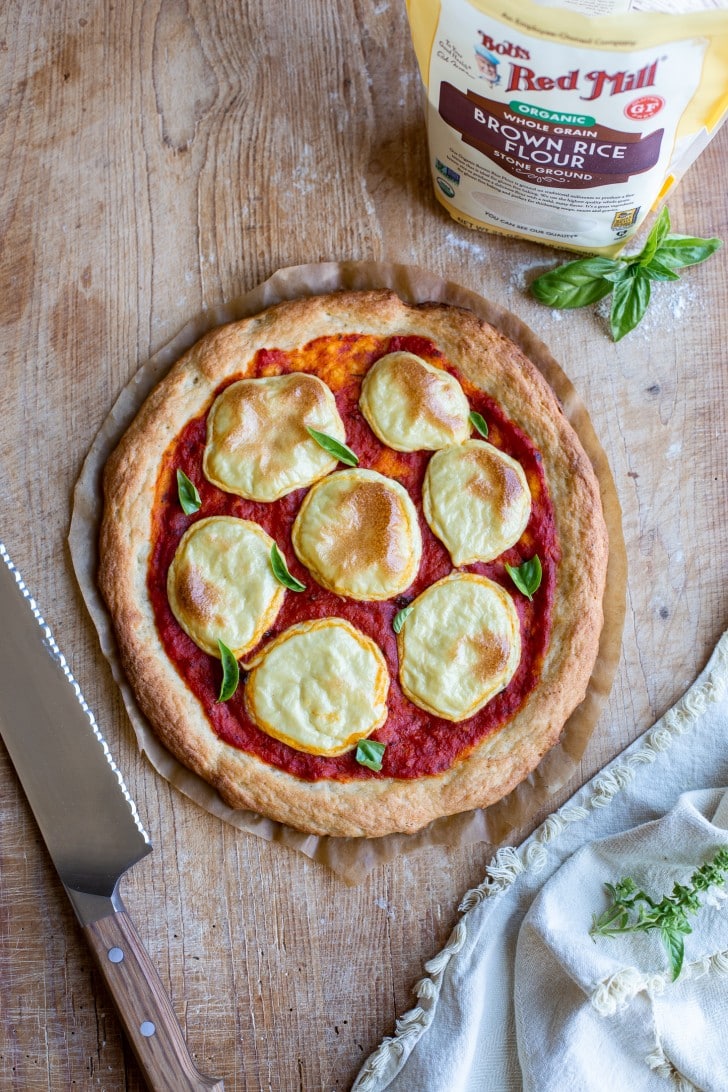
- Gluten-Free Whole Grain Flours: I used a combination of Bob’s Red Mill Brown Rice Flour & Millet Flour for the one you see in the photos! I’ve also experimented with sorghum flour, quinoa flour, and white rice flour, and all of the combinations have worked super well!
- Salt: a must for every recipe!
How to make gluten-free vegan pizza crust
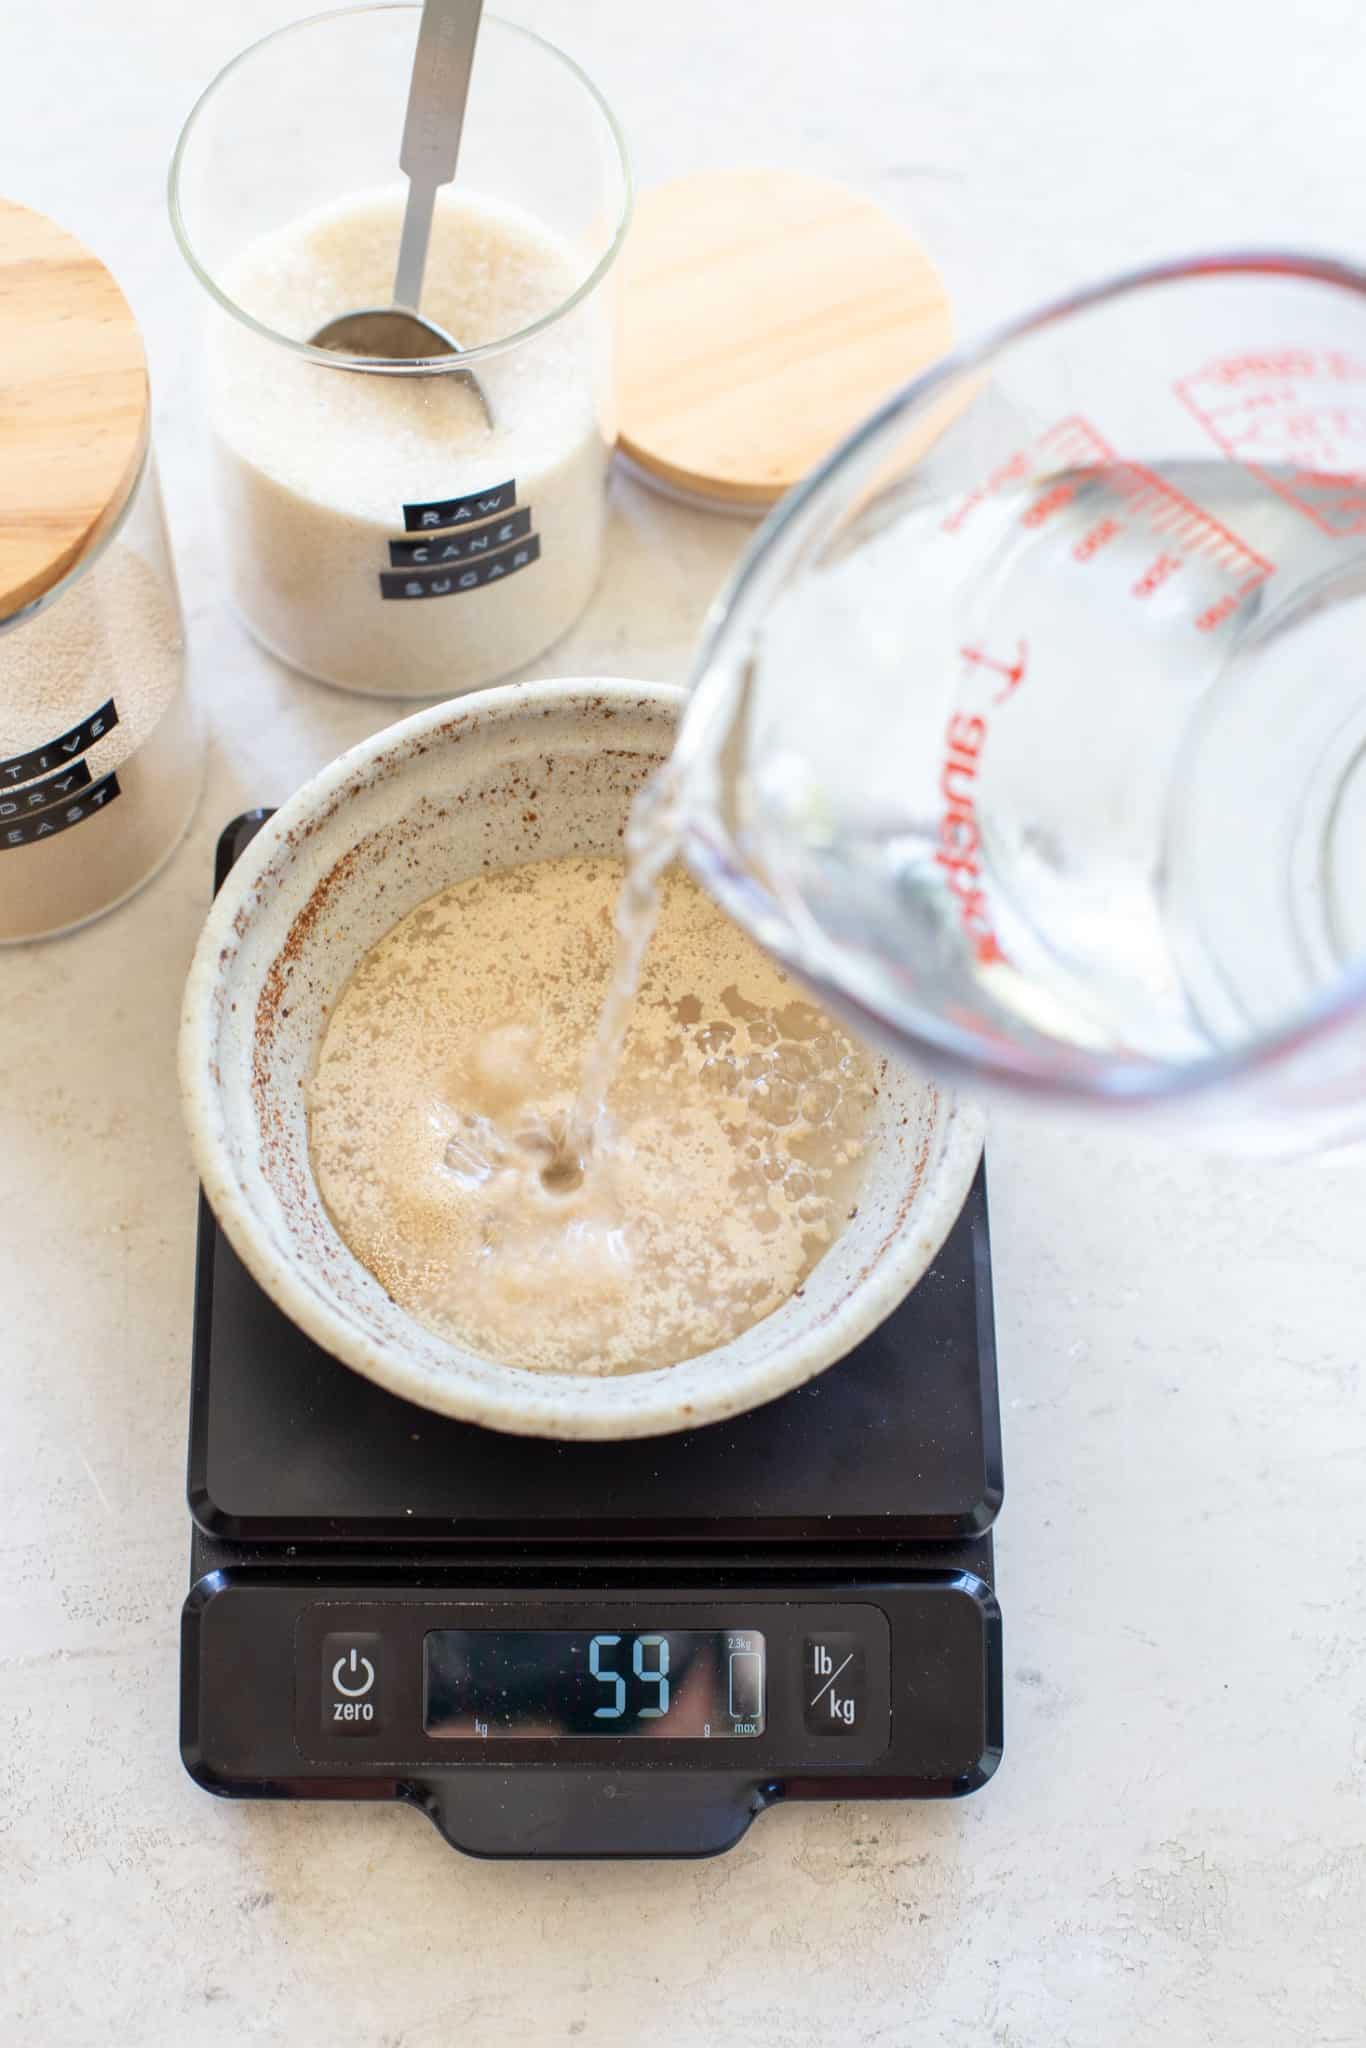
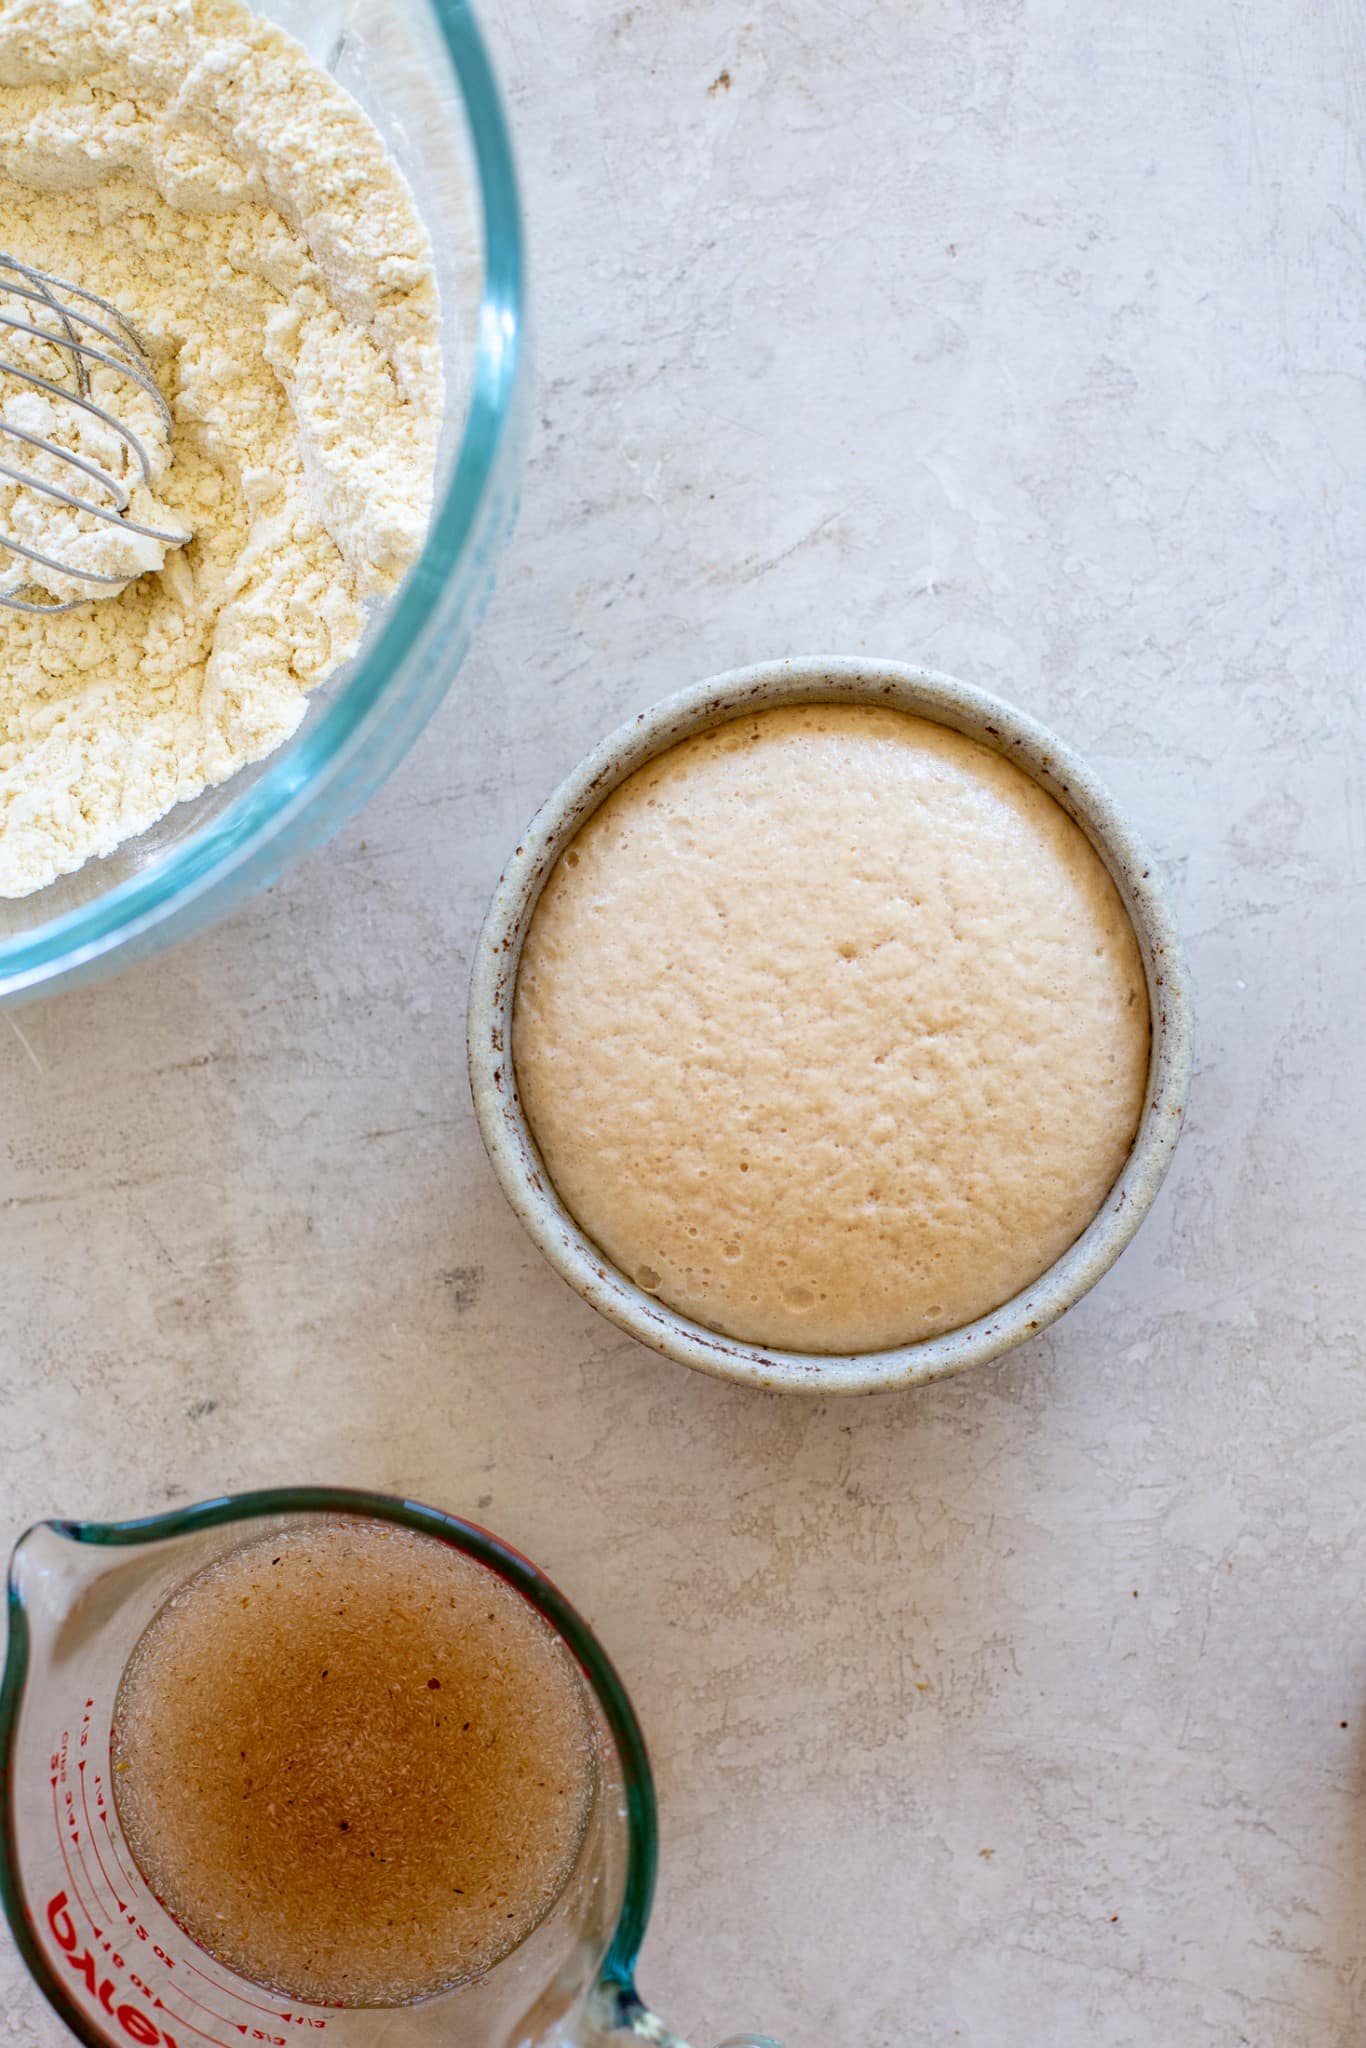
Activate the yeast with warm water (should be pretty hot, but just cool enough to hold a finger in without it burning) and sugar, which feeds the yeast. Let this bubble and activate.
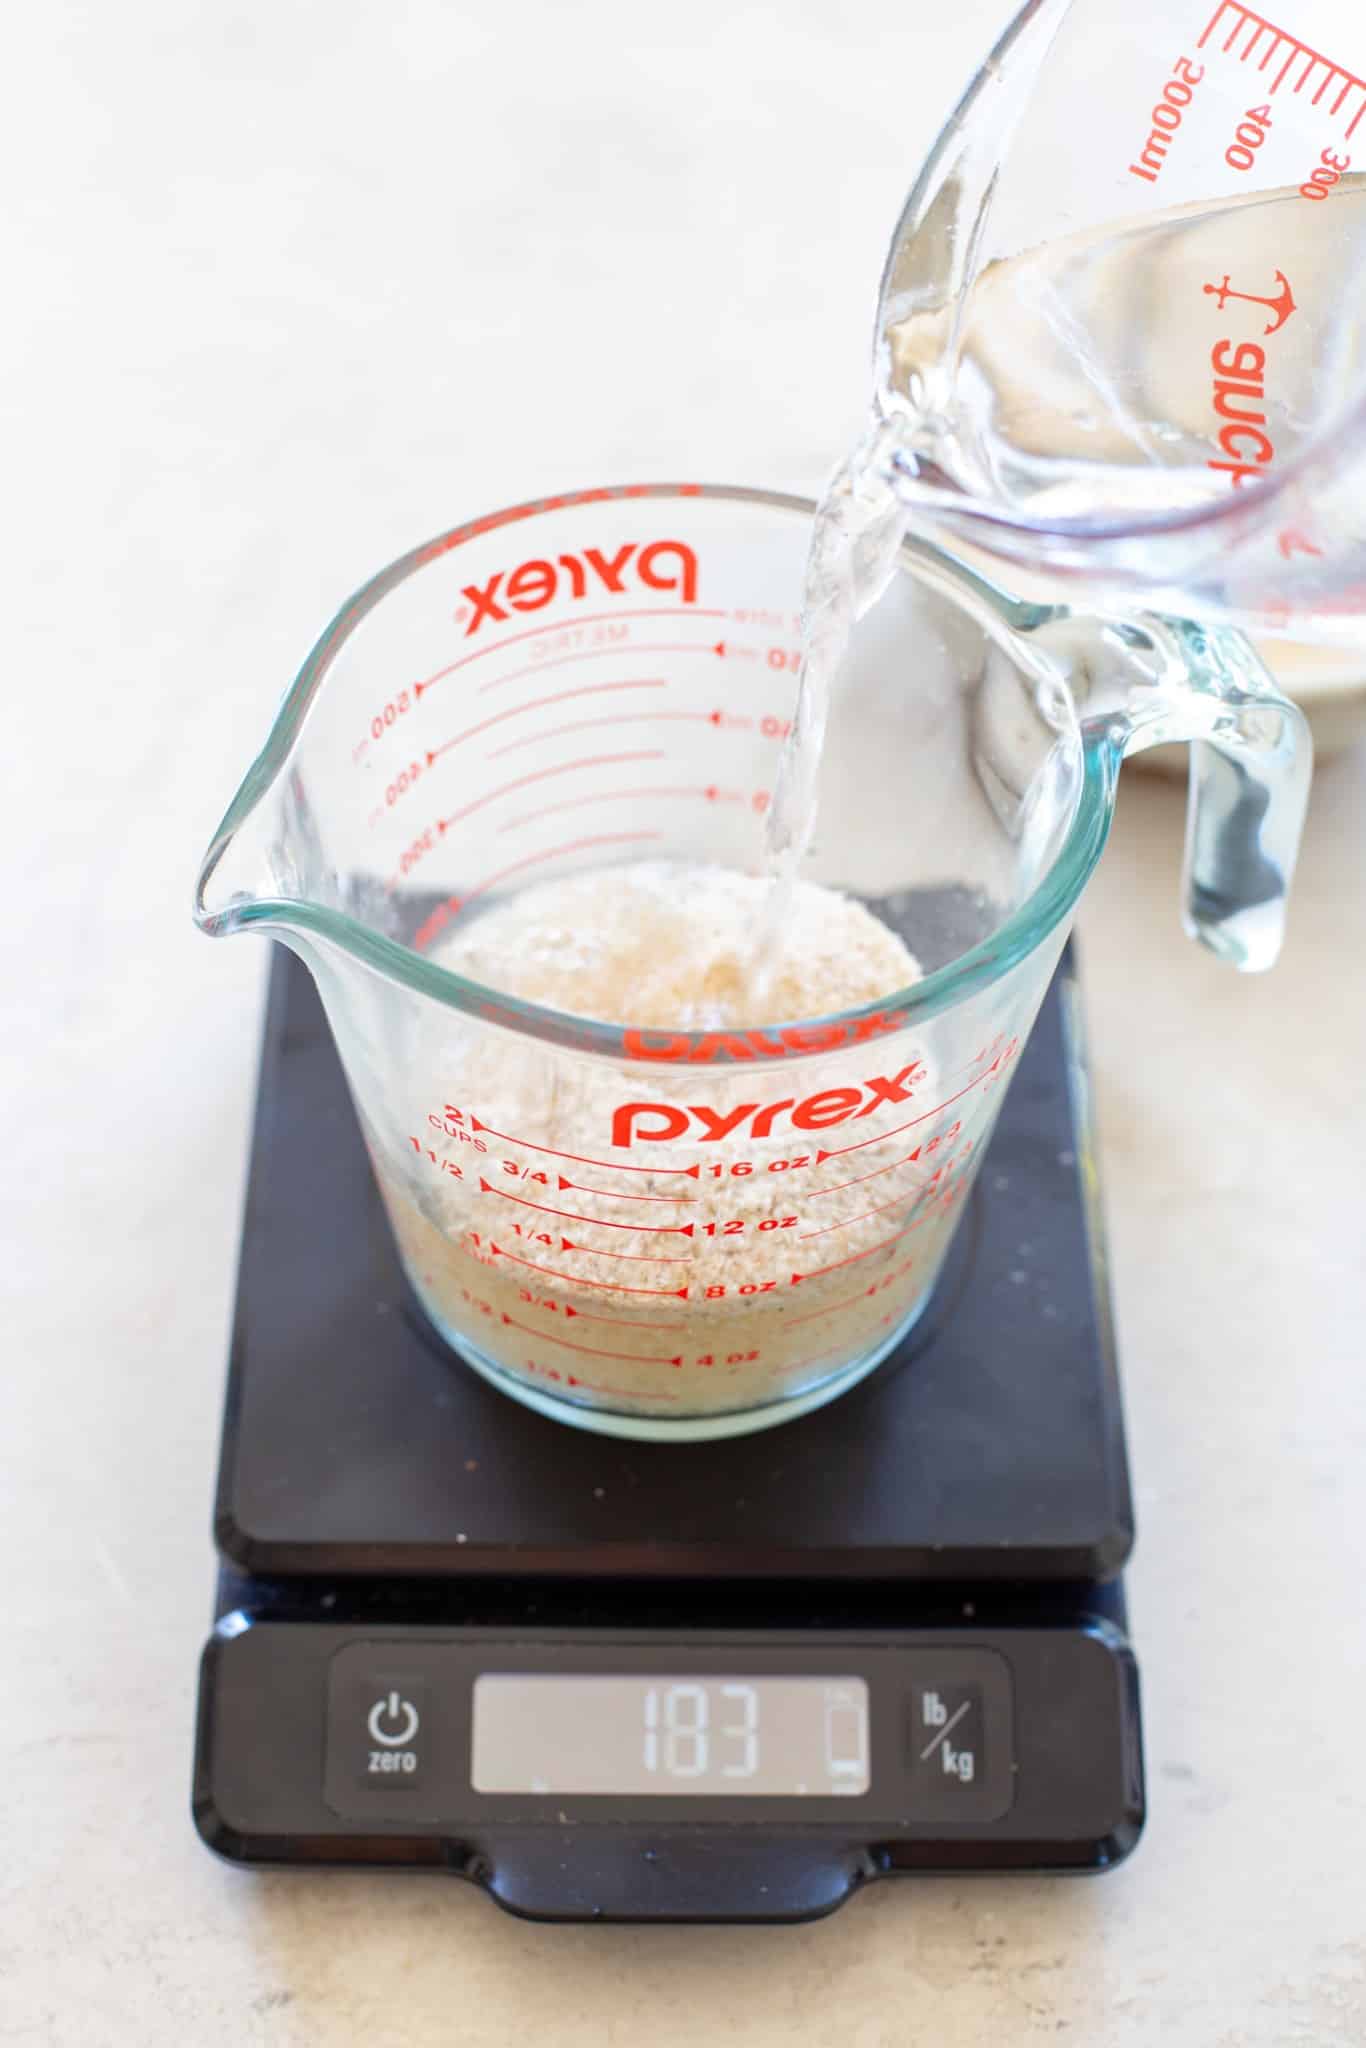
Mix up the psyllium gel by combining and psyllium husk with water. This will thicken as it sits.
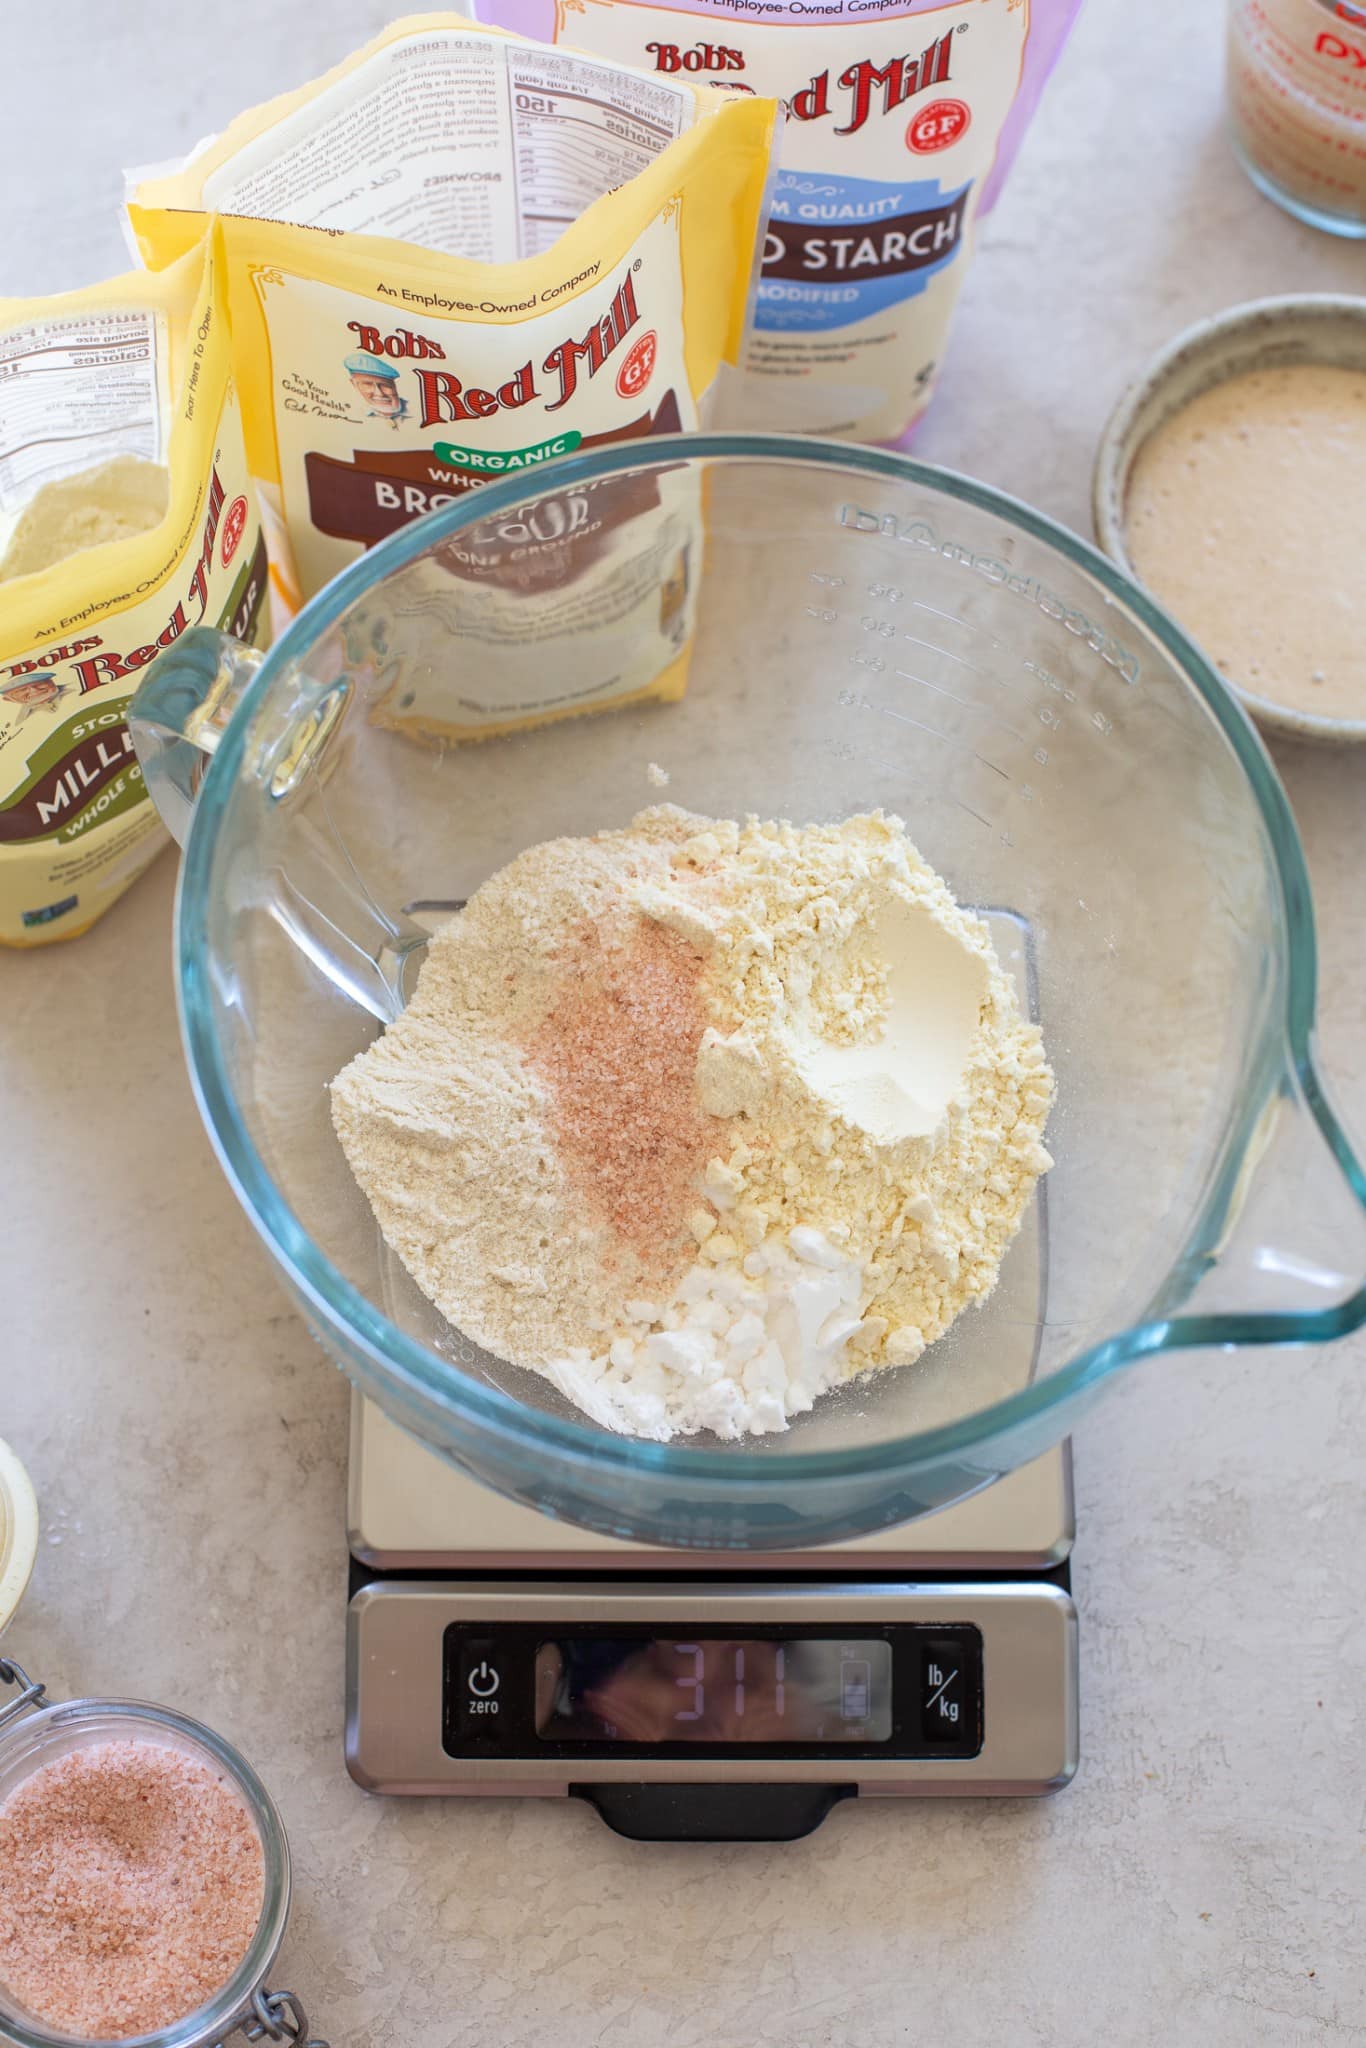
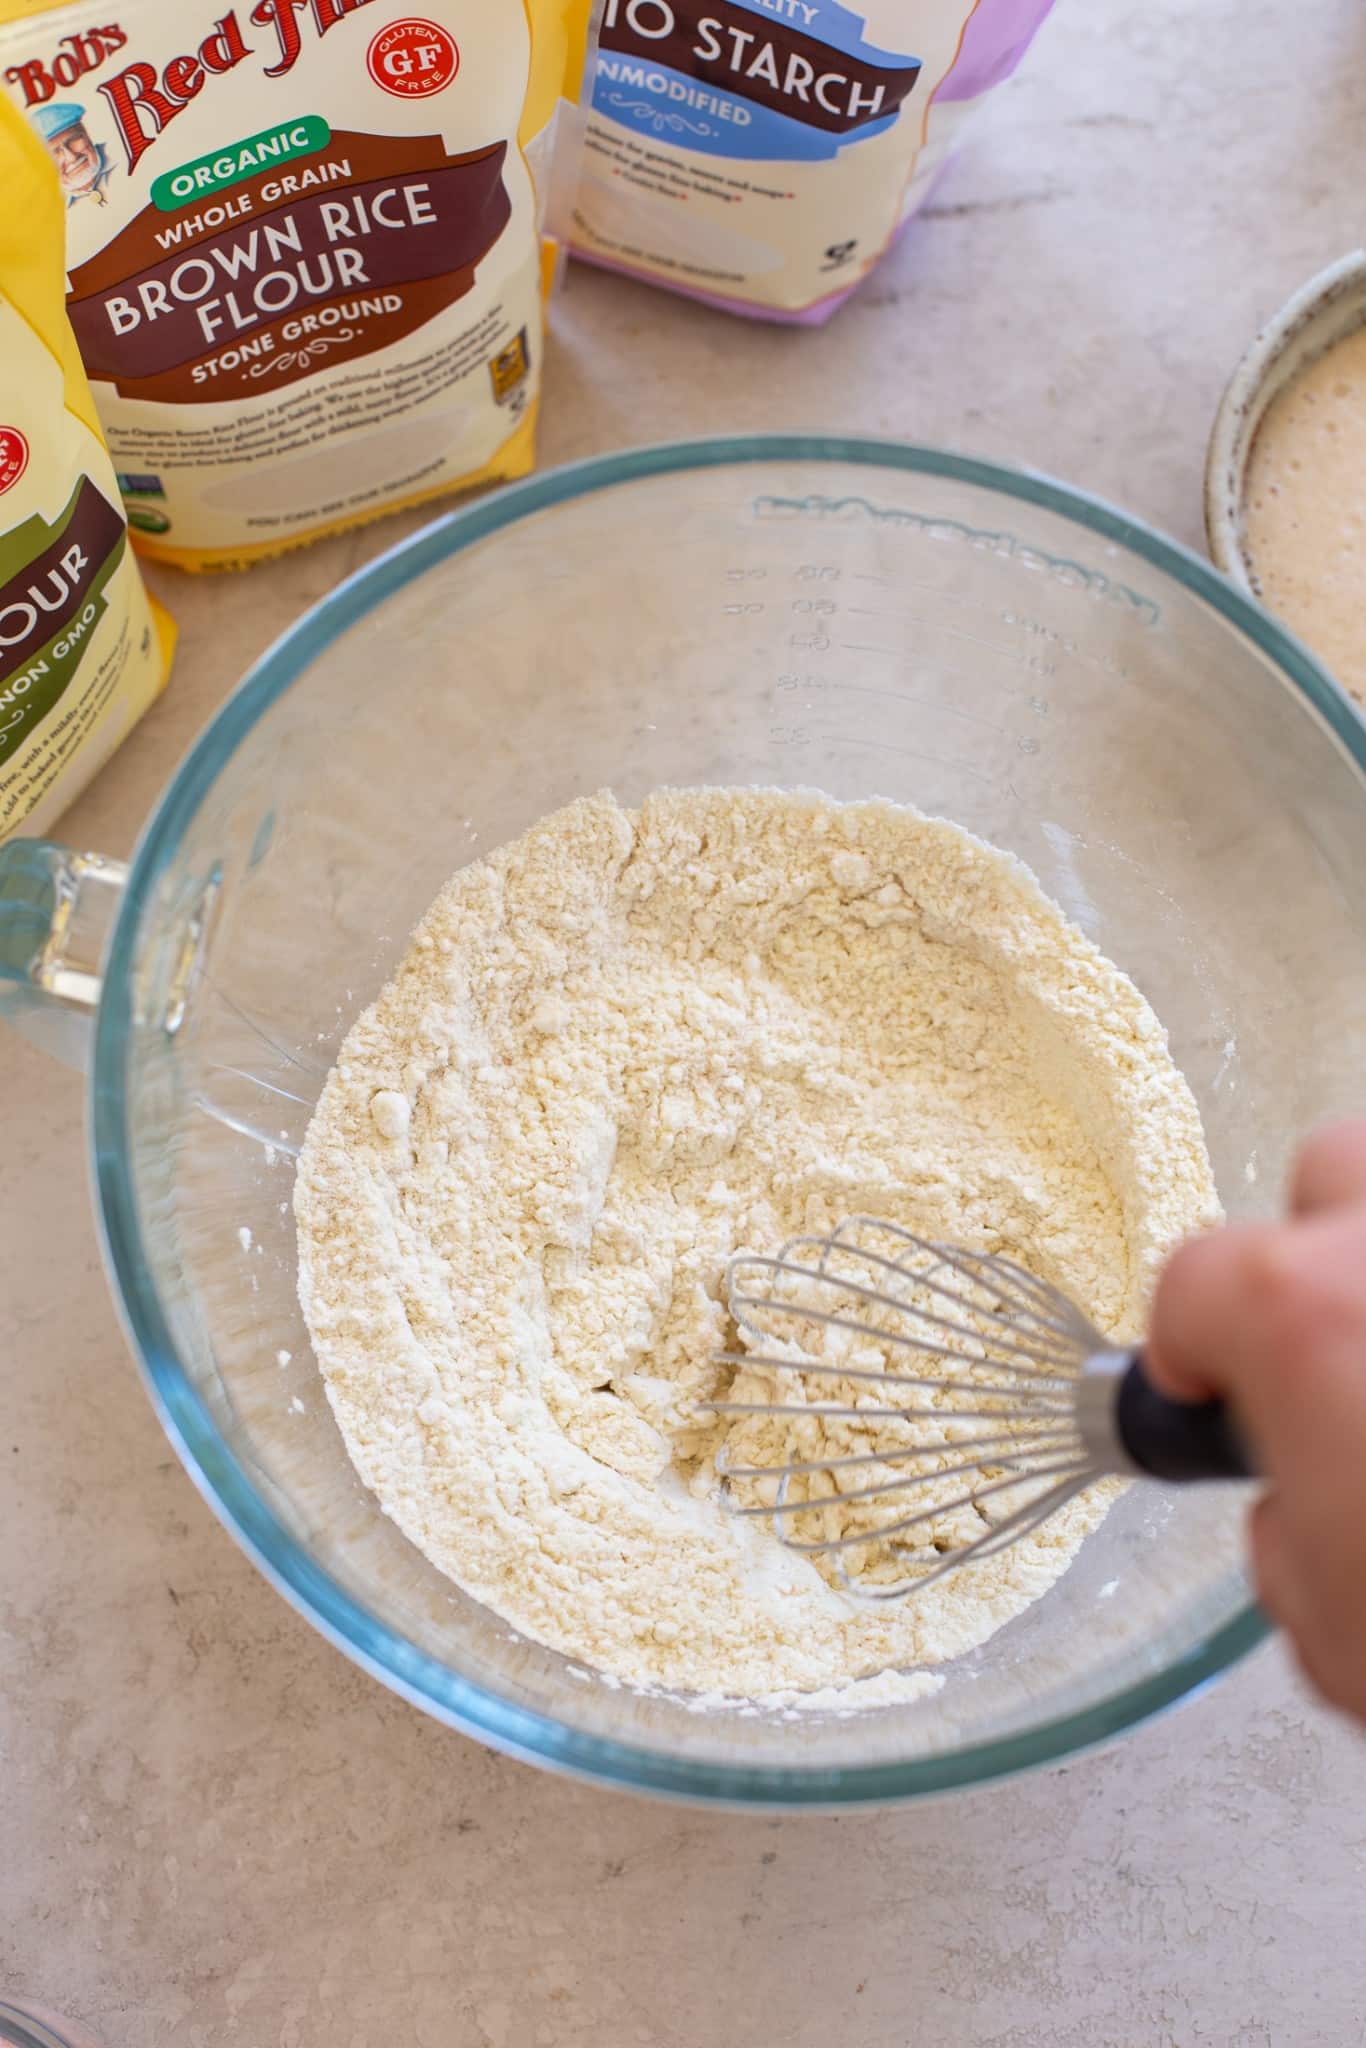
Combine the flours. I use a combination of starches (like potato, tapioca, and/or arrowroot) and whole grain flours (like brown rice flour, sorghum flour, millet flour, quinoa flour, etc.) for the best crispy, chewy texture. All of my flours and starches come from Bob’s Red Mill! Mix the salt in here too.
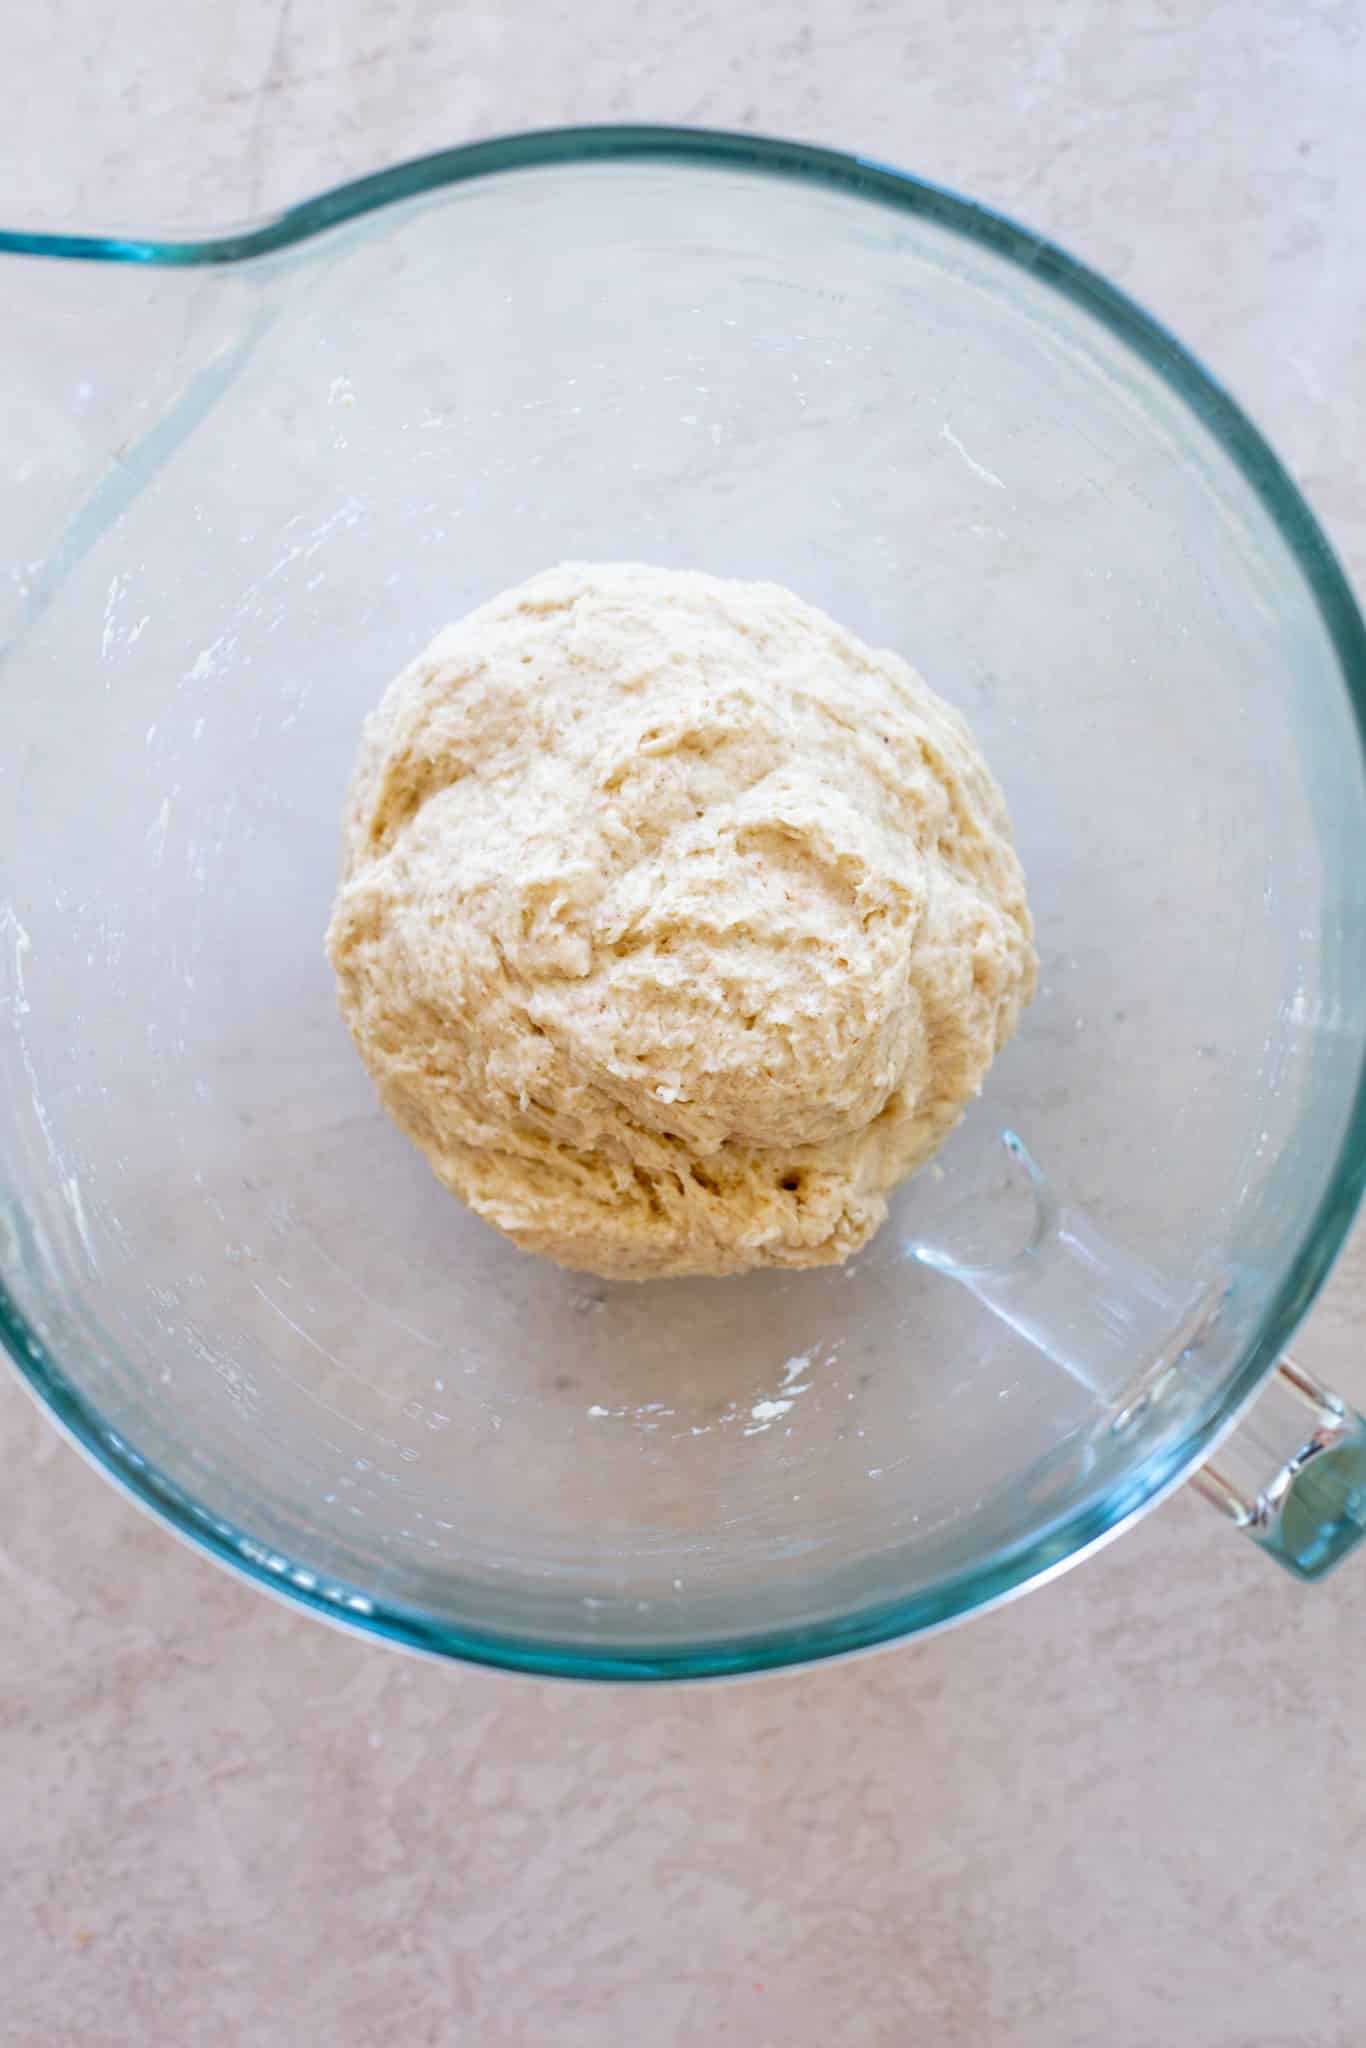
Mix the yeast and psyllium into the dry ingredients and combine until a dough forms. You should have a soft, pliable dough.

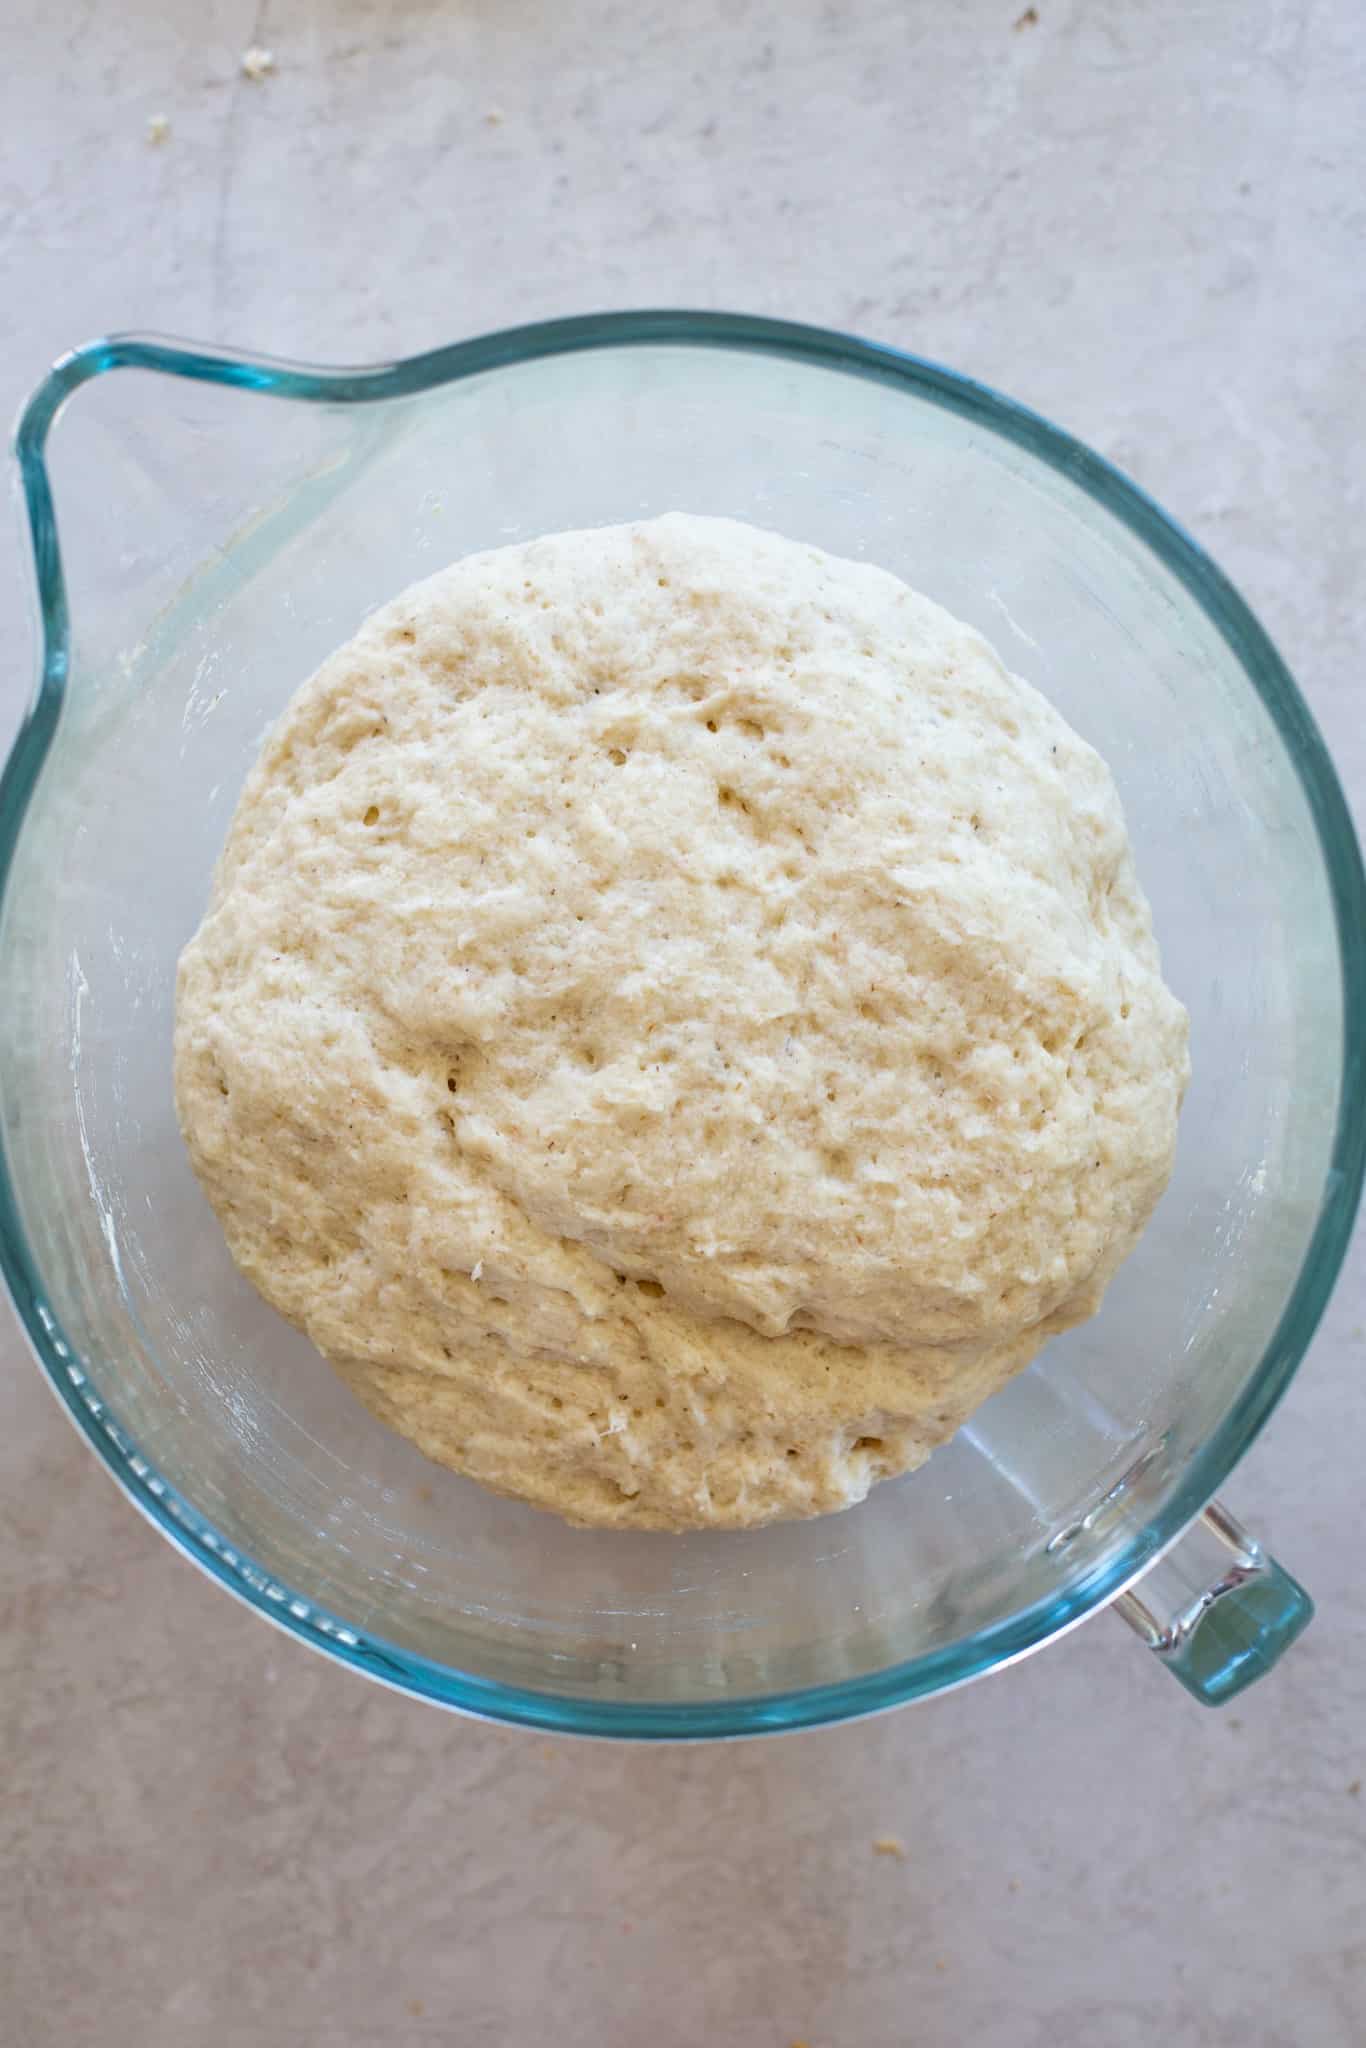
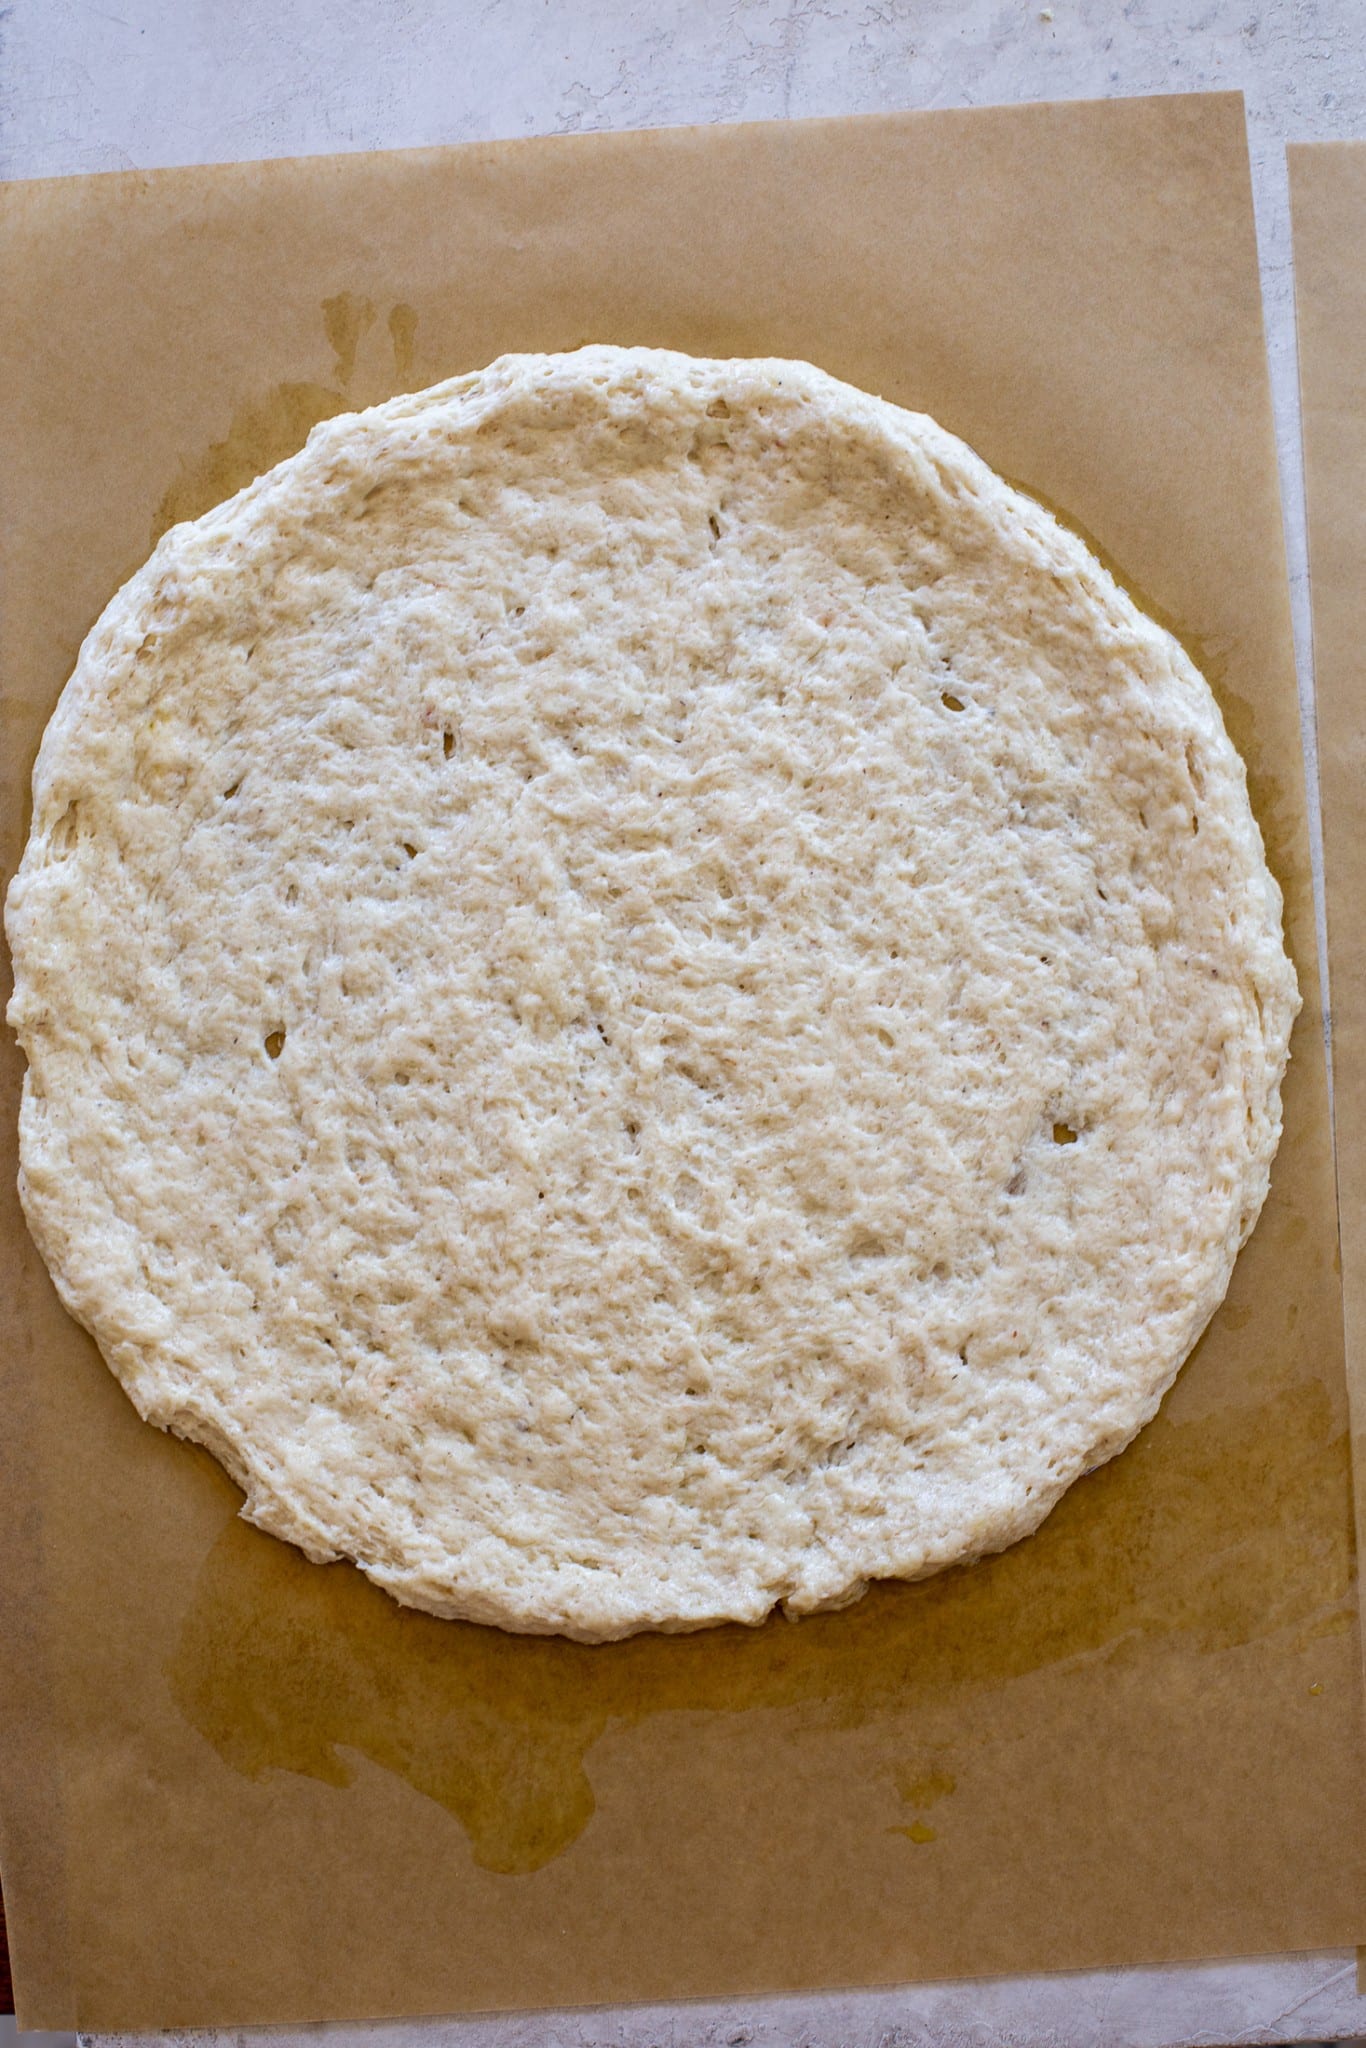
Let rise for 30 minutes and then divide into two if you want two thinner crusts. Leave as one ball if you want a thick crust. Press into your crust shapes on parchment paper.
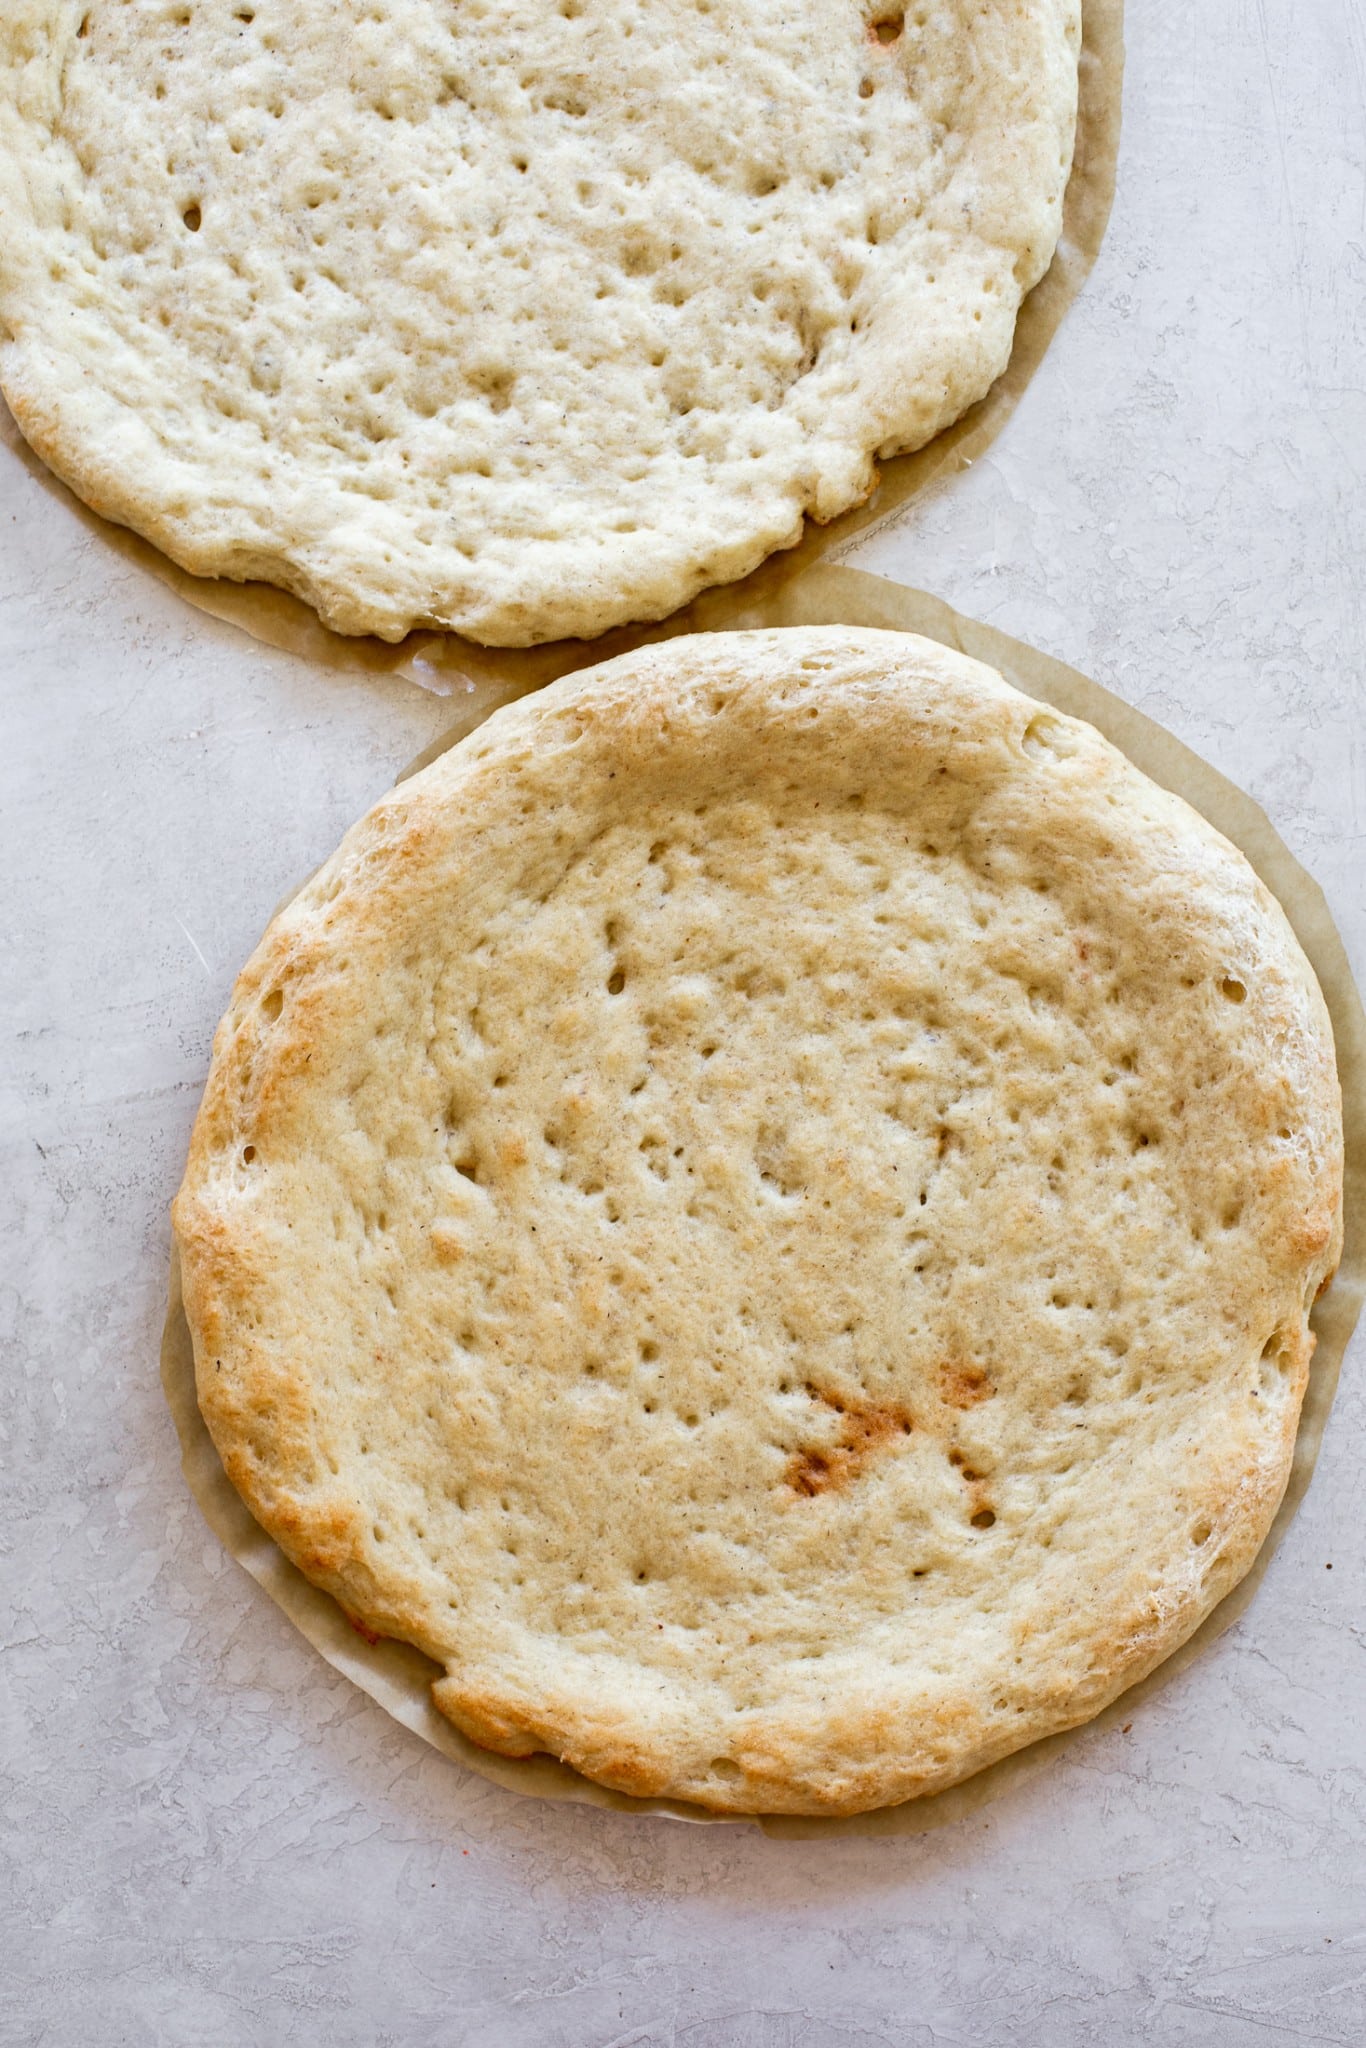
Parbake for 10 minutes until the bottom is golden and the crust is firm. Bake for 15 minutes if doing the thicker crust.
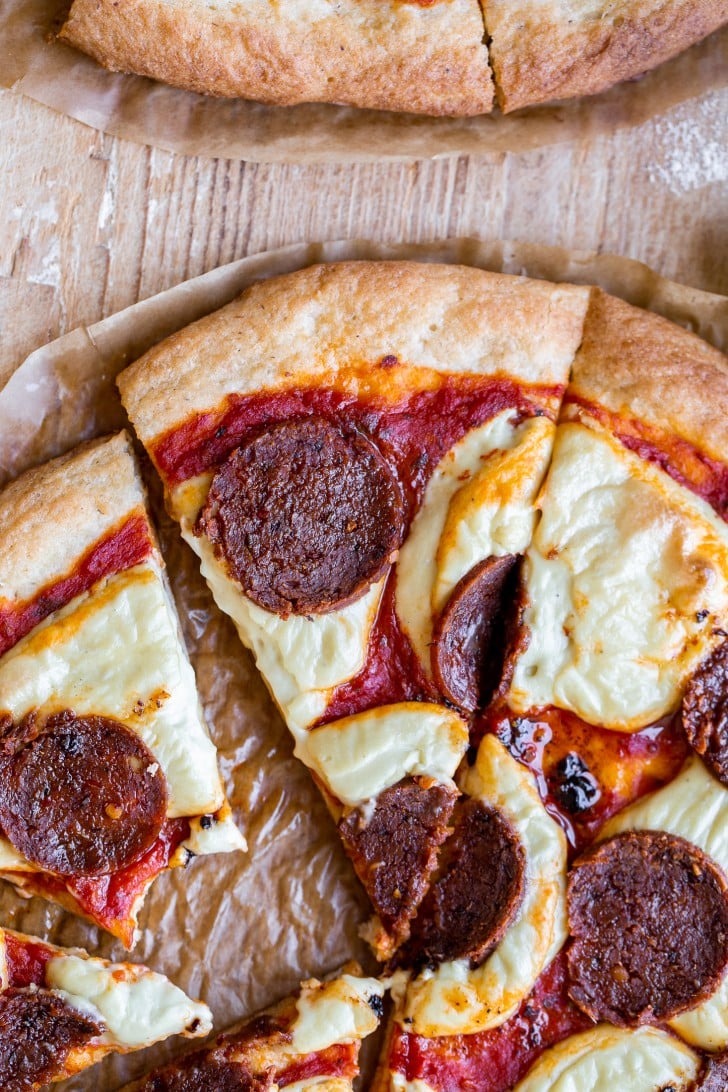
Add toppings to your pizza and then finish baking for another 10 to 15 minutes or until your toppings are golden and done to your liking!
Slice, serve, and devour!!
How to make pizza crust ahead of time
You’ll want to prepare the crust all the way through the first par-bake. Once you have your crust (if you went thick) or two crusts (if you want thin), you will let them cool and then wrap well in foil or another wrap, tuck into a freezer zip bag, label with the date and contents, and freeze for up to six months.
When you’re ready to use, simply take it out and let it thaw at room temperature for a bit. Add all of your toppings, and bake your pizza! Voila — gluten-free pizza on demand, whenever you want it.
Tips for the best gluten-free pizza crust
- Use a pre-heated pizza stone or a cast iron pizza pan if you have one! It really helps crisp up the bottom. If you don’t have one of these, you can also preheat your baking sheet to help get the crispiest bottom possible. You may need to par-bake the crust a little bit longer if you don’t do this.
- Your fingers are your best tool for pressing out the crust! I like rubbing a little oil on my hands when shaping the crust. You can use a rolling pin if you prefer, but it will squish the crust.
- Always par-bake the crust – gluten-free crust needs more baking time than traditional crust, and you don’t want the toppings to burn before the crust is baked through.
More pizza goodness, and favorites to serve with it!
- Gluten-Free Sourdough Pizza Crust
- Gluten-Free Pizza Crust (No Yeast!)
- Vegan Caesar Salad with Crispy Tempeh
- Kale Chickpea Salad with Lemon Vinaigrette
Gluten-Free Pizza Crust
Ingredients
To activate the yeast
- 7 g (2.5 tsp) Bob's Red Mill active dry yeast
- 100 g warm filtered water
- 20 g maple syrup, honey or cane sugar
For the loaf
- 12 g whole psyllium husk
- 275 g filtered water, room temperature
- 80 g Bob’s Red Mill Potato Starch, or another starch like tapioca starch or arrowroot starch, or a combination
- 220 g Bob’s Red Mill gluten-free whole grain flours, I did a 50/50 blend of Bob’s Red Mill millet flour and brown rice flour for the pizzas in the photos; you can also use any combination of sorghum flour, white rice flour, quinoa flour, buckwheat flour, or millet flour.
- 10 g sea salt
- Olive oil
Instructions
- In a small bowl, combine the yeast with the sweetener of your choice and warm water, between 100-110℉. It should feel very warm, but not too hot, to the touch. Let it sit to activate for about 10 to 15 minutes. You should notice it start to to bubble, and then it will get nice and foamy on top.7 g (2.5 tsp) Bob's Red Mill active dry yeast, 100 g warm filtered water, 20 g maple syrup
- Combine the psyllium husk and the water in a bowl or liquid measuring cup. Let it thicken and gel up for about 5 minutes.12 g whole psyllium husk, 275 g filtered water
- In a large bowl or the bowl of a stand mixer, combine the starch, flour, and salt. Add in the activated yeast mixture and thickened psyllium gel mixture. Mix until a smooth dough forms, making sure to scrape down the sides and the bottom to make sure all of the flour is hydrated. If the dough seems sticky, let it rest for a few more minutes to let the psyllium and flours absorb.80 g Bob’s Red Mill Potato Starch, 220 g Bob’s Red Mill gluten-free whole grain flours, 10 g sea salt
- Cover and let rise for 30 minutes at warm room temperature. While the dough rises, preheat the oven to 450ºF with a pizza stone or cast iron pizza pan inside, if you have one. The dough will feel lighter and puffy when it’s ready.
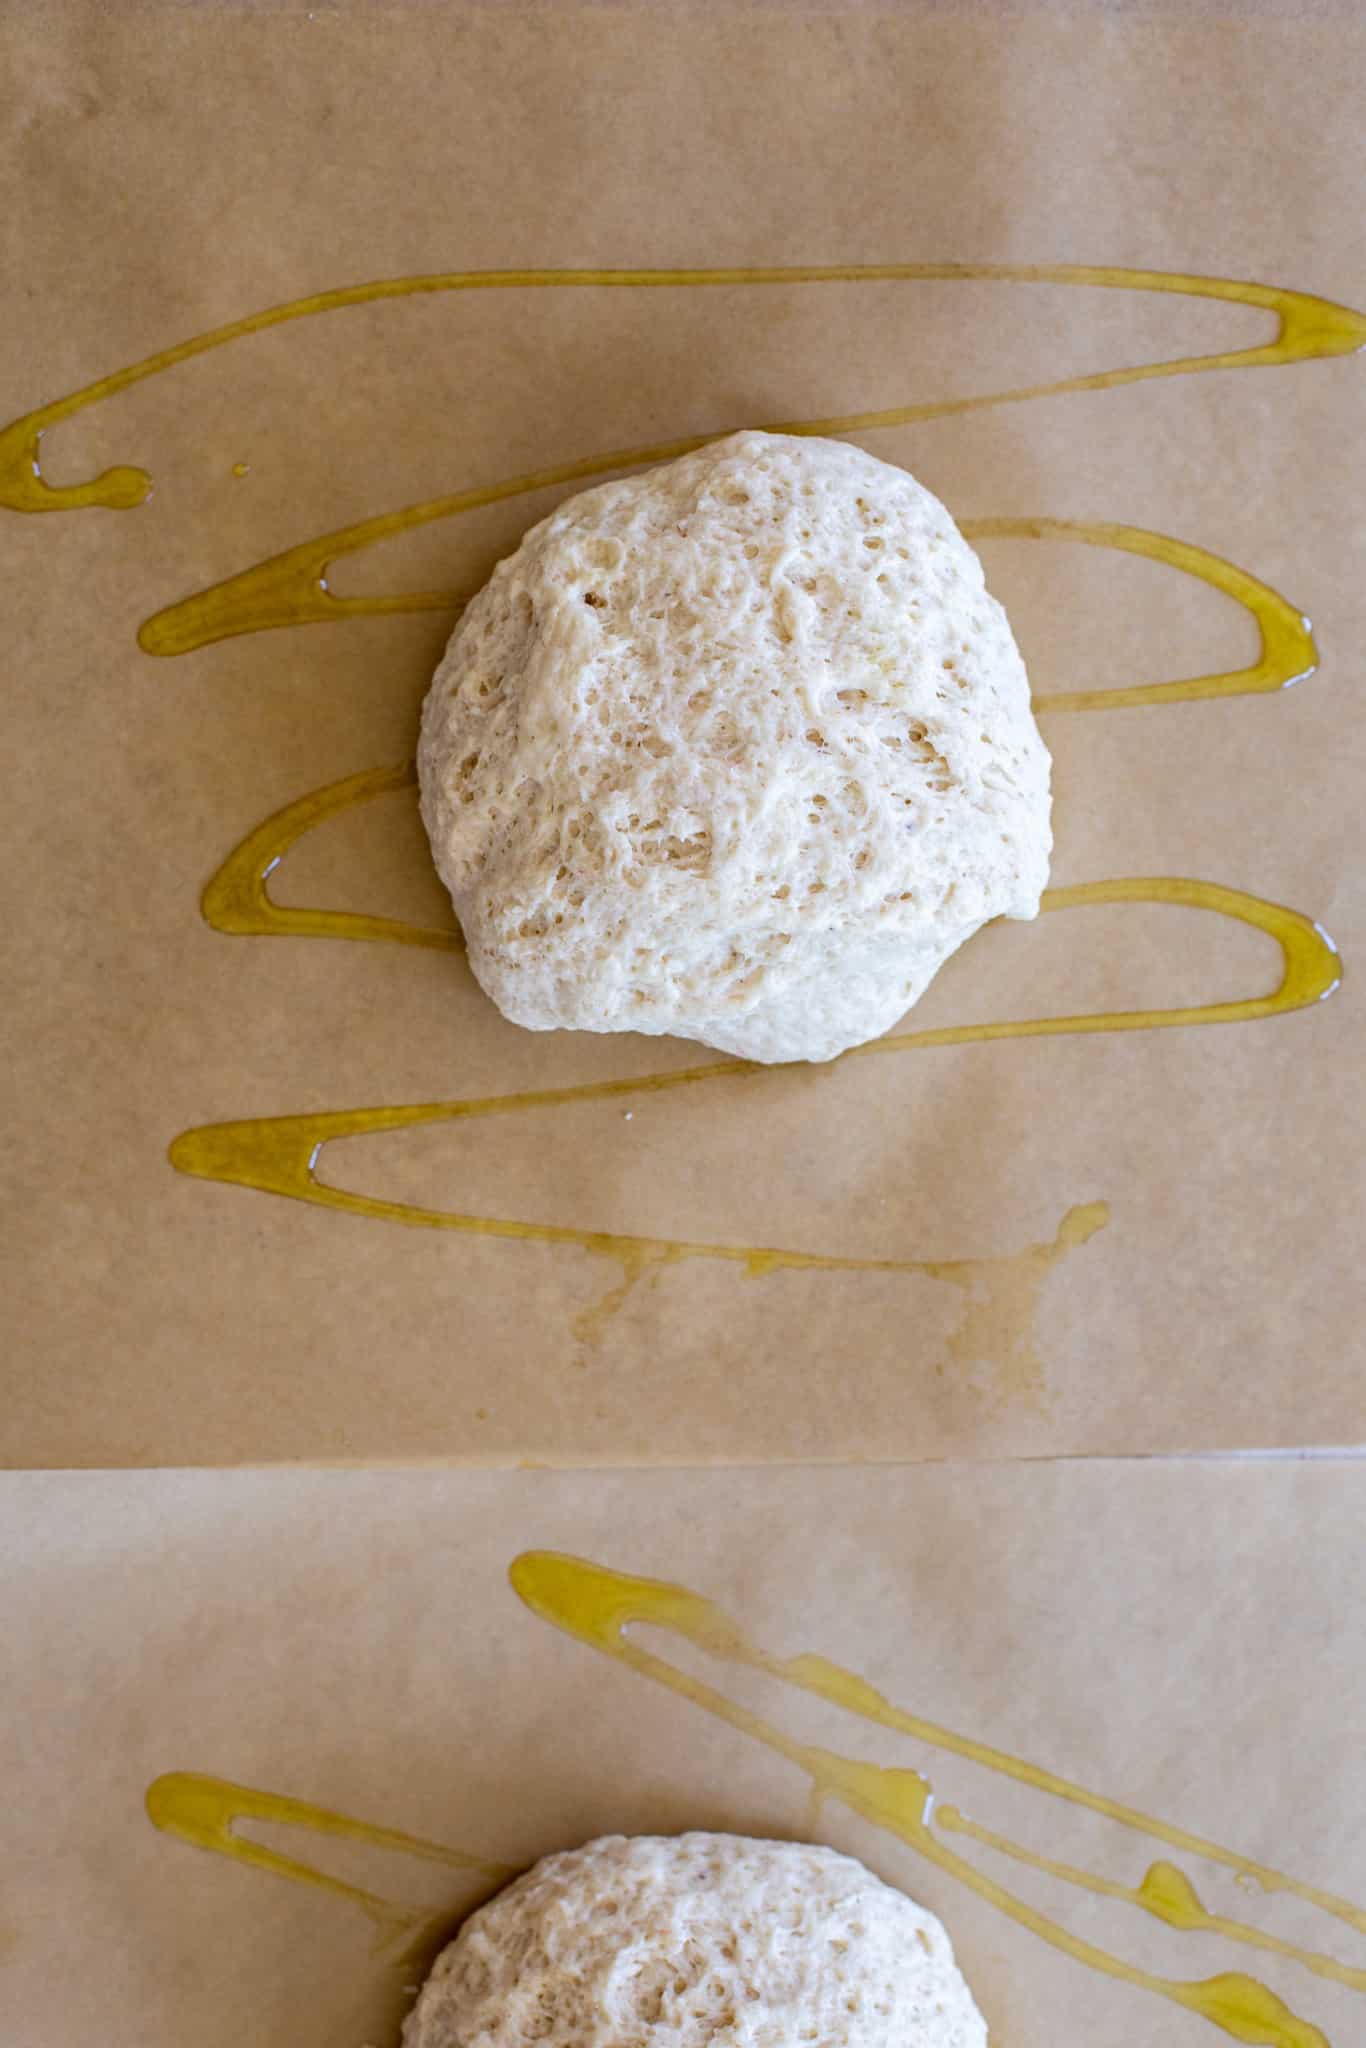
- Lightly grease a sheet of parchment paper and place it on a large cutting board or sheet pan. Flip the dough out onto the parchment, dividing it into two balls if making two crusts. Set one dough ball aside. Drizzle the dough with some oil if needed to help it spread more easily.Olive oil
- Use your hands or a rolling pan to press the dough out into a circle, working from the inside towards the outside. You should be able to press it into shape pretty easily! It doesn’t need to be perfect, and remember, the texture of the dough will seem different than traditional pizza dough, because the lack of gluten makes it stretch in a different way.
- Once it’s shaped, slide the crust onto the pizza stone or place on a baking sheet to pre-bake the crust. Bake for about 10 minutes (or 15 for the thick crust), depending on how crispy you want it. I like getting it a little golden on the edges, and firm enough to slide off the parchment paper.
- While that crust is baking, press the other crust into shape.
- Once the crust is par-baked to your liking,, remove it carefully from the oven. Slide in your other crust to bake while you add toppings to the first crust.
- Add all of your pizza toppings, and bake for about 10 more minutes, or until the toppings are golden and the cheese is melted.
- Remove from the oven, slice and serve immediately. Enjoy!

Hi! This was my first time trying one of your recipes! I knew it would be good because its pizza, but wow this was amazing!! It is a little crispy on the edges, chewy, and doesn’t taste GF. I wish I would have tried this recipe sooner! I baked it for my birthday a few weeks ago and have been eating it ever since! Thank you for creating such a delicious recipe.
So glad you’re loving it, LJ!! Thanks so much for the feedback :D
Guys, this is by far the best gluten free pizza crust i have ever had, home made or store bought. I used half brown rice flour and half Sorghum and i only had psyllium husk powder but it worked just as fine. This is a keeper, and my go to pizza recipe from now on. THE best!
So glad you’re loving it, Efi!! Thanks so much for the feedback :)
Guys, this is by far the best gluten free pizza crust i have ever had, home made or store bought. I used half brown rice flour and half Sorghum and i only had psyllium husk powder but it worked just as fine. This is a keeper, and my go to pizza recipe from now on. Thank you for an amazing recipe!
Hi- can you freeze the dough to defrost and use later? If so, at what stage do you recommend freezing?
Hi Hannah, I’ve never frozen the dough, but I’ve frequently frozen the baked crusts to top and finish baking later. If you were to freeze the dough, I would recommend doing it after dividing and shaping into rounds, but before the rise. Then defrost and let rise until puffy, shape, and bake as usual.
This looks great! Would oat flour work? Perhaps a mix of sorghum and oat flour?
Hi Debs, yes that should work!
Can confirm, the sorghum and oat mix worked well. Excellent pizza, my new go to!
So glad you’re loving it!
It worked great! Absolutely the best gluten free pizza I have had!
So glad you loved it, Deb! Thanks so much for the review :)
This was one of the easiest GF doughs I’ve worked with! I had instant yeast, not active dry, and have had good luck with just adding psyllium husk with the dry ingredients in other recipes, so I made a few changes: I weighed all the dry ingredients, including yeast and psyllium husk (and sugar) into the bowl of my stand mixer, and then added all of the water. 3 minutes later, the dough was nicely mixed and well hydrated. It made a great pizza and I had fewer mixing bowls to wash! :)
So glad you’re enjoying it! Thanks so much for the thoughtful review and feedback.
Just love it! Healthy and delicious! Now we can stop searching for recipes for pizza crust, after 12 years. This is a keeper, the whole family lives it. Thank you! I use the powdered husk, get better results with that for some reason. This time I had rice, buckwheat and oat flour, last time rice and sorghum.
So thrilled you’re loving it, Sara! Thanks so much for the feedback.
I am not sure what I did wrong. Its wet and sticky and definitely not ready to be a crust. I did it twice & followed the directions. 2nd time used the scale to be sure. Epic fail! HELP. Anyone with suggestions.
Hi Olivia, did you use psyllium? Follow all the directions? Was the dough the right texture?