Chocolate Peanut Butter Tartlets (Gluten Free, Grain Free + Vegan)
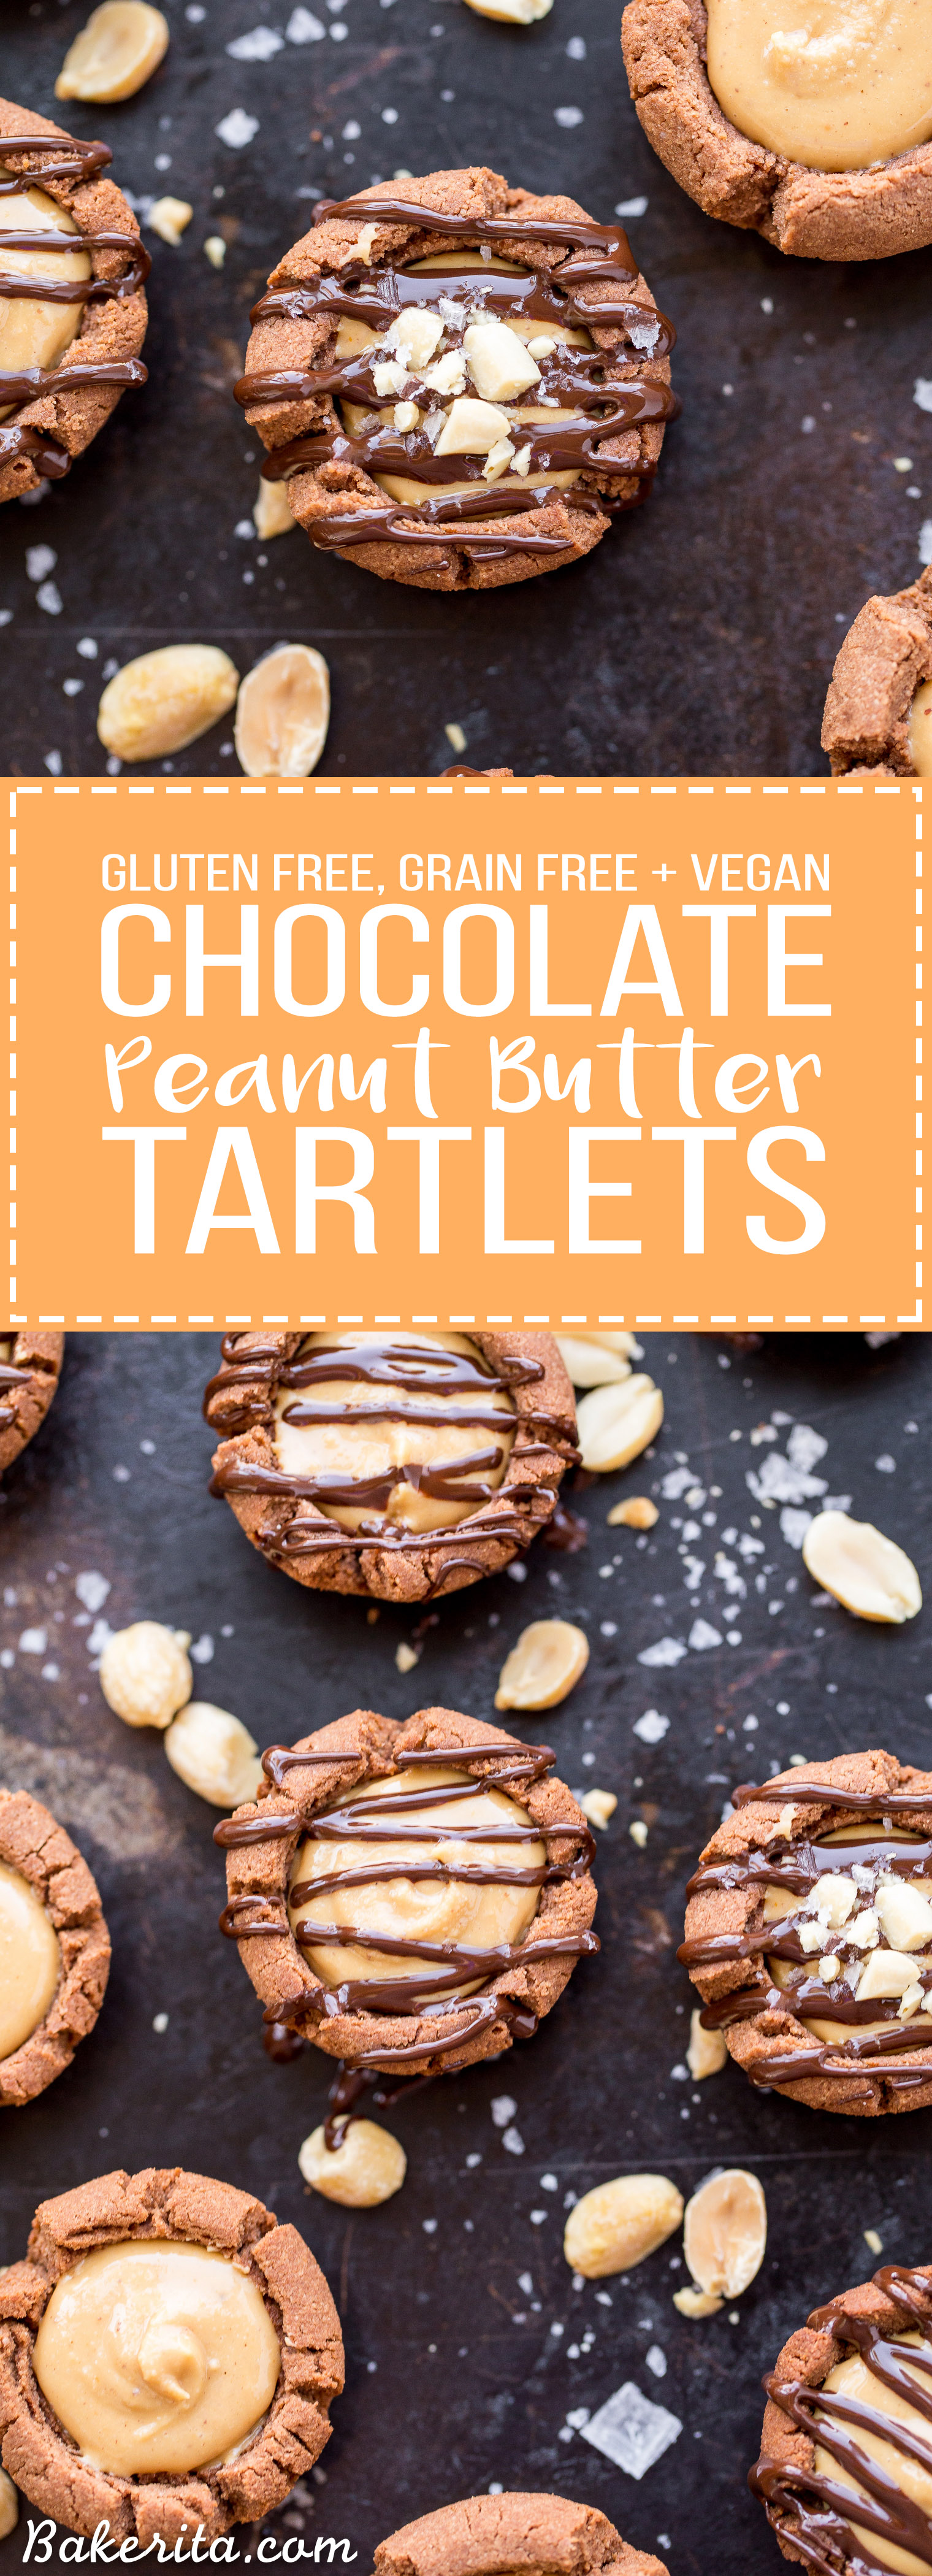
These Chocolate Peanut Butter Tartlets are sure to satisfy your sweet tooth! The chocolate shortbread crust is irresistibly crunchy, with a luscious peanut butter filling. You’d never guess these mini tarts are gluten-free, grain-free, refined sugar-free, and vegan.

This weekend, I went up to San Francisco to visit my sister for the weekend. My sister, who has been gluten-free for about 8 years now, inspired me to bake gluten-free, refined sugar-free and vegan treats. She is one of the reasons I started my site 7 years ago. So…I always feel obligated to bring her a bunch of the healthy treats that she, in some removed way, inspired to begin with.
I stocked up a few treats that I had made in the freezer, way in the back so they didn’t get eaten, in the week before I left. These Chocolate Peanut Butter Tartlets were among the treats I brought up to her. Of course, as soon as we got back to her house, she opened up her package and tried all the treats.
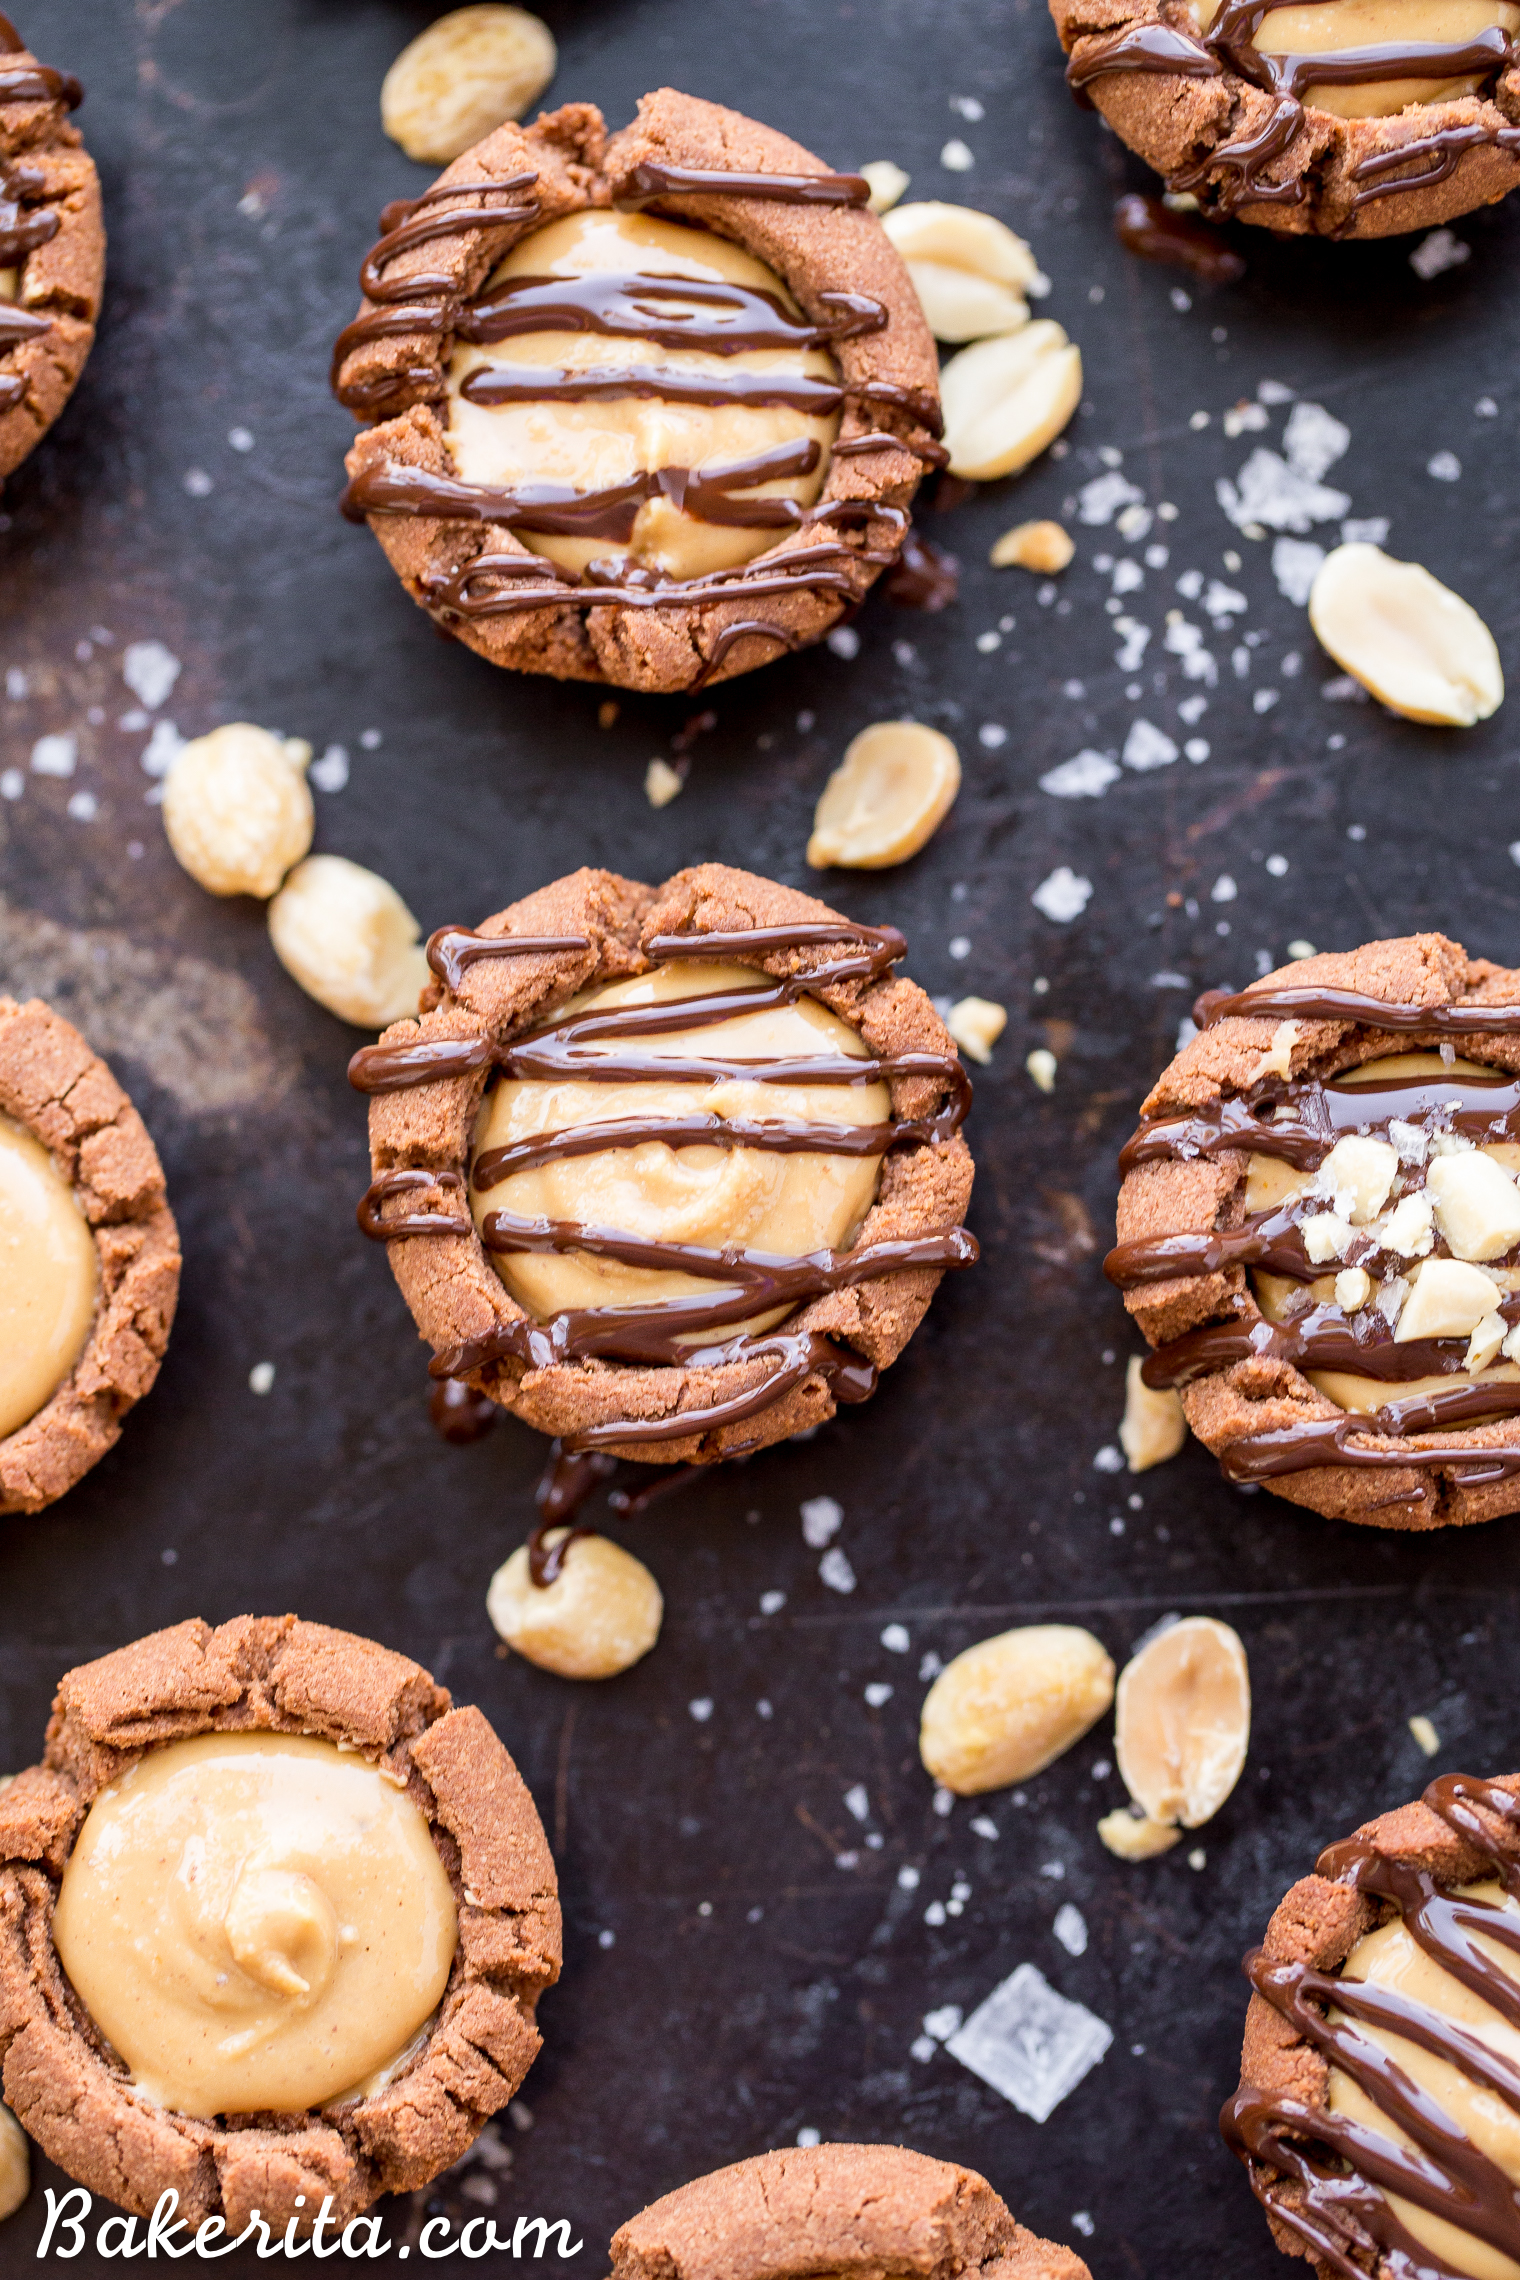
Pretty immediately, she announced these Chocolate Peanut Butter Tartlets as the favorite. They were up against some tough competition, but I find it hard to resist chocolate and peanut butter in any form, and this form is a spectacularly good one.
Let’s make Chocolate Peanut Butter Tartlets!
The chocolate shortbread tart crust is the base of the whole bite-sized treat, and it’s crunchy perfection. I like to bake the crusts for an extra minute or two past being fully baked to make them extra crunchy. That way, they turn out perfect for my crunch-loving tastes. If you prefer a softer base, just bake for a few minutes less.
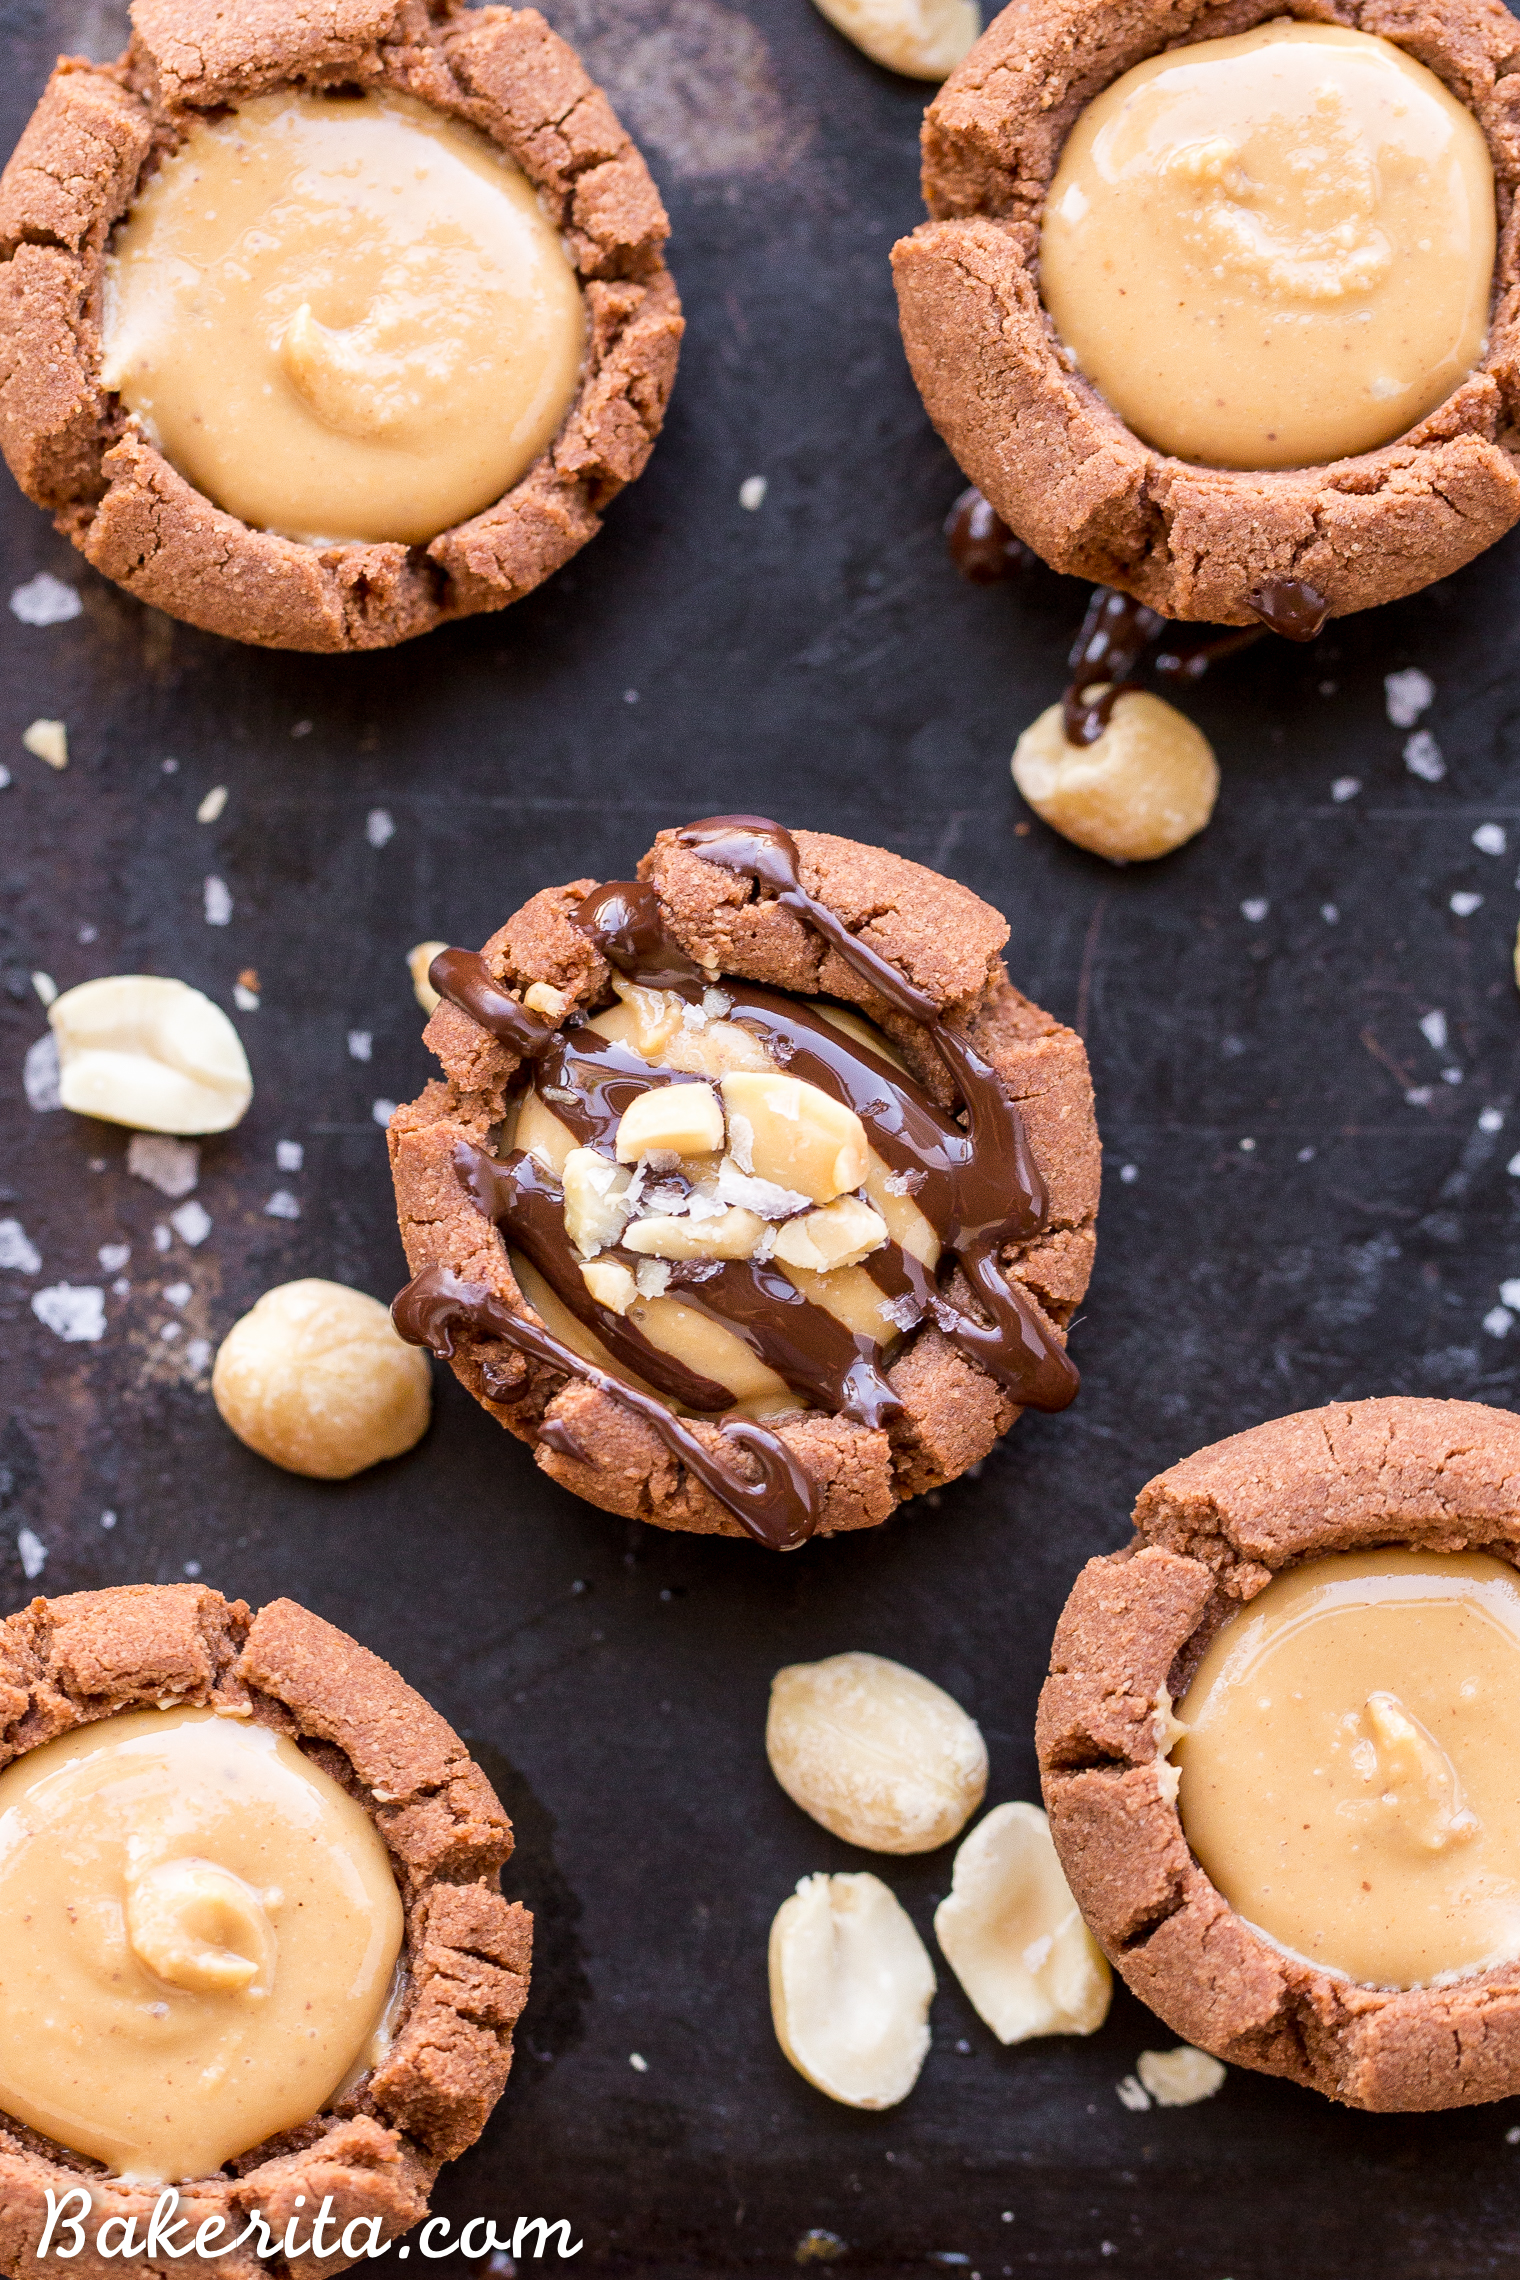
The creamy peanut butter filling perfectly complements the crunchy chocolate crust. It’s super smooth and creamy and reminds me of the filling of a Reese’s. Except, of course, that THIS one has no gluten, refined sugars, or weird preservatives. Just peanut butter, maple syrup, coconut flour (to help it set), and salt. Voila – simple, and so tasty.
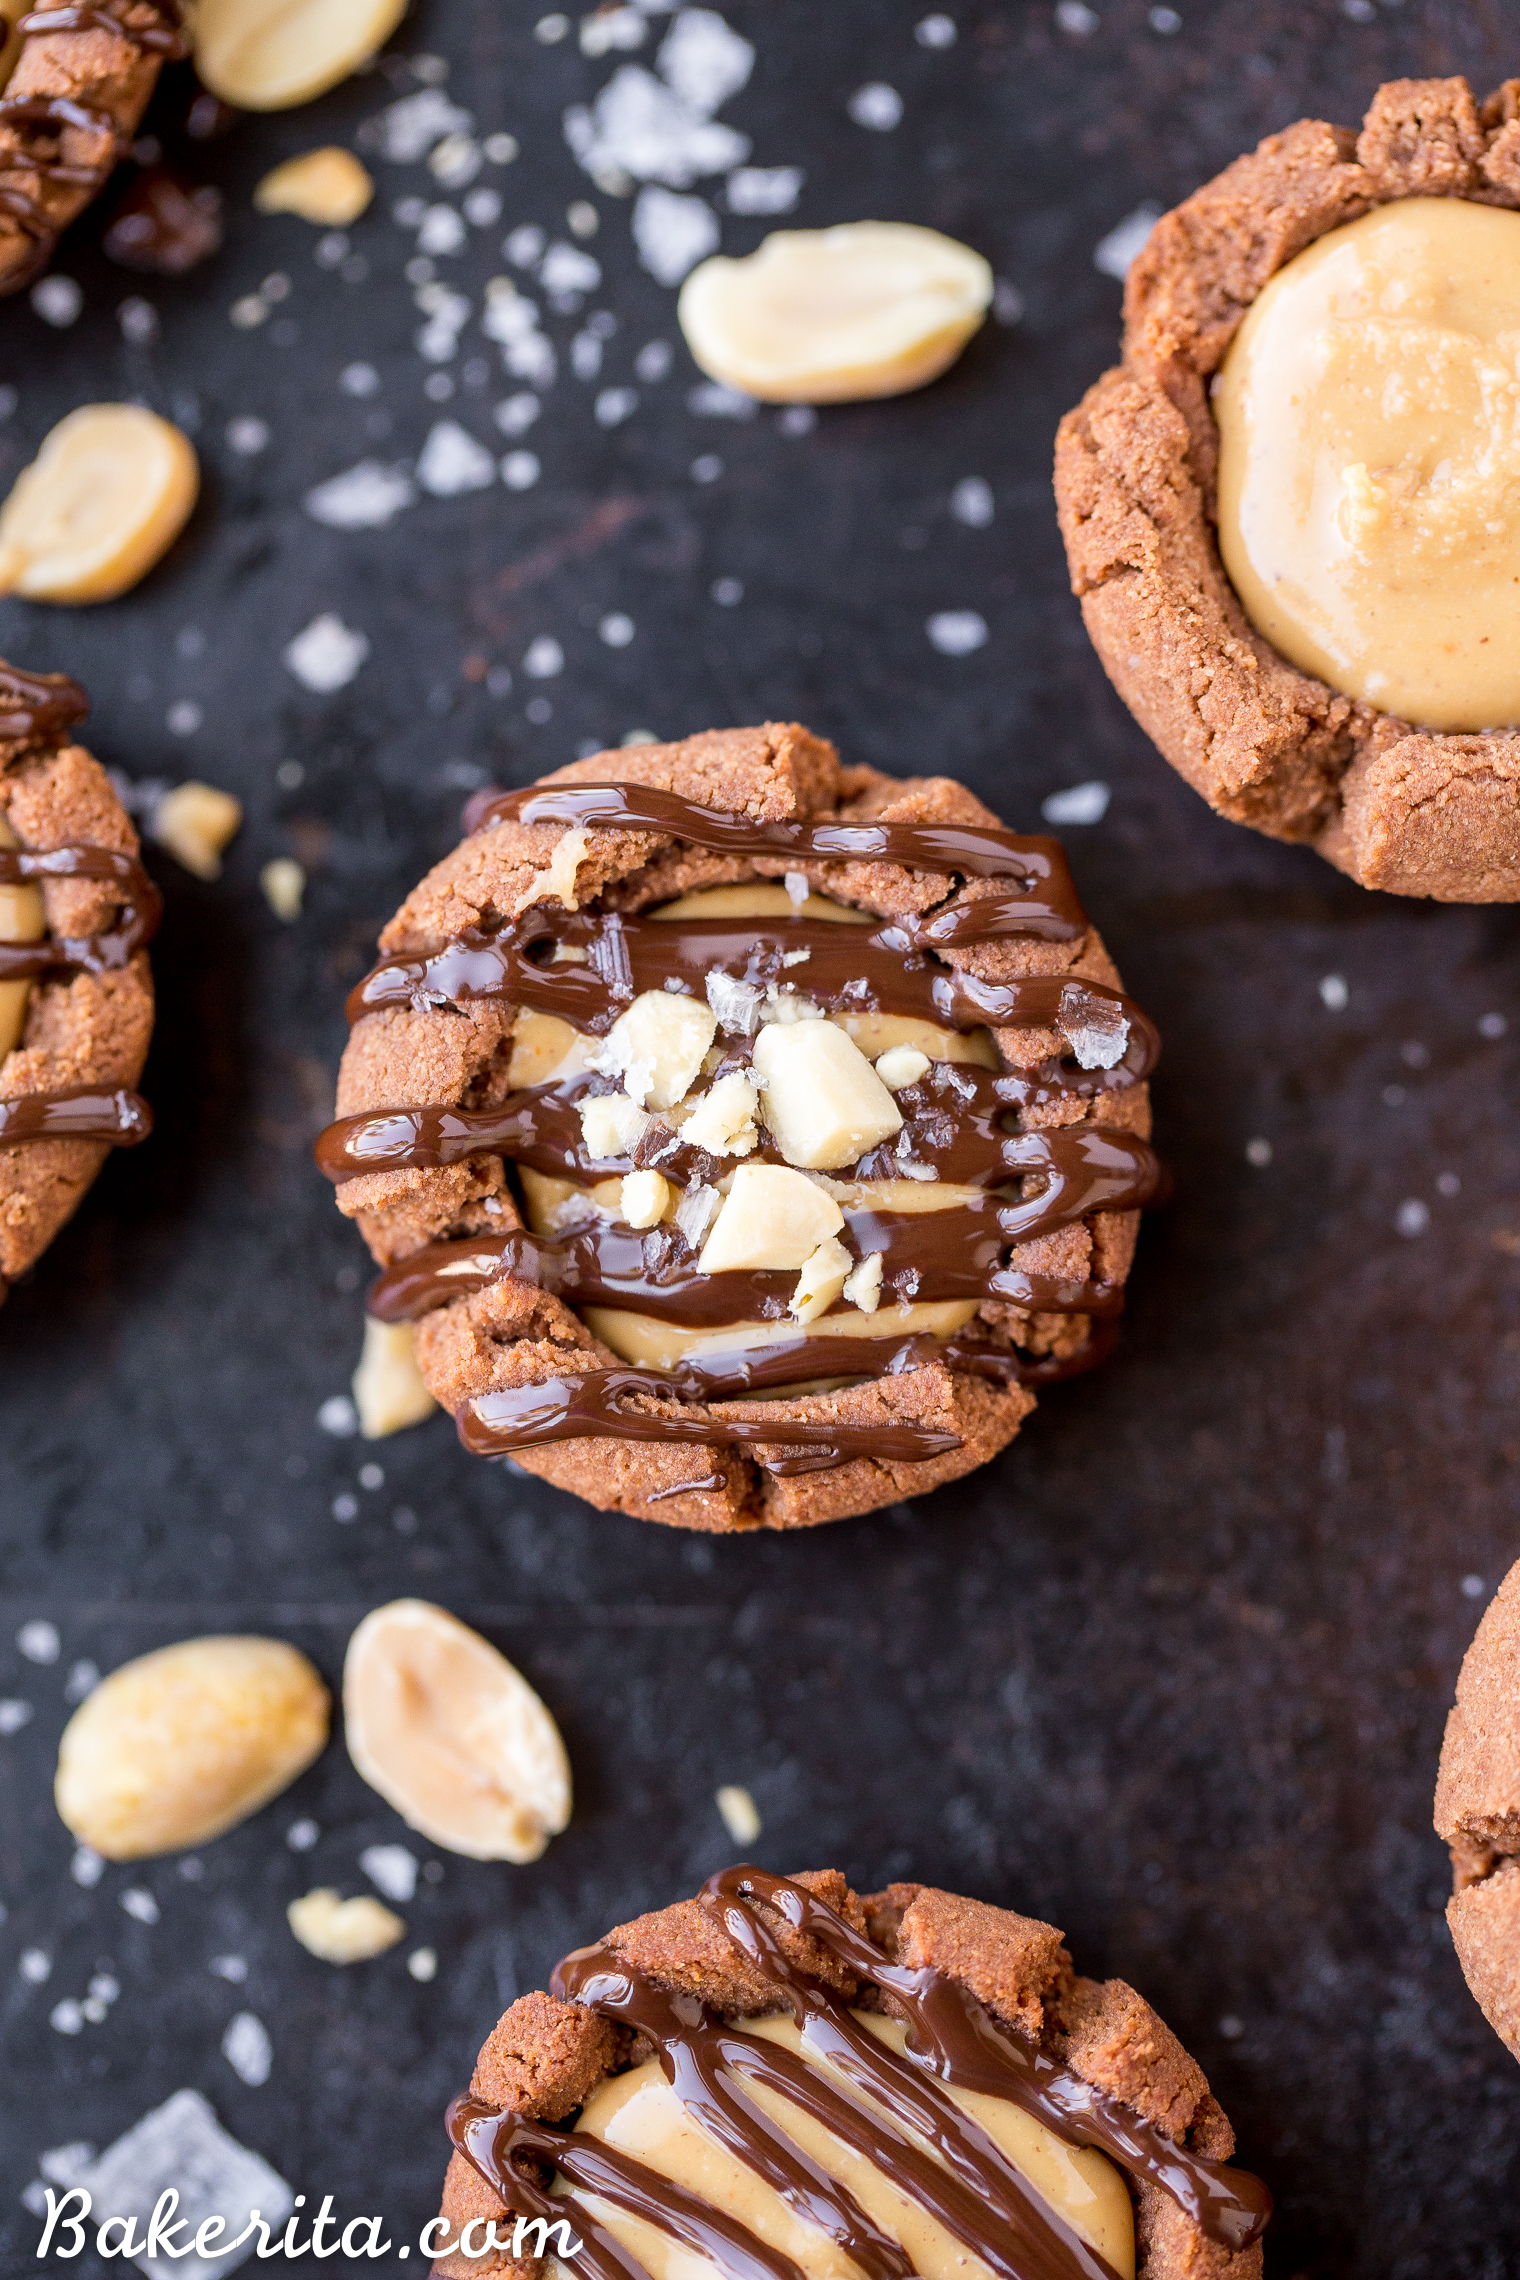
You’ll fill the crusts with the peanut butter mixture, you’ll drizzle the whole thing with chocolate. Then, garnish with crunchy peanuts and flaky sea salt. The sea salt is optional, but you guys know I can’t make something chocolatey without putting some salt on it, so here we are :) I recommend you give it a try if you’re on the fence. The salt is perfect on these Chocolate Peanut Butter Tartlets.
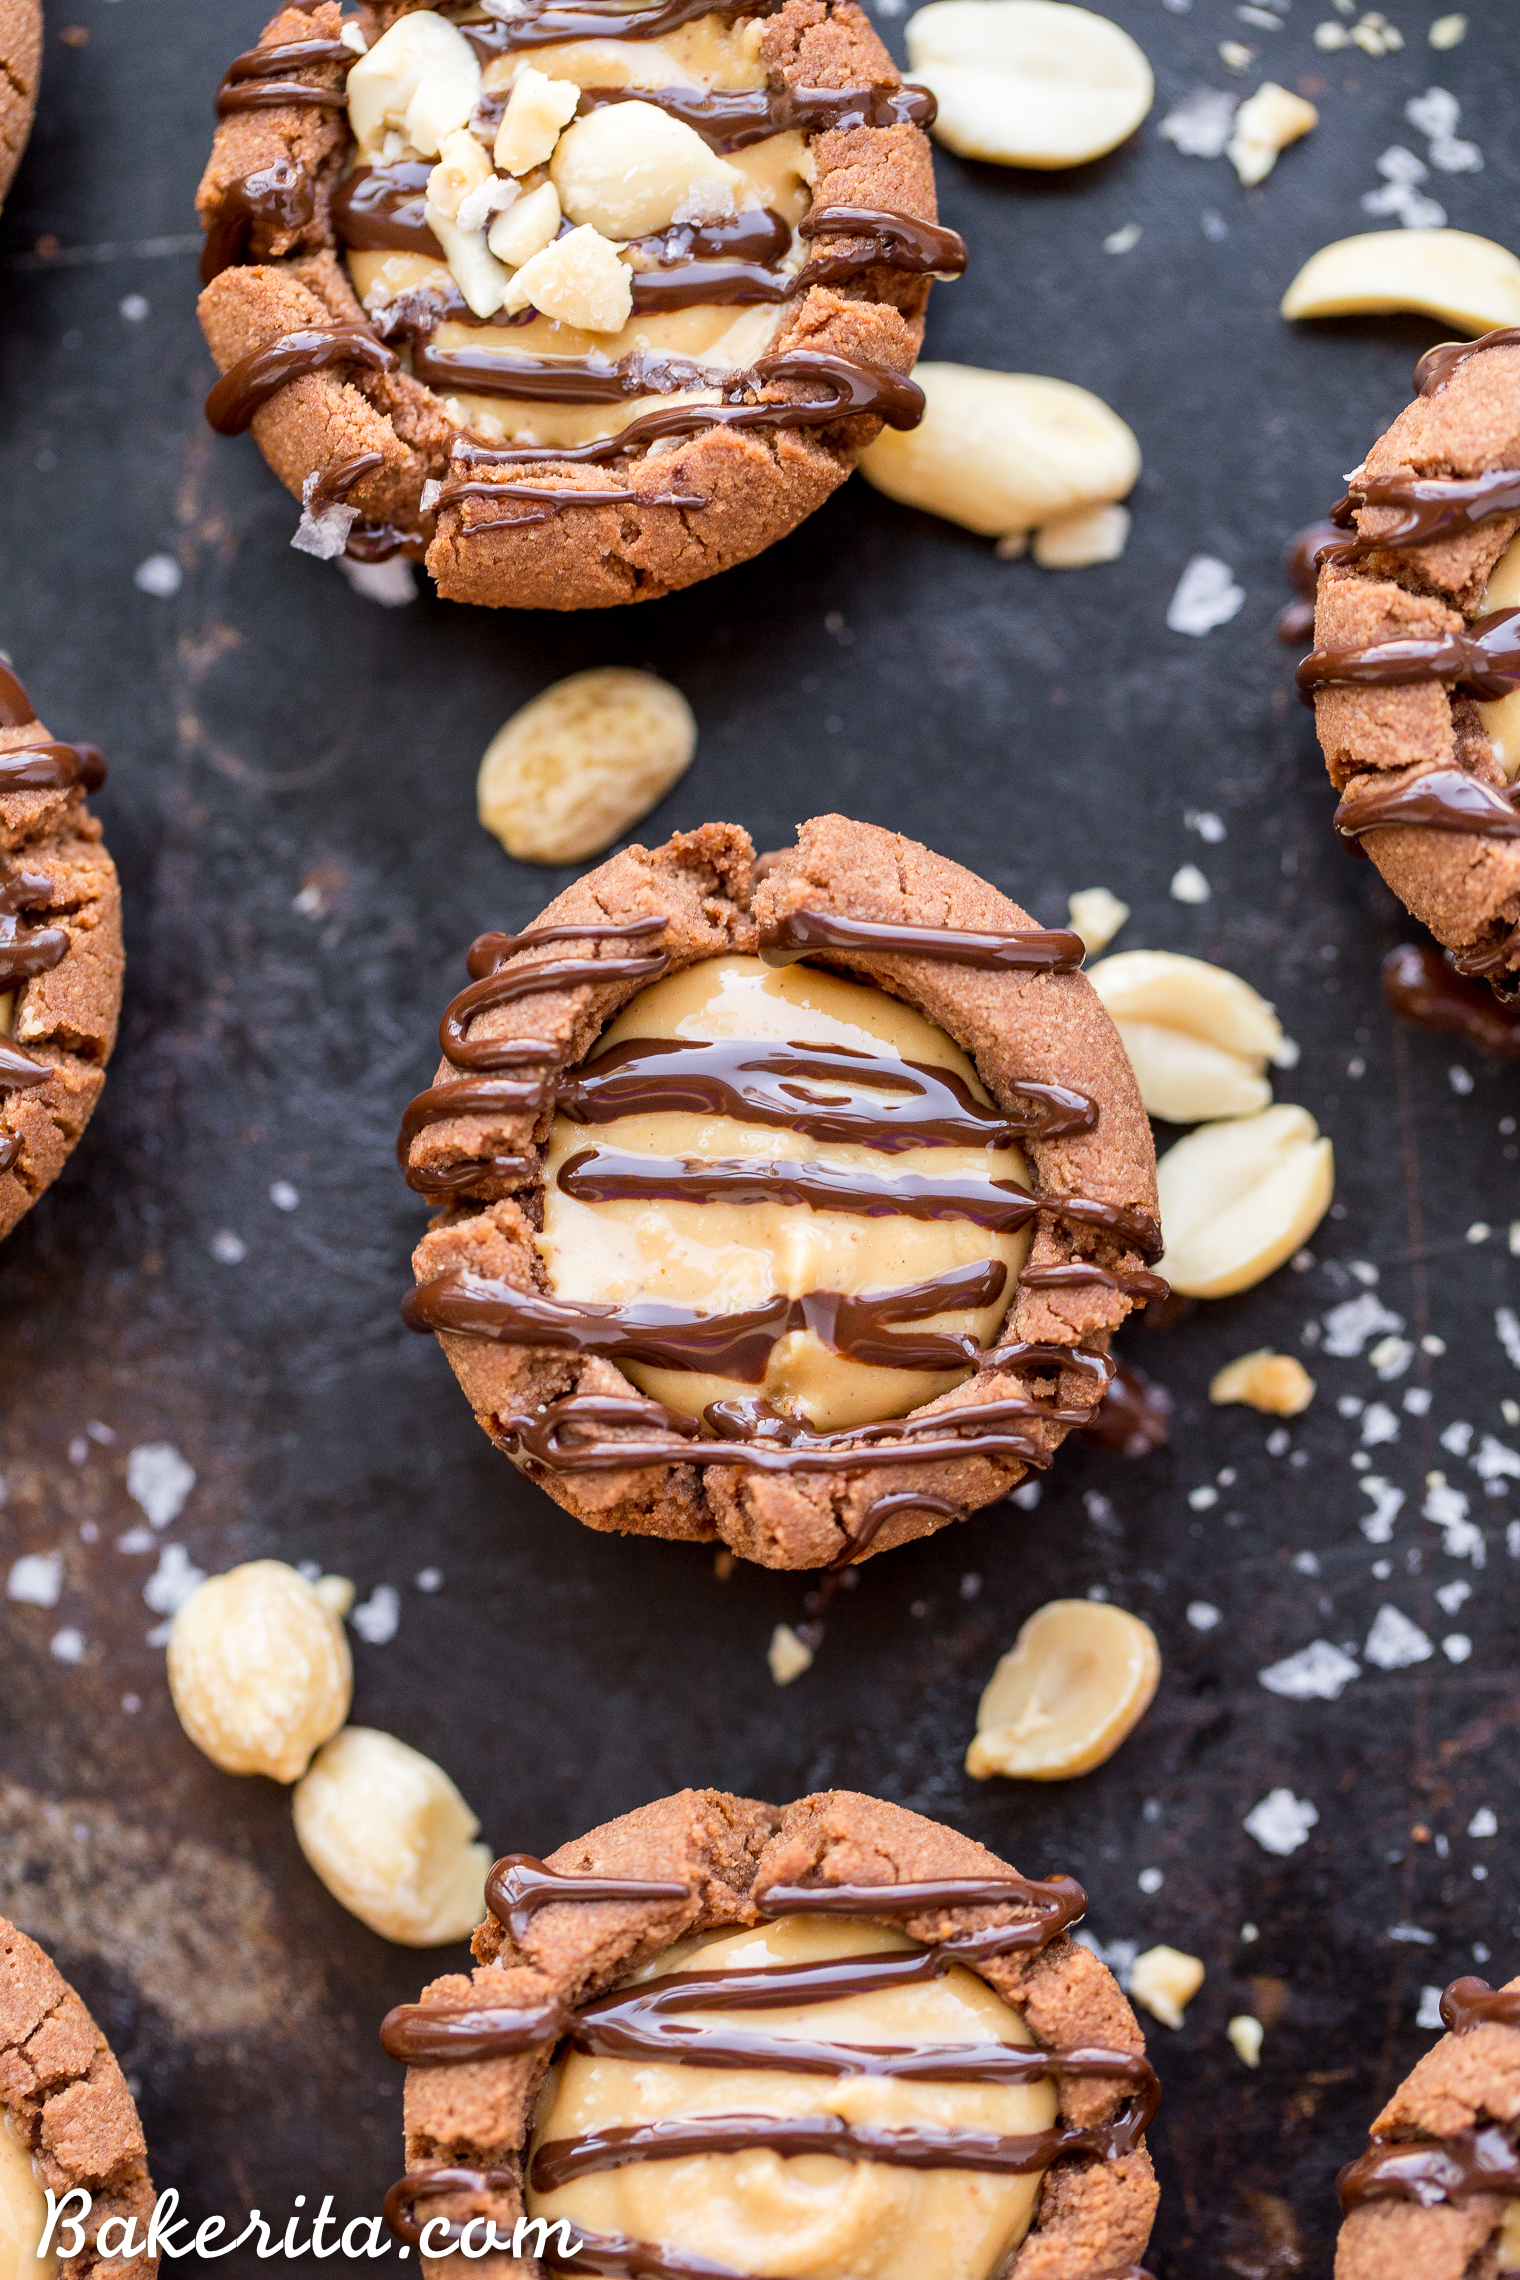
These Chocolate Peanut Butter Tartlets taste like peanut butter cups, but with the added deliciousness of a chocolate shortbread crust. What more could you want than some crunchiness added to a peanut butter cup?! These were dangerous to keep around, because I couldn’t keep my hands off of them. If you’re a peanut butter cup lover, these are a must-try. Enjoy!
Facebook | Instagram | Twitter | Pinterest
Remember to #bakerita if you try the recipe!
Print
Chocolate Peanut Butter Tartlets
- Prep Time: 20 minutes
- Total Time: 20 minutes
- Yield: 24 tartlets 1x
- Category: Dessert
- Cuisine: American
Description
These Chocolate Peanut Butter Tartlets are sure to satisfy your sweet tooth! The chocolate shortbread crust is irresistibly crunchy, with a luscious peanut butter filling. You’d never guess these mini tarts are gluten free, grain free, refined sugar free, and vegan.
Ingredients
For the crust
- ¾ cup (96g) coconut flour
- ¼ cup cocoa powder
- ¼ teaspoon kosher salt
- ⅓ cup maple syrup
- ½ cup coconut oil, solid but softened
For the peanut butter filling
- ½ cup natural creamy peanut butter
- 1 tablespoon maple syrup
- 2 tablespoons coconut flour
- ¼ teaspoon kosher salt
For the ganache
- 3 ounces dark chocolate, chopped
- 2 tablespoons peanut butter
- Chopped peanuts
- Flaky sea salt
Instructions
- Preheat the oven to 350ºF. Grease a 24-cavity mini muffin pan with coconut oil.
- Combine coconut flour, cocoa powder and salt in a bowl. Add the maple syrup and room temperature coconut oil and mix until a large dough ball forms, pressing out any clumps of coconut oil. If you’re mixing with a bowl and spoon (not a stand mixer), you may want to use your hands at the end to bring to dough fully together and make sure there aren’t any lumps of coconut oil remaining.
- Divide the dough between the 24 mini muffin cavities and press up the sides. Bake for 9 minutes for a softer crust, or up to 12 minutes for a firmer, crunchy crust. Let cool completely before using a toothpick or knife to pop the cups out of the muffin tin.
- While the crusts cool, stir together the peanut butter, maple syrup, coconut flour, and salt. Divide the peanut butter filling between the crusts, about a scant 1 tablespoon in each. Place in the refrigerator to set.
- Place the chopped dark chocolate and peanut butter in a heat-proof bowl and microwave for 30 seconds, stir, and then another 15 seconds. Whisk until completely smooth.
- Top each of the cups with the chocolate ganache – you can do this with a spoon, or put the chocolate in a piping bag and pipe it in for a cleaner look. Top each of the tartlets with chopped peanuts and flaky salt.
- Serve immediately or store in an airtight container in the refrigerator for up to 5 days.
Nutrition
- Calories: 132
- Sugar: 5
- Fat: 9
- Carbohydrates: 9
- Fiber: 3
- Protein: 3


Hmmm, these look yummy! I’ll be making them with almond butter, instead of peanut butter, and a homemade chocolate drizzle, so they will be paleo friendly!
I hope you love them Holly!!
Will these freeze? I need to bake ahead!
Yes they freeze very well! Just store in an airtight container.
Thank you!
people need to all jump on the sea salt on desserts bandwagon!!
These tartlets are so pretty and look DELICIOUS. I love how you’re able to make ridiculously amazing treats that are able to cater to so many different kinds of diet restrictions, you are THE BEST
I just made these and they are delicious! I did have a hard time getting the peanut butter middle the right consistency however, that could have been because I used my hand mixer. I just added a tablespoon of almond milk at a time while mixing until it became easier to use. It was still thick so I just piped it out using a large star tip. I ended up adding some more maple syrup to it after tasting because I like my sweets sweet. I will be making these again, thank you!