Chocolate Cashew Butter & Jelly Pop Tarts (Gluten Free, Paleo & Vegan)
These Chocolate Cashew Butter & Jelly Pop Tarts are made with a flaky vegan and paleo crust and stuffed with cashew butter, raspberry jelly, and chopped Hu Kitchen chocolate. You’re going to go nuts for these paleo & vegan copycat of your favorite childhood treat! Thanks to Hu Kitchen for sponsoring this post.
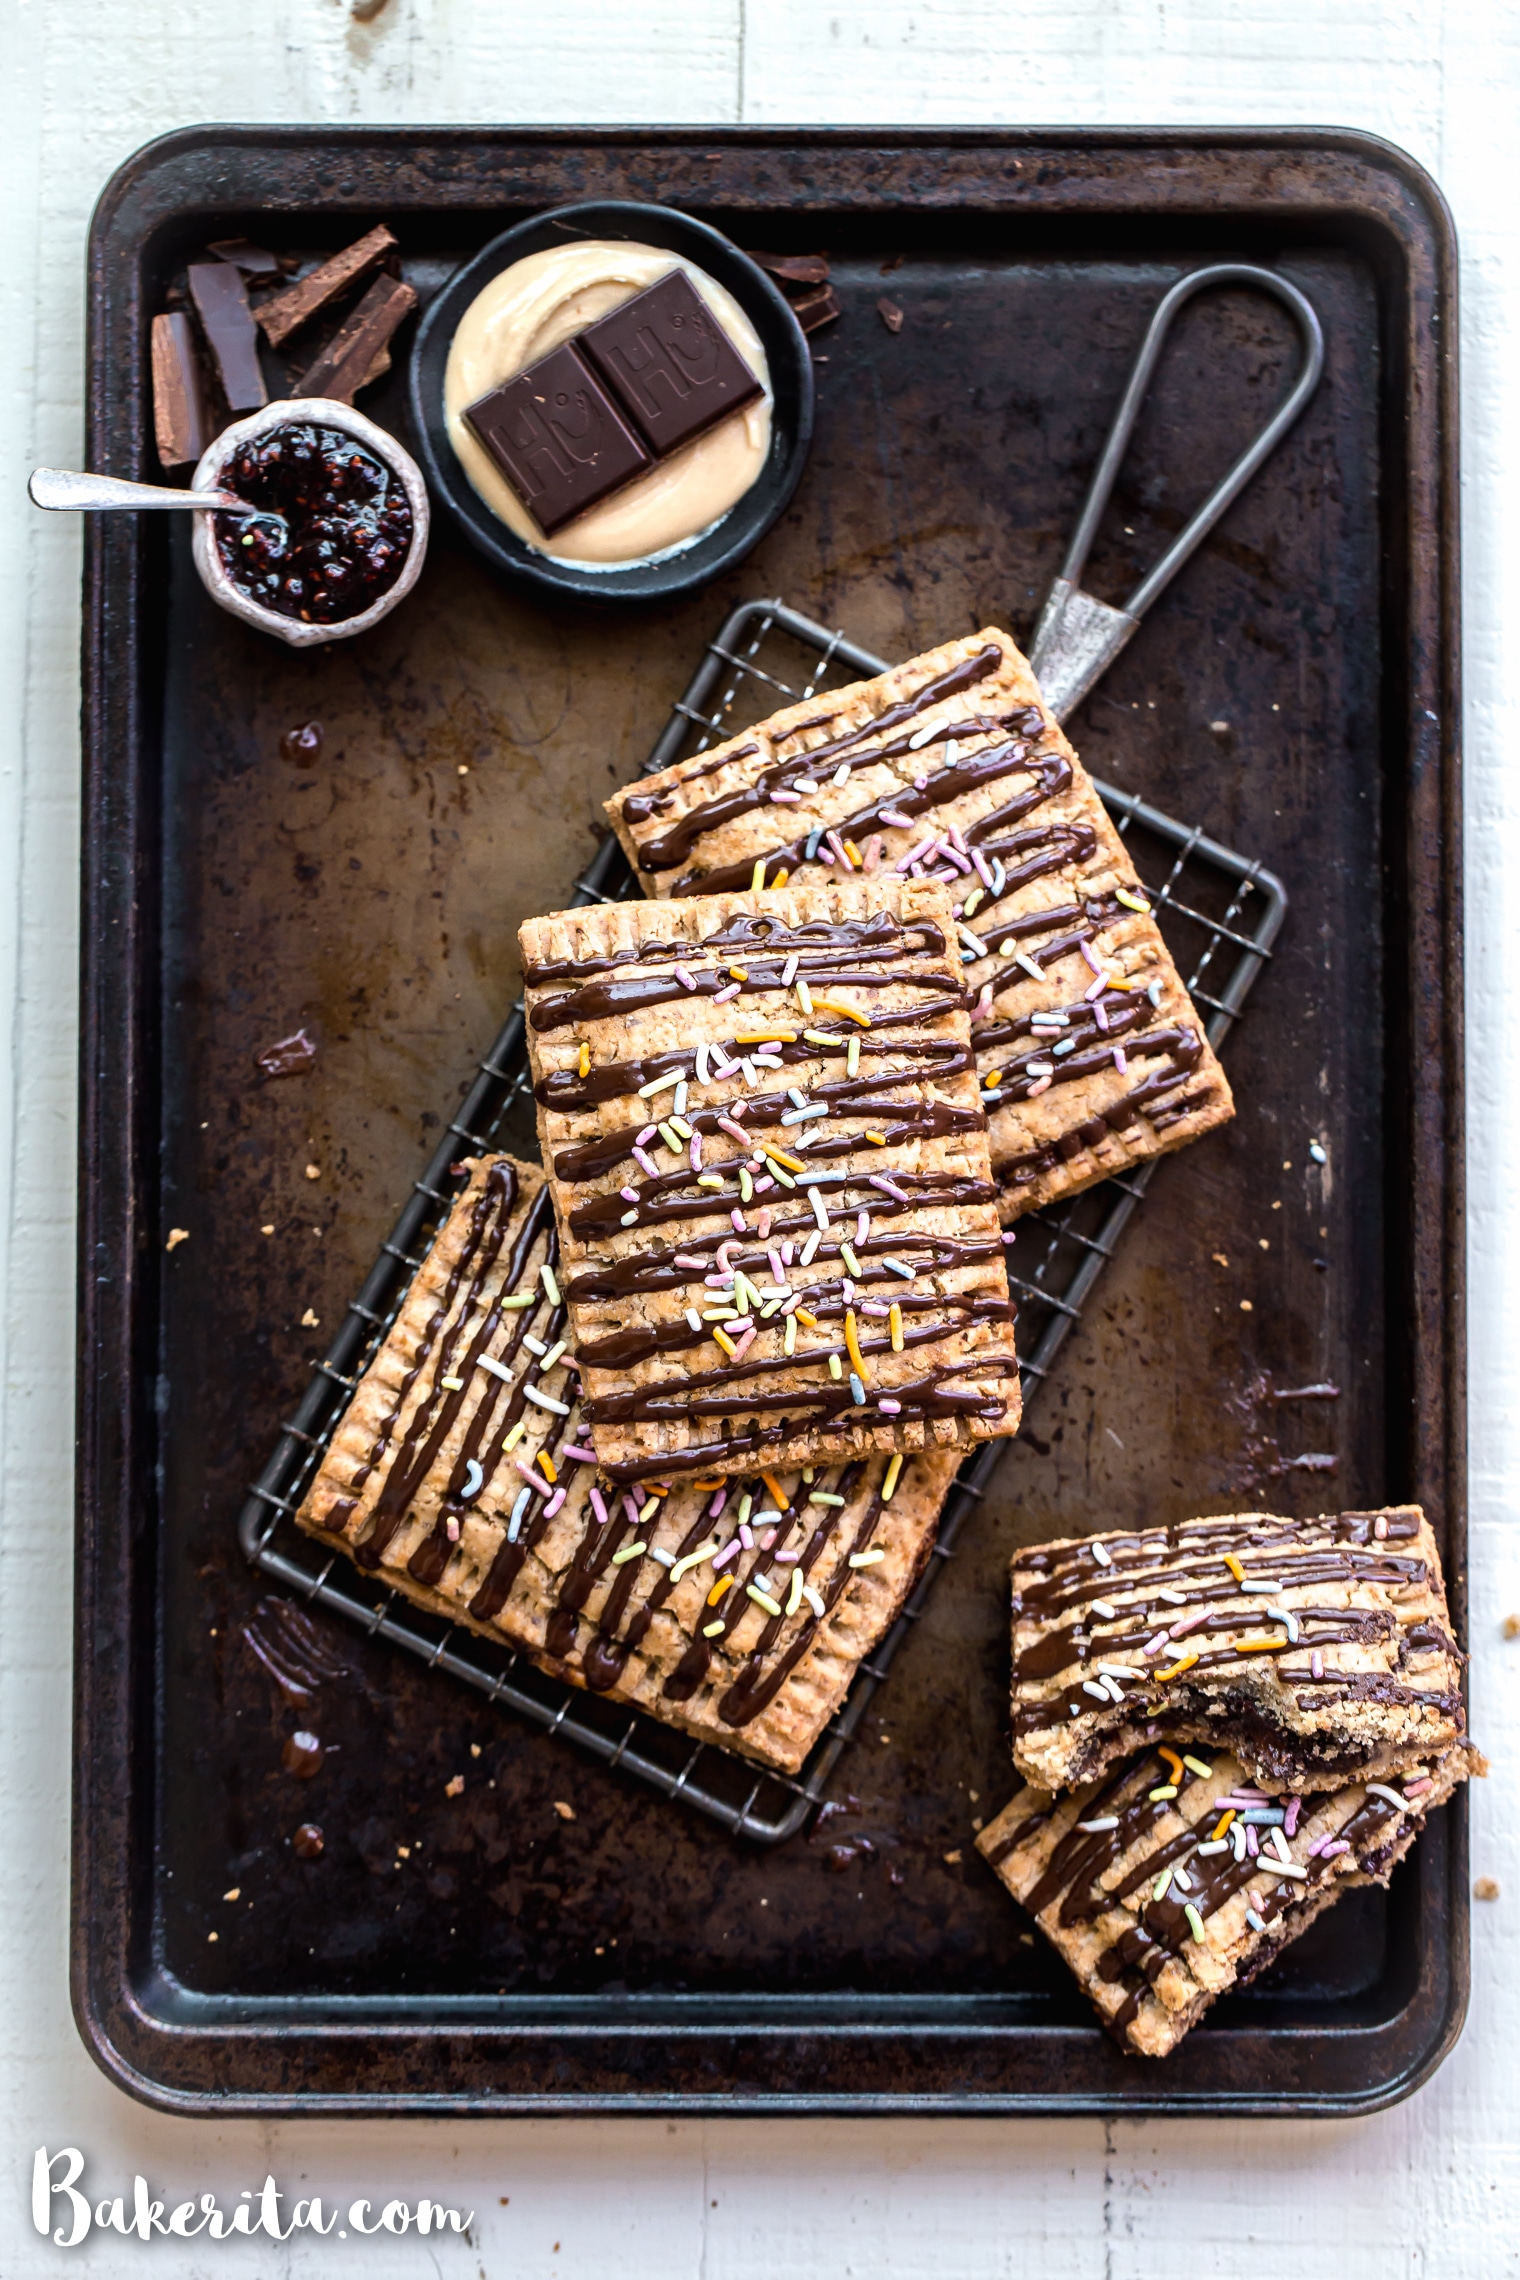
I’m so excited about today’s post. This is one I’ve been wanting to do for a while, and it’s finally here! We’re recreating one of the favorite unhealthy snacks of my childhood: POP TARTS. And we’re doing it with one of my favorite brands: Hu Kitchen. Double win.
When I was in middle school, Pop Tarts were my go-to vending machine snack. I usually bought the Hot Fudge Sundae flavor and devoured the whole packet during the break between 2nd period P.E. and 3rd period science class with Mr. Glausser.
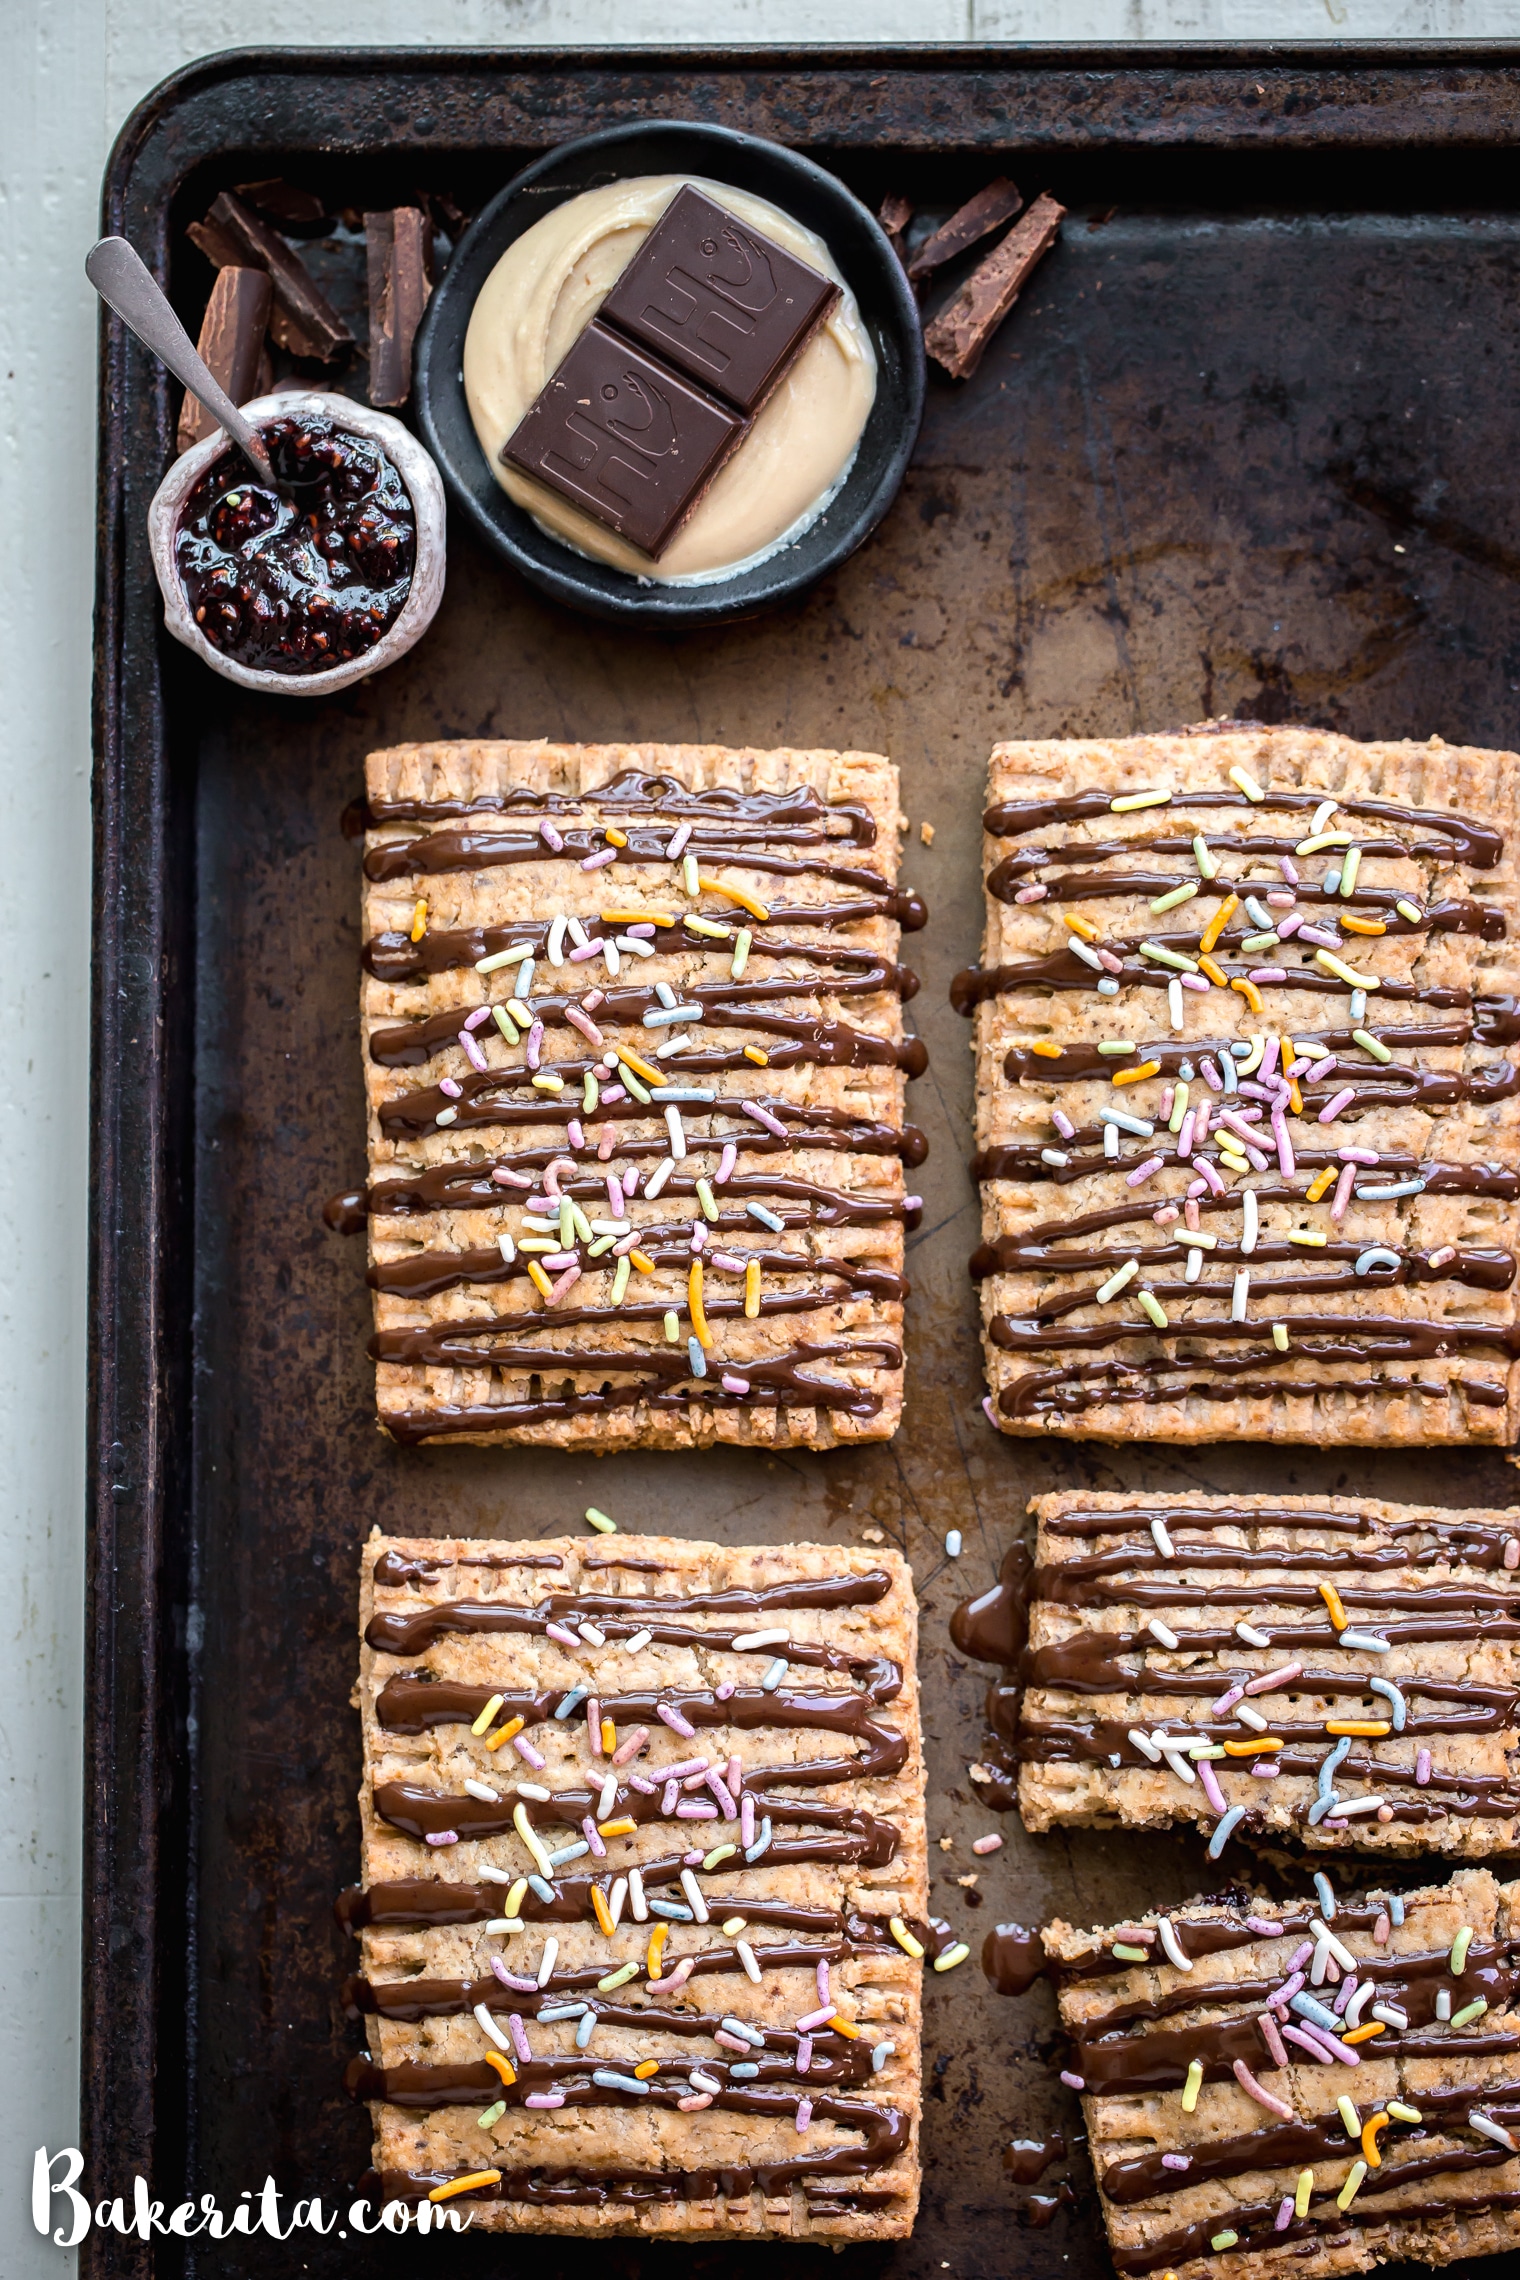
It certainly was delicious, with the sticky sweet marshmallow-like filling and the crunchy sprinkled glaze. But healthy? Or gluten-free? Or vegan? Certainly not. In fact, it usually made me feel pretty crappy and I would end up starving by lunchtime, just an hour later.
Since I started posting gluten-free/paleo/vegan recipes, I’ve been getting requests for a healthier version of a Pop Tart. I’m not the only one with nostalgic memories of them! And the time has finally come.
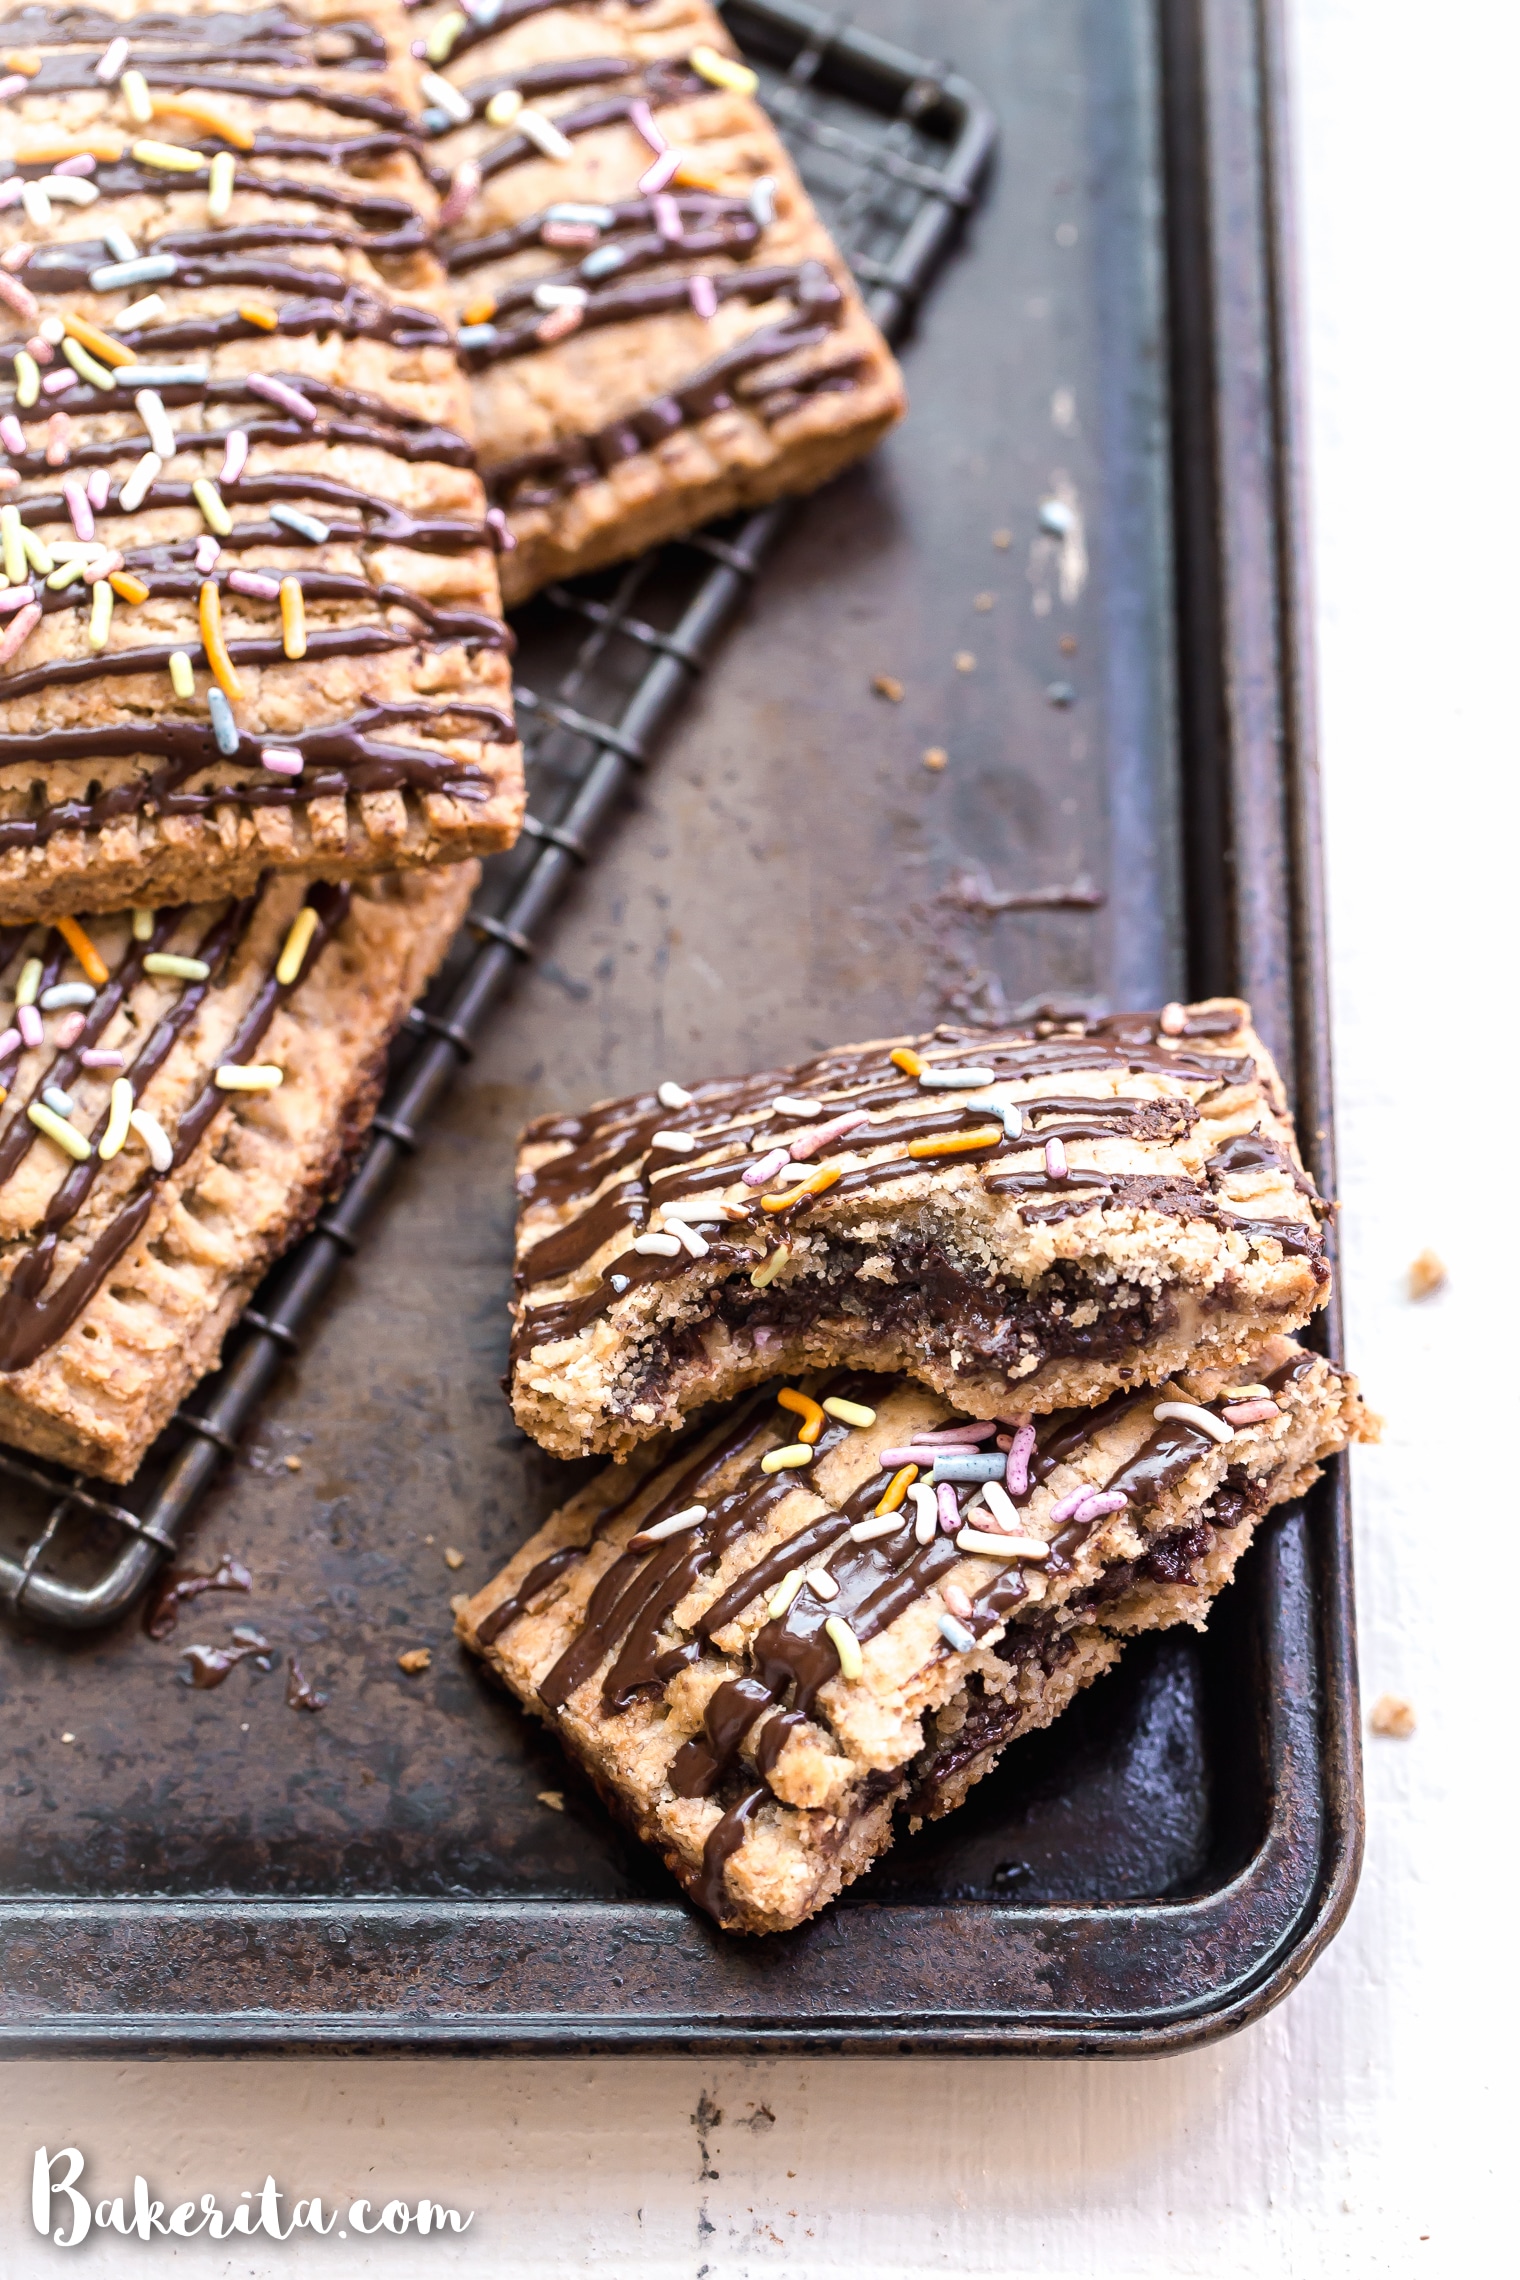
Let’s make Chocolate Cashew Butter & Jelly Pop Tarts!
All the inspiration for these Chocolate Cashew Butter & Jelly Pop Tarts came from one of my favorite chocolate bars: the Cashew Butter & Raspberry Jelly Chocolate Bar from Hu Kitchen. The dark chocolate is filled with layers of cashew butter & raspberry jelly, and the whole thing is paleo, vegan, and coconut sugar-sweetened. It’s pure heaven. At night, you can usually find me on the couch with a cup of tea and a few squares of it.
But next to by itself, the best way to eat this chocolate is chopped up and tucked into a flaky crust. The flaky crust is both paleo and vegan. We make it with a combination of almond flour and cassava flour for the best, flakiest texture. It’s lightly sweetened with coconut sugar, and we cut in coconut oil the way you would cut in butter with a traditional pie crust.
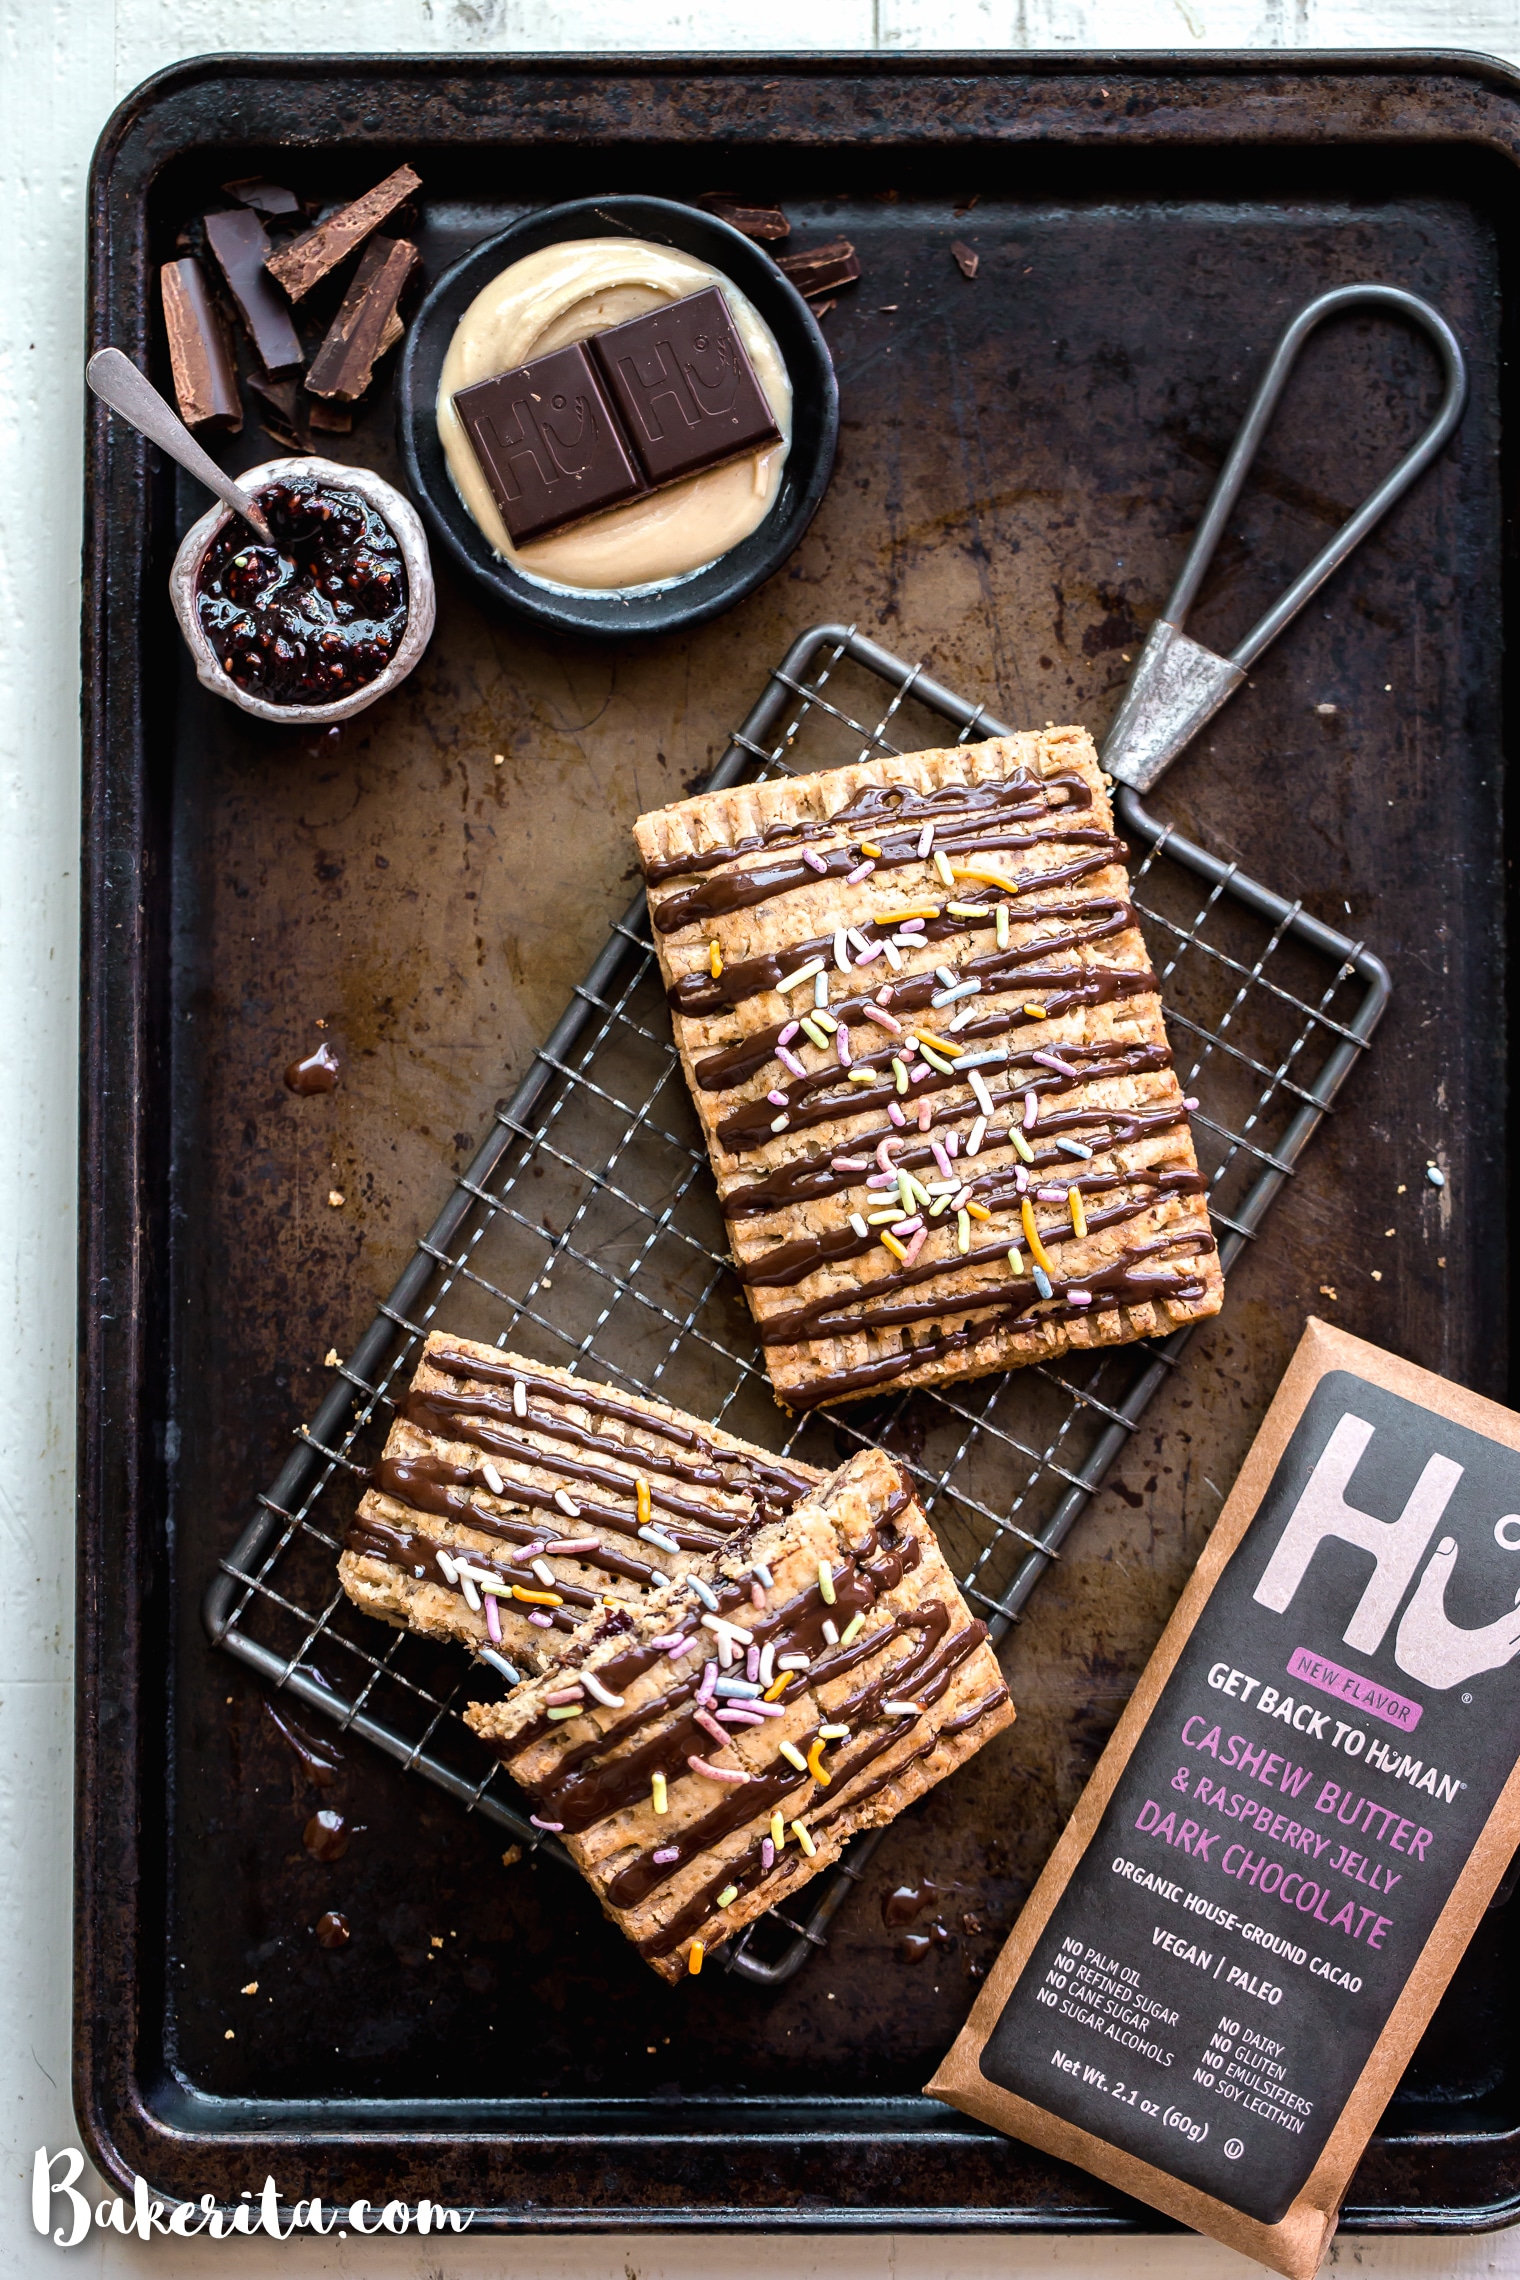
We roll out the crust into a big rectangle and cut it into sections. Then, we top half of those sections with the GOODS.
What do we stuff inside these Pop Tarts??
- Cashew Butter – it’s so delicious rich & creamy! I used raw, but roasted works too.
- Raspberry Jelly – but any flavor will do! Pick your favorite. I just love the tartness of the raspberries here.
- Chopped Hu Kitchen Cashew Butter & Jelly Chocolate Bar
Then, we top it off with another layer of dough, seal it with a fork, and bake until golden. Drizzle on a little bit of melted chocolate, top with some naturally-colored sprinkles, and DEVOUR.
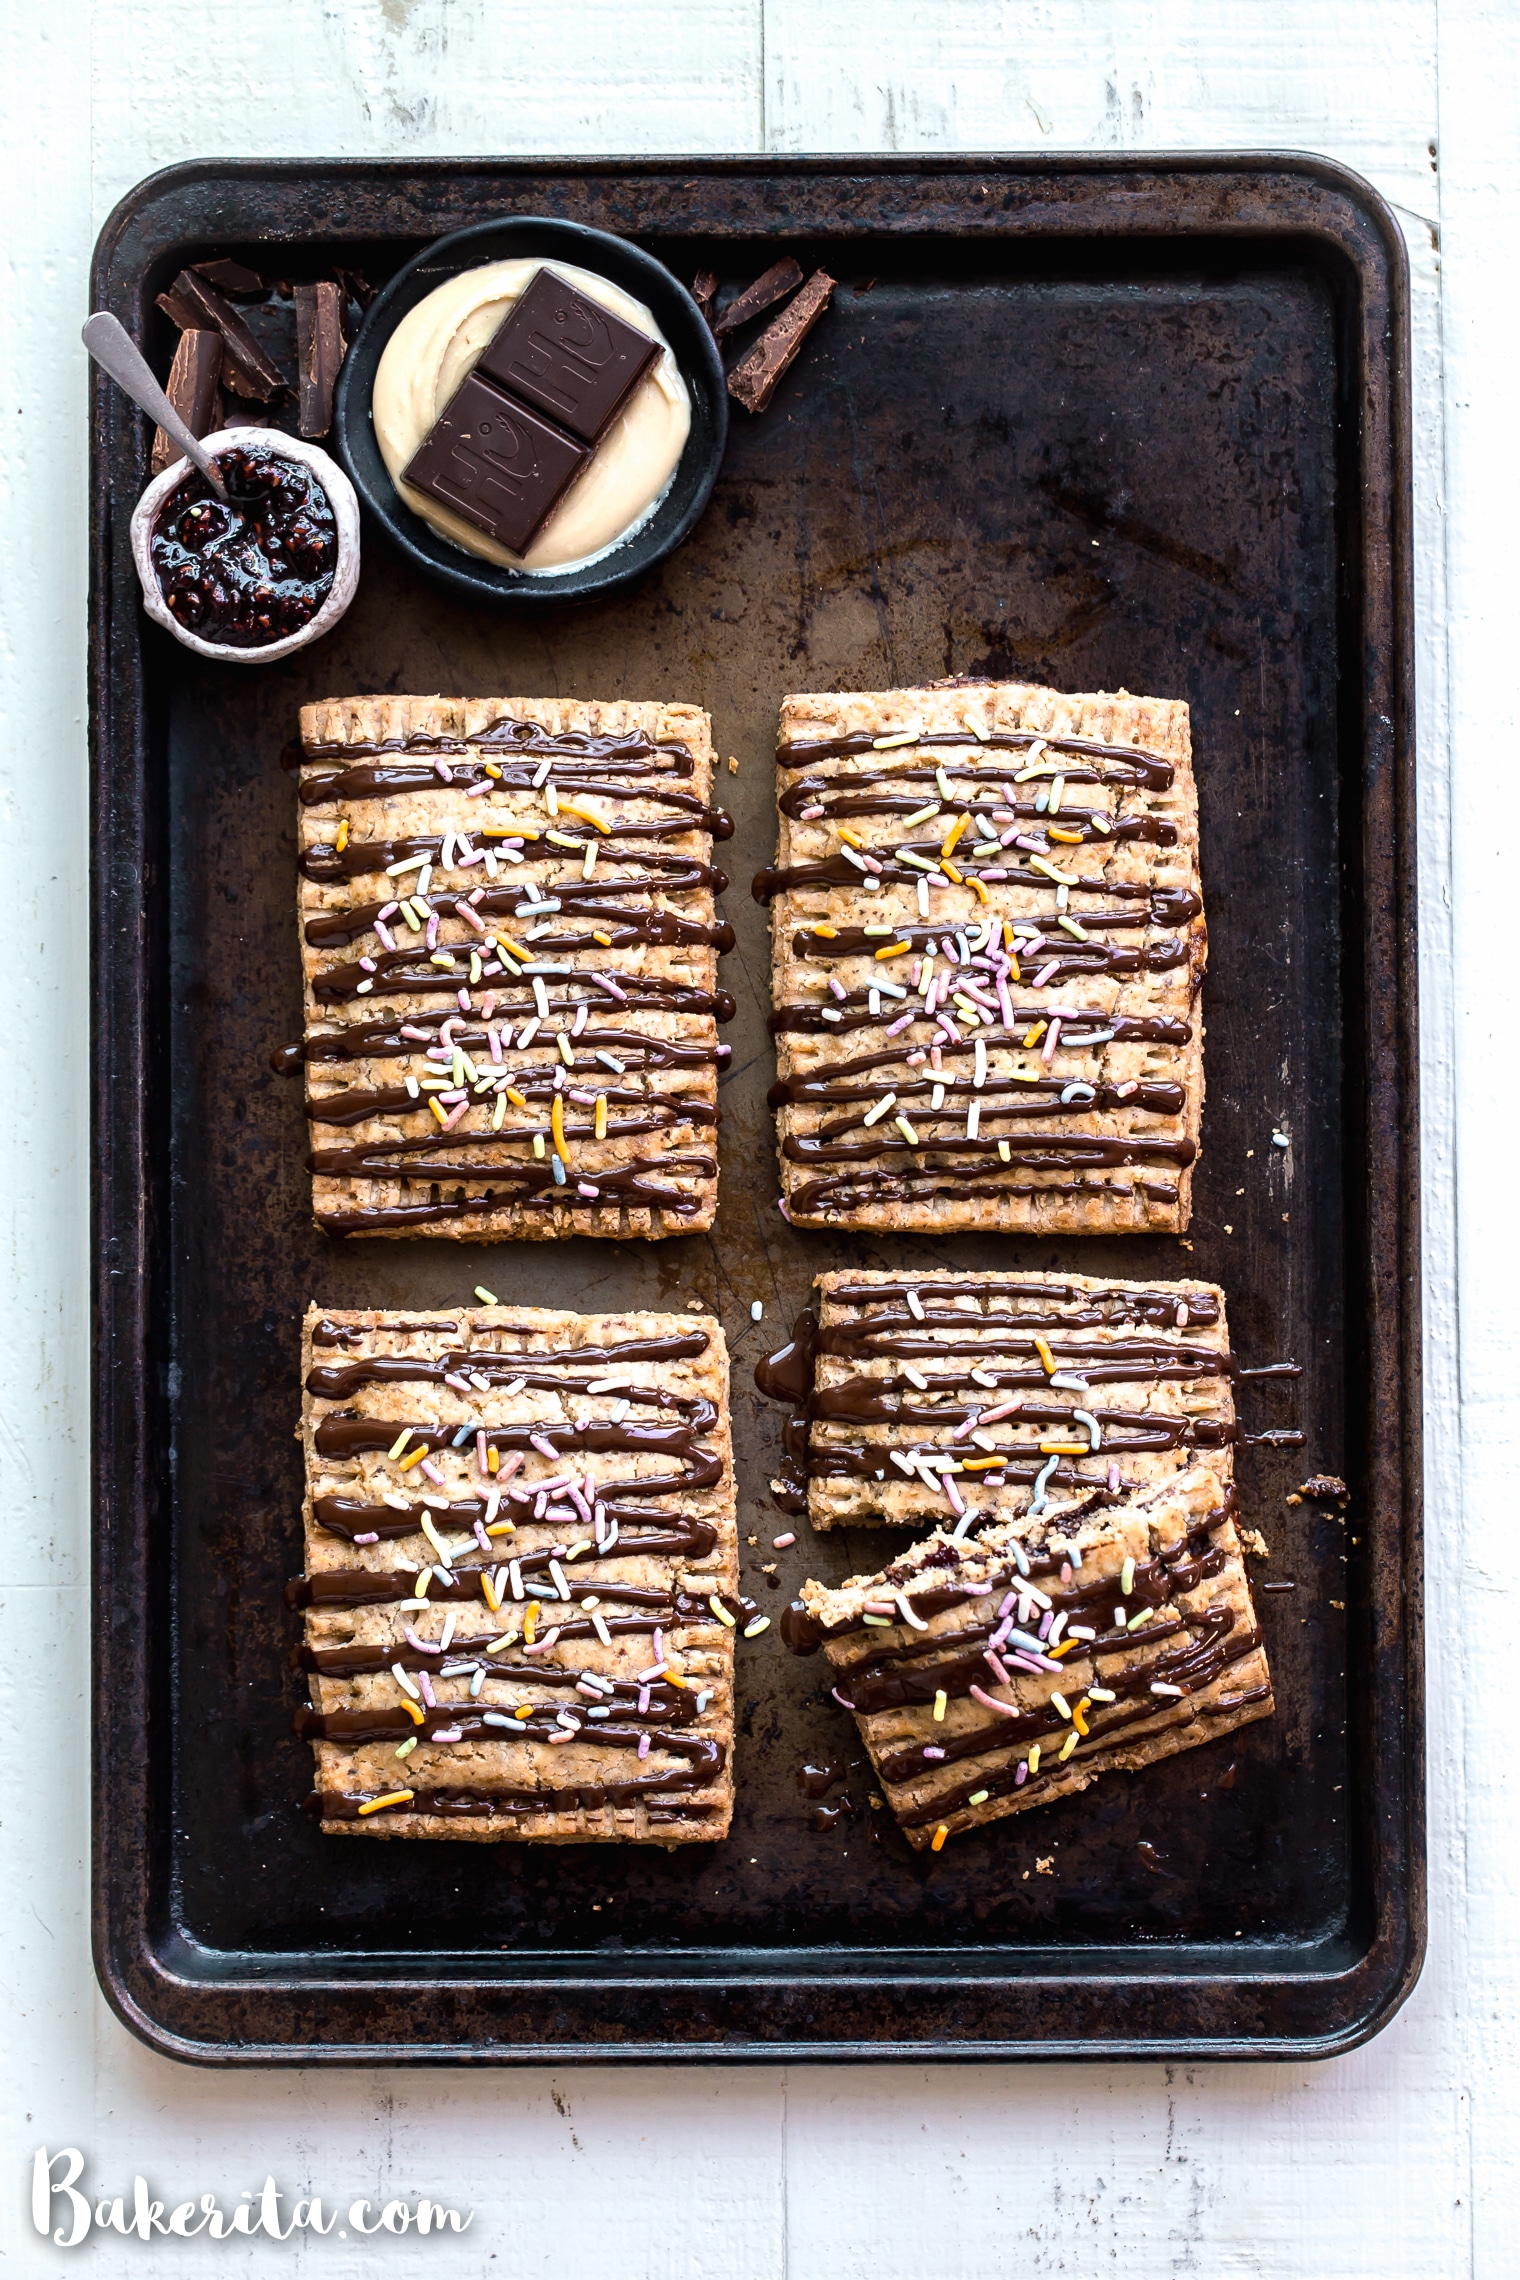
These Chocolate Cashew Butter & Jelly Pop Tarts are good cool but they’re phenomenal when they’re warm. All that delicious melted chocolate mingling with the cashew butter and tart raspberry jelly…MMMM. The flaky crust is what dreams are made of. The chocolate on top ties everything together. I hope you adore these healthier Pop Tarts as much as I did!
Make sure you tag me on Instagram @bakeritablog and #bakerita if you make this recipe!!
Print
Chocolate Cashew Butter & Jelly Pop Tarts
- Prep Time: 45 minutes
- Cook Time: 30 minutes
- Total Time: 75 minutes
- Yield: 4 Pop Tarts 1x
- Category: Breakfast, Dessert, Snack
Description
These Chocolate Cashew Butter & Jelly Pop Tarts are made with a flaky vegan and paleo crust and stuffed with cashew butter, raspberry jelly, and chopped d chocolate. You’re going to go nuts for these paleo & vegan copycat of your favorite childhood treat!
Ingredients
For the crust
- 1 cup (96g) blanched almond flour
- ¾ cup (105g) cassava flour
- 6 tablespoons (75g) coconut oil, cool enough to be firm and scoopable
- 3 tablespoons ground flax seeds
- 2 tablespoons coconut sugar
- ¼ teaspoon kosher salt
- 3 to 5 tablespoons cold water
For the filling
- ¼ cup cashew butter
- ¼ cup raspberry jam
- 1 Hu Kitchen Cashew Butter & Raspberry Jelly Filled Chocolate Bar, chopped
For the topping
- ½ Hu Kitchen Cashew Butter & Raspberry Jelly Filled Chocolate Bar, chopped
- Sprinkles, to garnish
Instructions
For the crust
- Combine the almond flour, cassava flour, ground flax, coconut sugar, and salt in a food processor or in a mixing bowl. Add in the coconut oil. Pulse or blend with a pastry blender until there’s only very small bits of coconut oil remaining and it resembles a course meal.
- Add 3 tablespoons cold water and pulse/mix again until dough comes together. If you’re mixing in a bowl, you may want to use your hands to bring the dough together at the end. Add additional water if needed to bring it together, just enough to bring the dough together into a ball.
- Place the dough on top of a piece of parchment paper that’s been dusted with cassava flour. Dust the top of the dough with more cassava flour and roll into a large rectangle, about 8″ by 12”, a little less than ¼-inch thick. You can place another sheet of parchment paper on top of the dough to roll it out to help with sticking, if desired.
- Cut the 12” side into 4 equal pieces (3” each), and then cut down the middle lengthwise, for a total of 8 rectangles.
- Top 4 of the dough rectangles with a tablespoon of the cashew butter, and then another tablespoon of the jam, making sure to keep it about 1/2” away from the edges. Add ¼ of the chopped chocolate (2 chopped squares) on top of the cashew butter & jelly and press down slightly.
- Top with a plain dough rectangle (it’s easiest to transfer the dough on a spatula) and use a fork to press the edges together all the way around. Carefully slide the parchment paper with the pop tarts on it onto a baking sheet and refrigerate for at least 1 hour to firm up the pop tarts before baking.
- When you’re getting ready to bake, preheat oven to 350°F. Brush the pop tarts with non-dairy milk or lightly beaten egg white, if you’re not vegan).
- Bake for 30 minutes, or until light golden brown. Let cool slightly before drizzling with melted chocolate.
For the topping
- Place the chopped chocolate in a small microwave-safe bowl. Microwave for 30 seconds, stir. If not melted, microwave in 15 second increments until fully melted.
- Drizzle over the cooled pop tarts (I used a piping bag). Sprinkle with sprinkles while the chocolate is still warm.
- Store the pop tarts in the refrigerator for up to 3 days (they’re best the first day, though) or place the unglazed pop tarts tightly wrapped in the freezer for up to 3 months. Defrost frozen pop tarts in the toaster oven.
Keywords: pop tarts, dessert, breakfast, gluten-free, chocolate, cashew butter, jelly
Thanks so much to Hu Kitchen for sponsoring this post, and to you for supporting the brands that support Bakerita. It allows me to continue to share recipes with you!


I’m a pop-tart lover too, and it’s so exciting to find a good and good for you version of them! Also, your pictures are GORGEOUS…love that well-used/well-loved baking sheet. :)
Thank you so very much, Kate! The baking sheet is certainly well used and well loved – though it’s been retired from the kitchen now, and serves its new life as a photo prop :)
I am literally freaking out, Pop Tarts were my FAVORITE childhood treat! These sound absolutely wonderful, Rachel, and so easy to follow along! Cannot wait to give these a go!
★★★★★
Thanks so much Britt, you’re the best!!
Rachel these came out absolutely FANTASTIC!!! I wasn’t even a huge pop tart fan, but my boyfriend is so I wanted to surprise him and yet again you knocked it out of the park with this one! :) I am pleasantly surprised at how cassava flour bakes – this crust ended up being SO flaky and so easy to work with! My mind is spinning with so many uses for the crust for other recipes too, but I had to tell you how delicious these turned out and compliment you on your unbelievable creativity!
★★★★★
Hi SK! This makes me so so happy to hear! The cassava makes the flour super easy to work with, similarly to gluten-filled flours, right?! Thank you so much for letting me know your thoughts on how the recipe turned out. I’m so thrilled your boyfriend loved them!
YUMMMMM. Do you think these would work in a blender if I don’t have a pastry mixer?
Hi Chelsea, I wouldn’t recommend a blender!! It would make the dough too hard to work with. You could use forks instead of a pastry mixer to press it in for a better texture.