Baked Vegan Chocolate Cheesecake
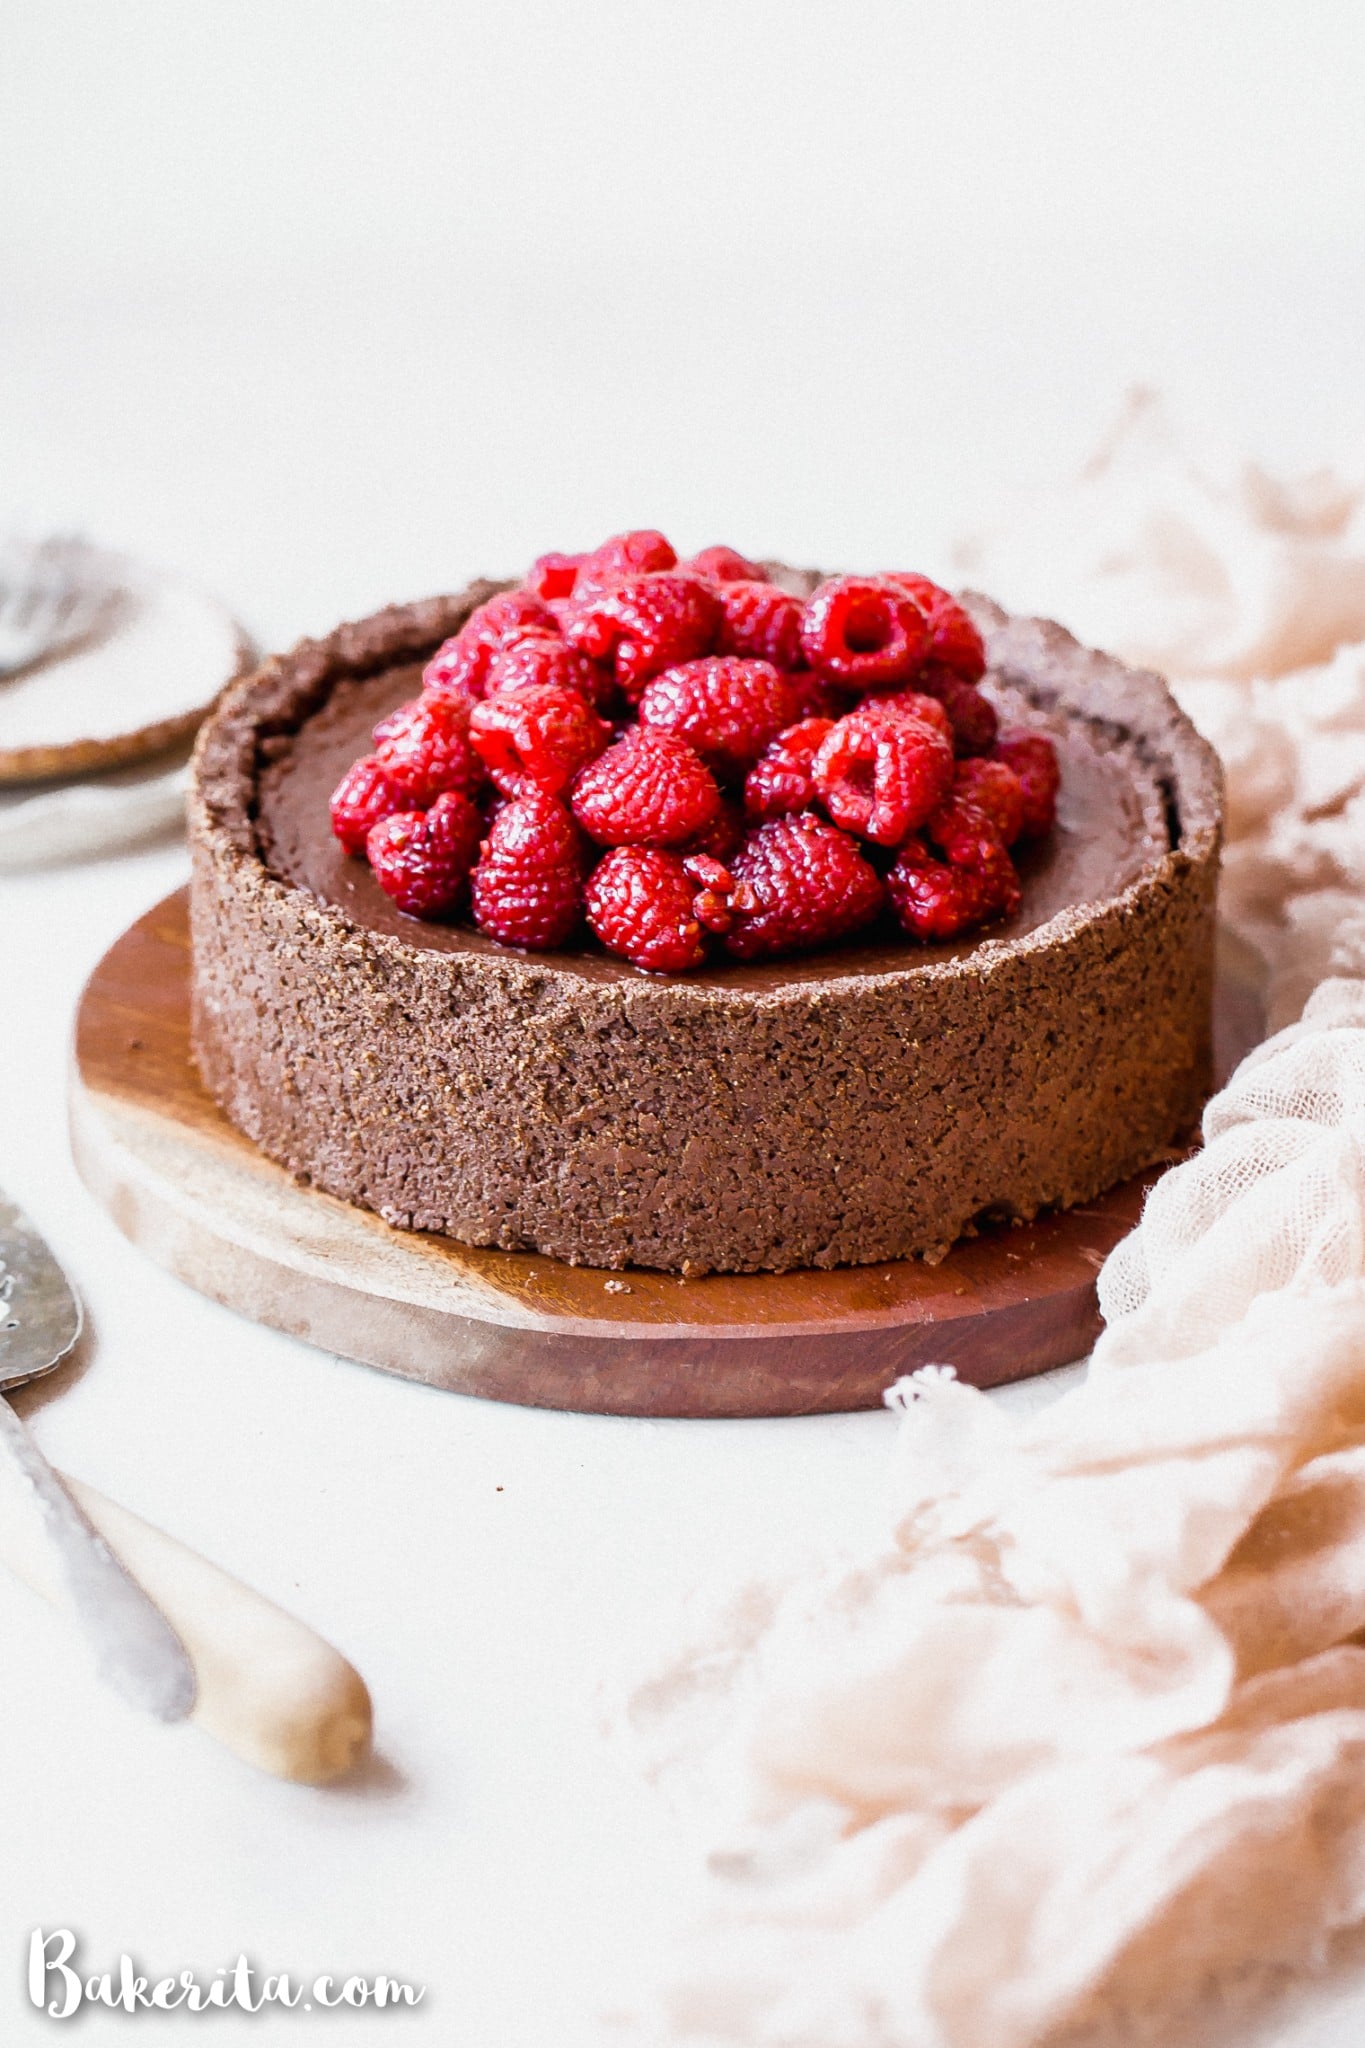
This Baked Vegan Chocolate Cheesecake will make your mouth water! It’s super creamy and delicious, with a rich chocolate flavor and a tasty gluten-free chocolate crust.
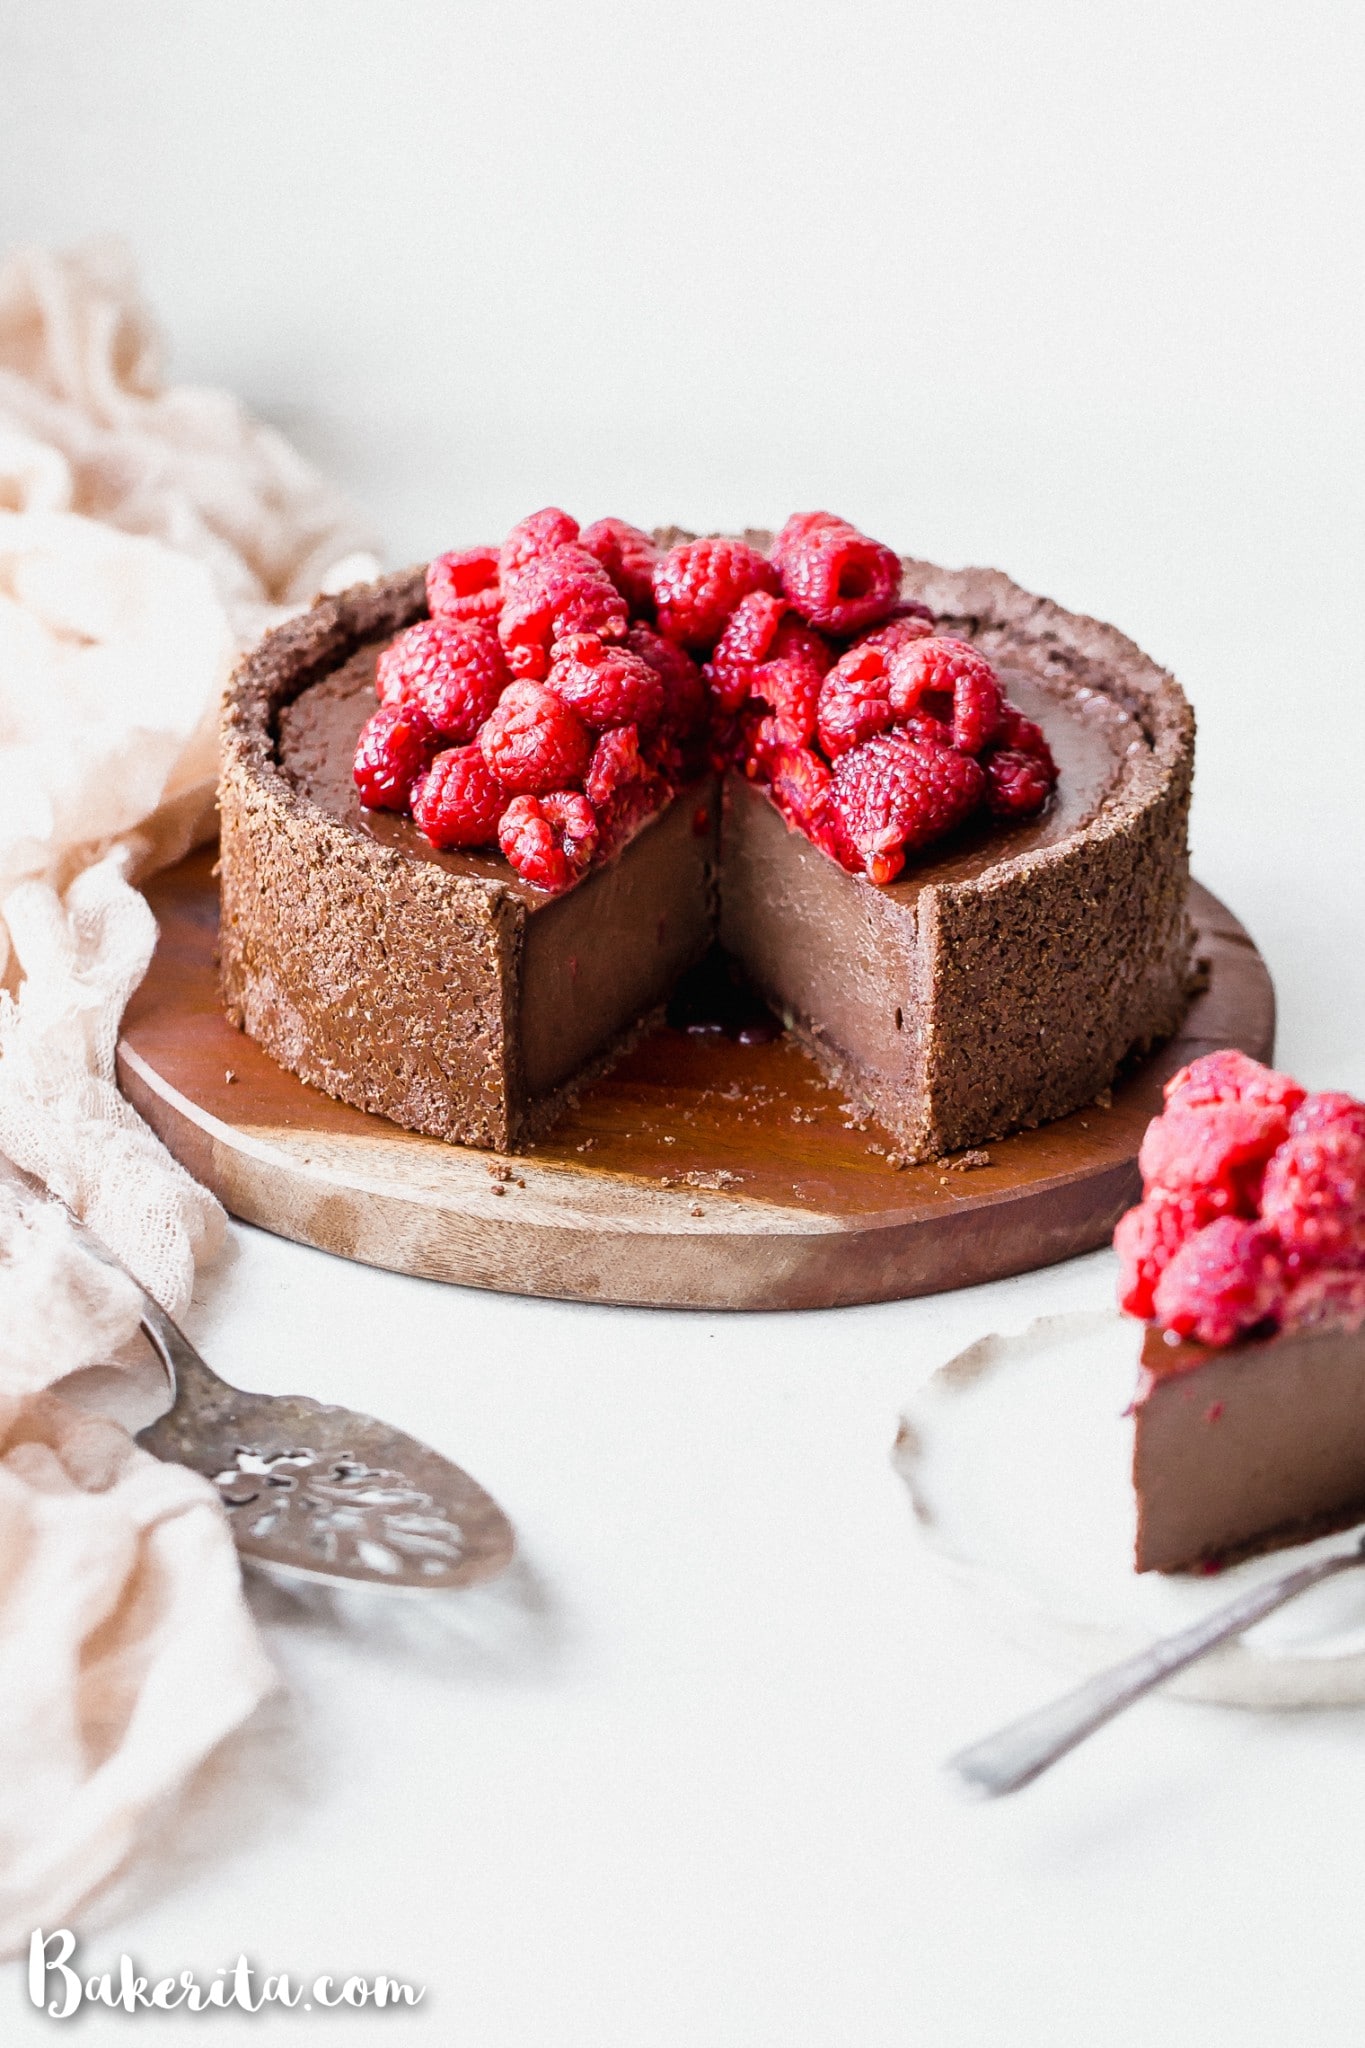
Ever since I made my first baked vegan cheesecake, I have been alllll about them! During the fall, I made a pumpkin baked vegan cheesecake, and now, coming up on Valentine’s Day, I’ve got a baked vegan double chocolate cheesecake for ya!
I’m all for a raw vegan cheesecake and I’ve got plenty of those recipes posted, but when we bake a vegan cheesecake, it is way more reminiscent of the “real thing.”
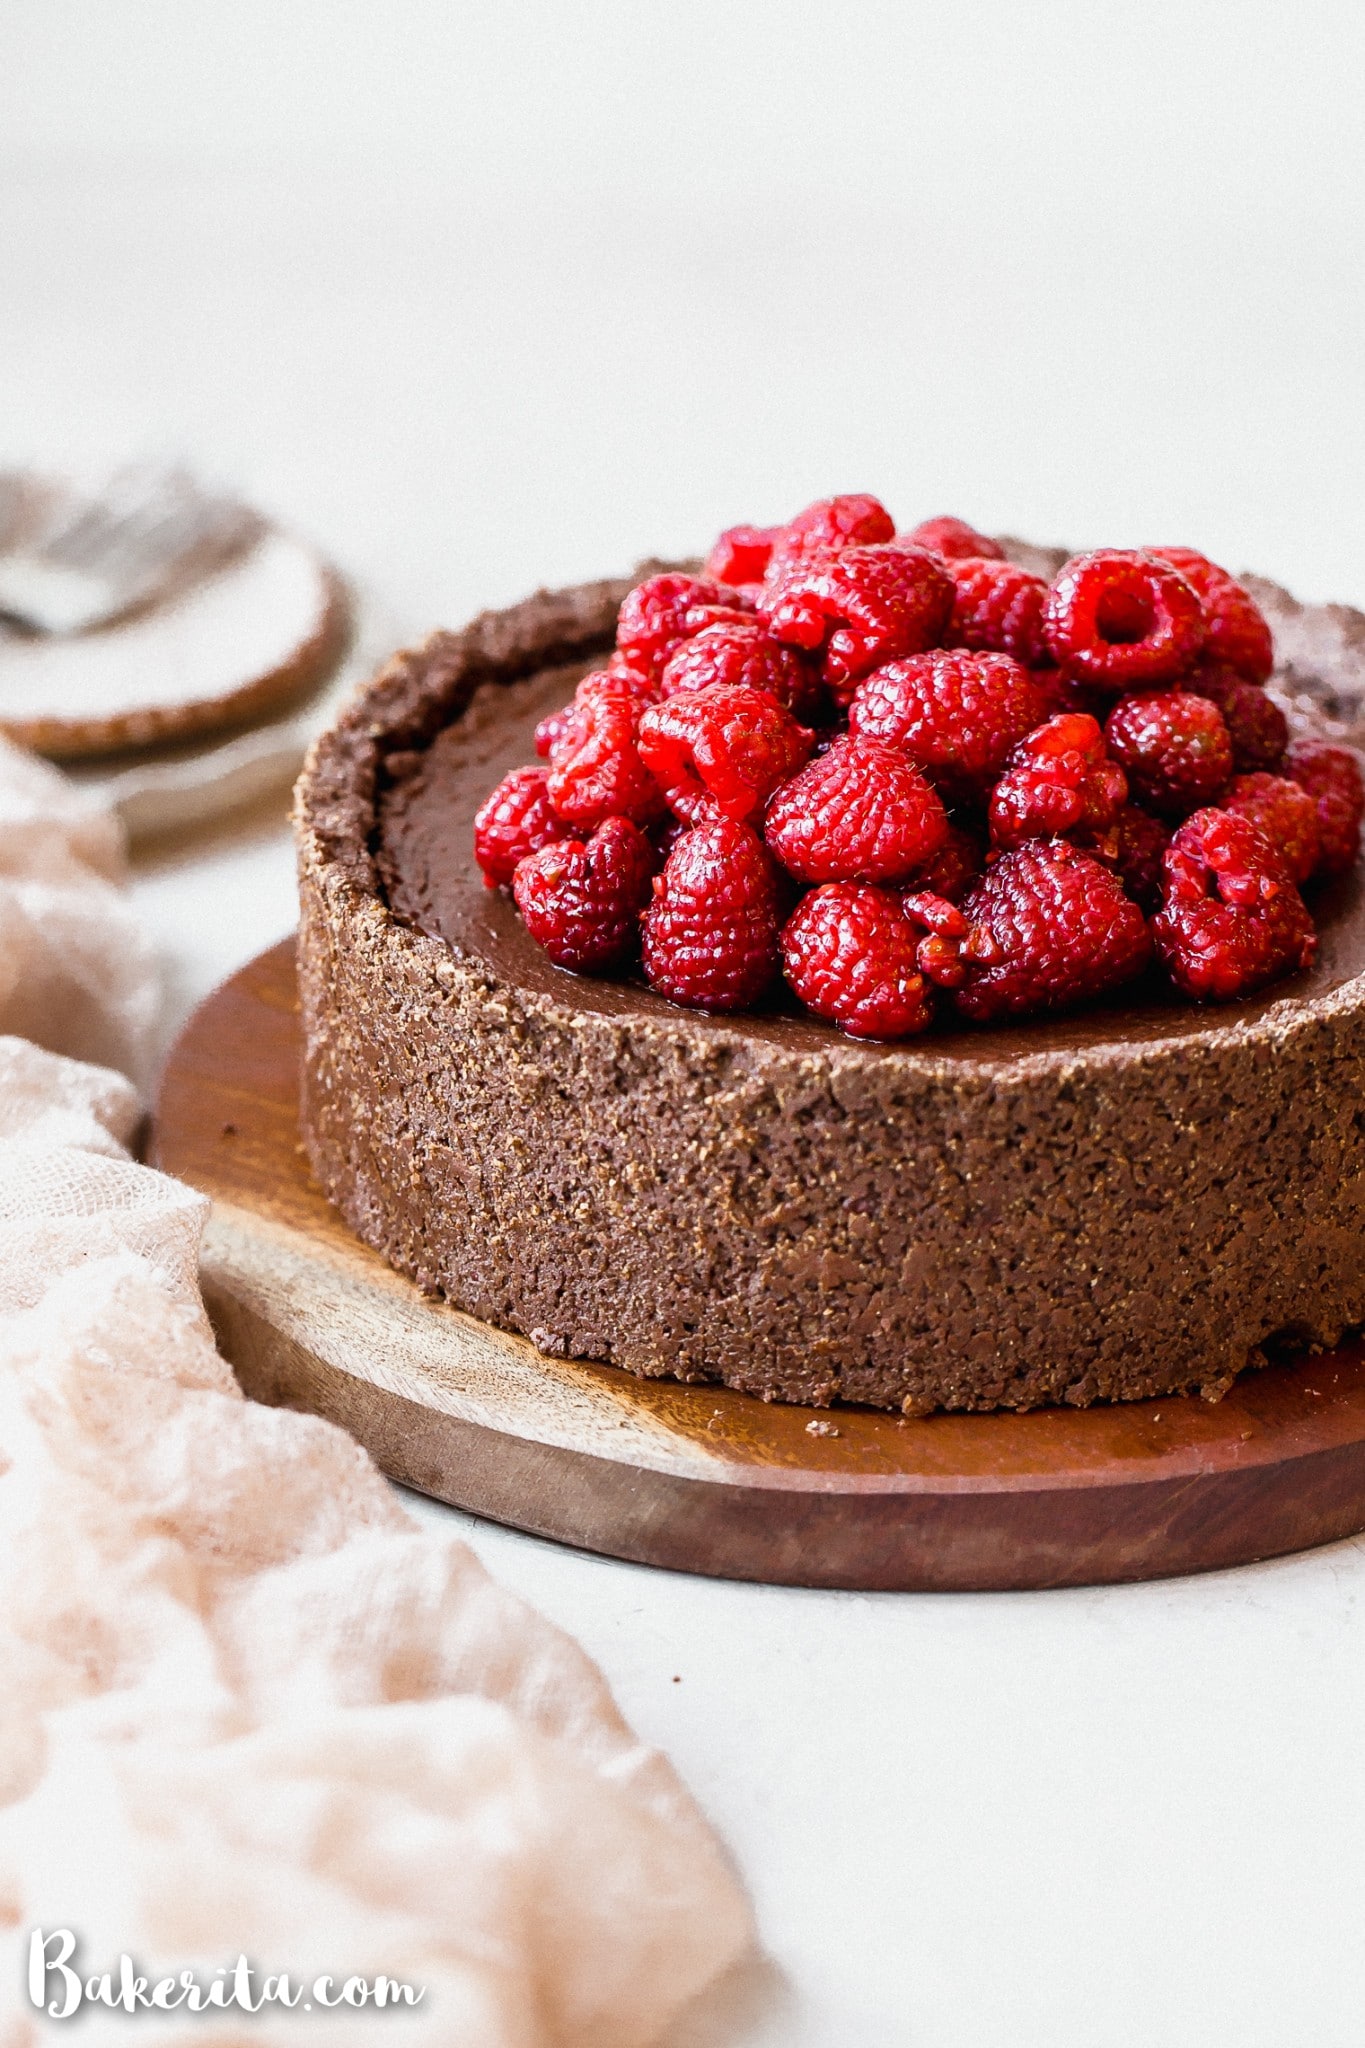
When you bake a vegan cheesecake, you get the same ultra-creamy texture as a traditional cheesecake, with a little bit of tang and a crunchy crust.
Baked vegan cheesecakes also won’t melt on you at room temperature the way a raw one might on a warm day. Bonus!
They’re not too fussy to make, either – a little more time consuming than their raw sister, but not as fussy as a traditional cheesecake either. No water baths, here! Let’s chat about what goes into this cheesecake.
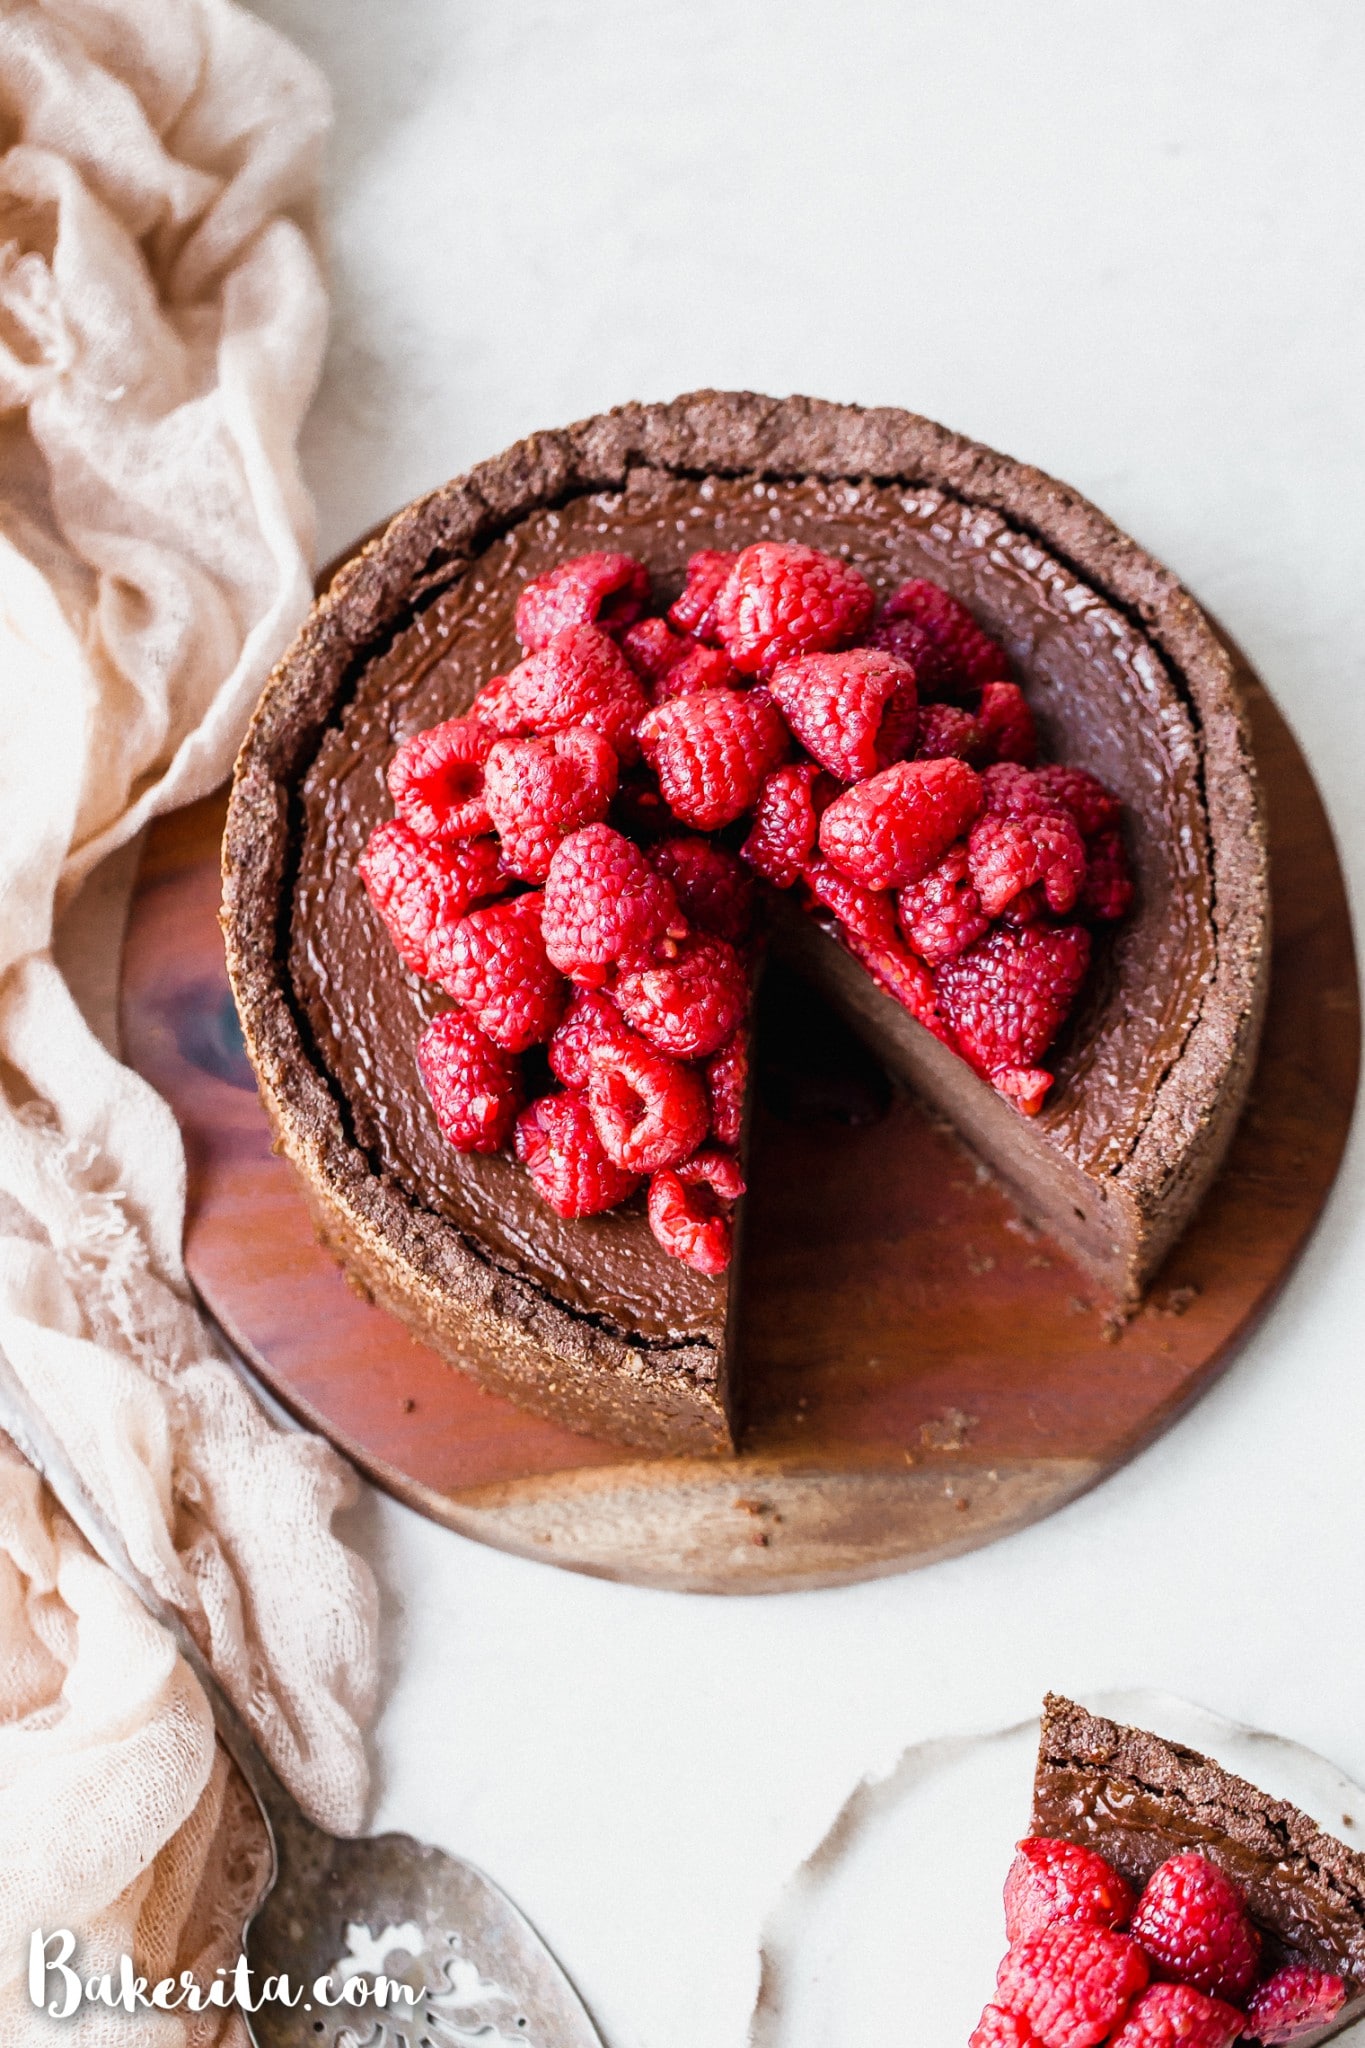
How do I make this Vegan Chocolate Cheesecake?
The crust is deliciously chocolatey and crunchy. It’s made with pecans (or any nut you prefer), almond flour, coconut sugar, coconut oil, cacao powder, and sea salt. It’s pressed into the pan and baked until crunchy before we add the filling!
While the crust bakes, let’s make the filling! We make the filling with soaked raw cashews, coconut yogurt, and canned coconut milk. To sweeten, we add maple syrup. For that bold chocolatey flavor, we add bittersweet chocolate and cacao powder. Lemon juice, arrowroot starch, vanilla extract, and sea salt are also added for extra flavor and better texture.
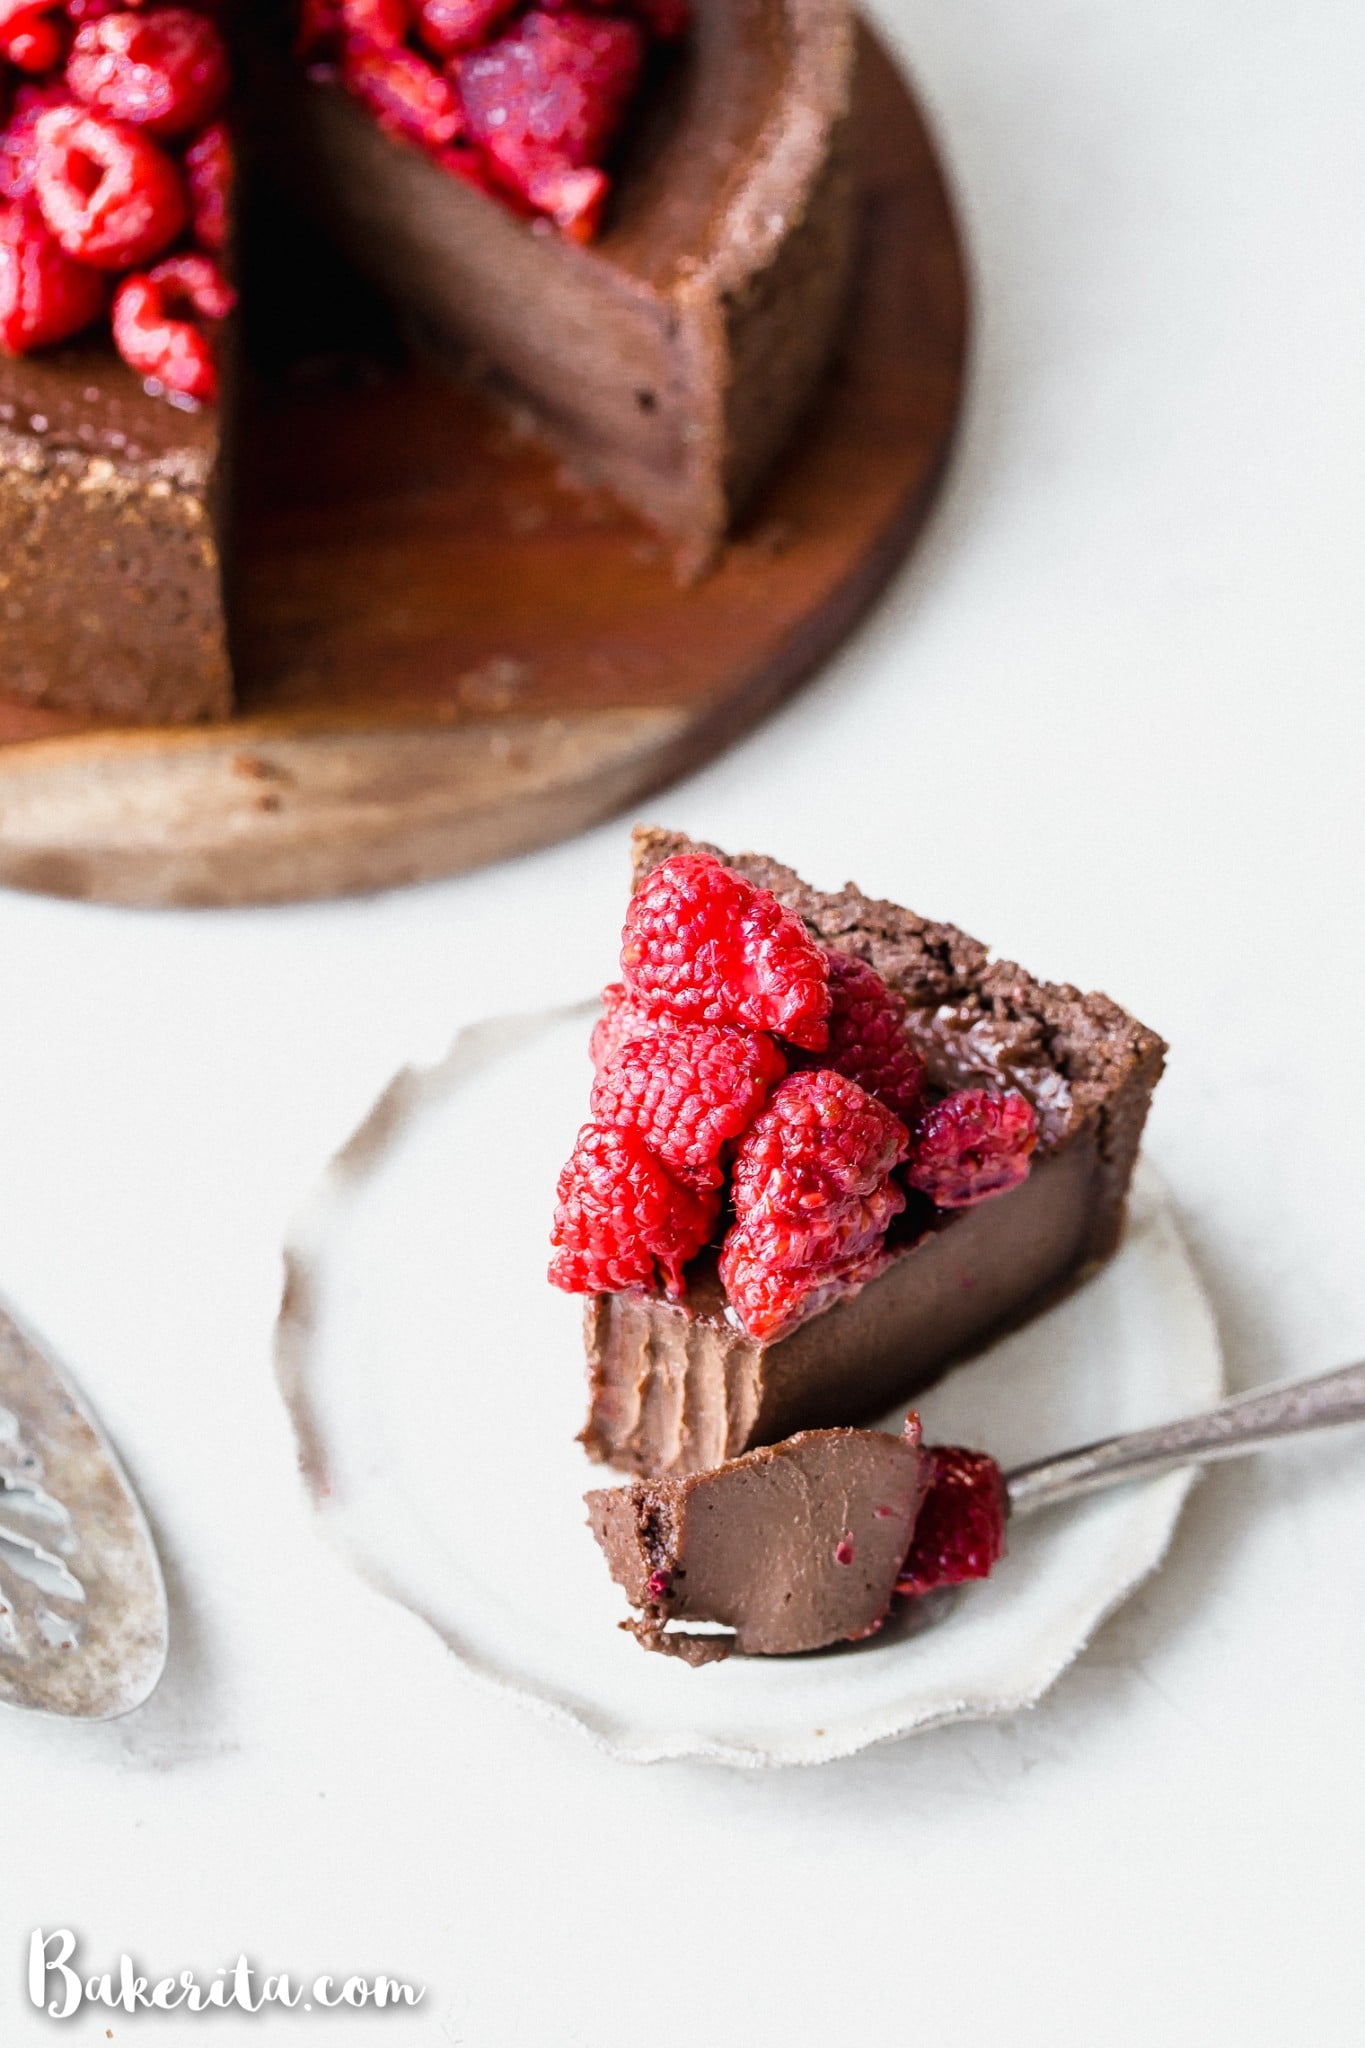
You’ll blend all of the filling ingredients until it’s super smooth and then pour it over the baked crust. Back into the oven it goes to bake for 40 to 50-ish minutes until it’s mostly set. Then, you’ll turn off the oven and open the oven door, but don’t take the cheesecake out just yet!
Letting it cool in the oven for an hour helps it finish setting without a temperature shock, so it won’t crack. Once it’s mostly cooled, you’ll transfer the baked vegan chocolate cheesecake to the refrigerator to chill it all the way through before garnishing and serving.
How should I garnish the cheesecake?
You’ve got options here! Here are some of my favorite choices:
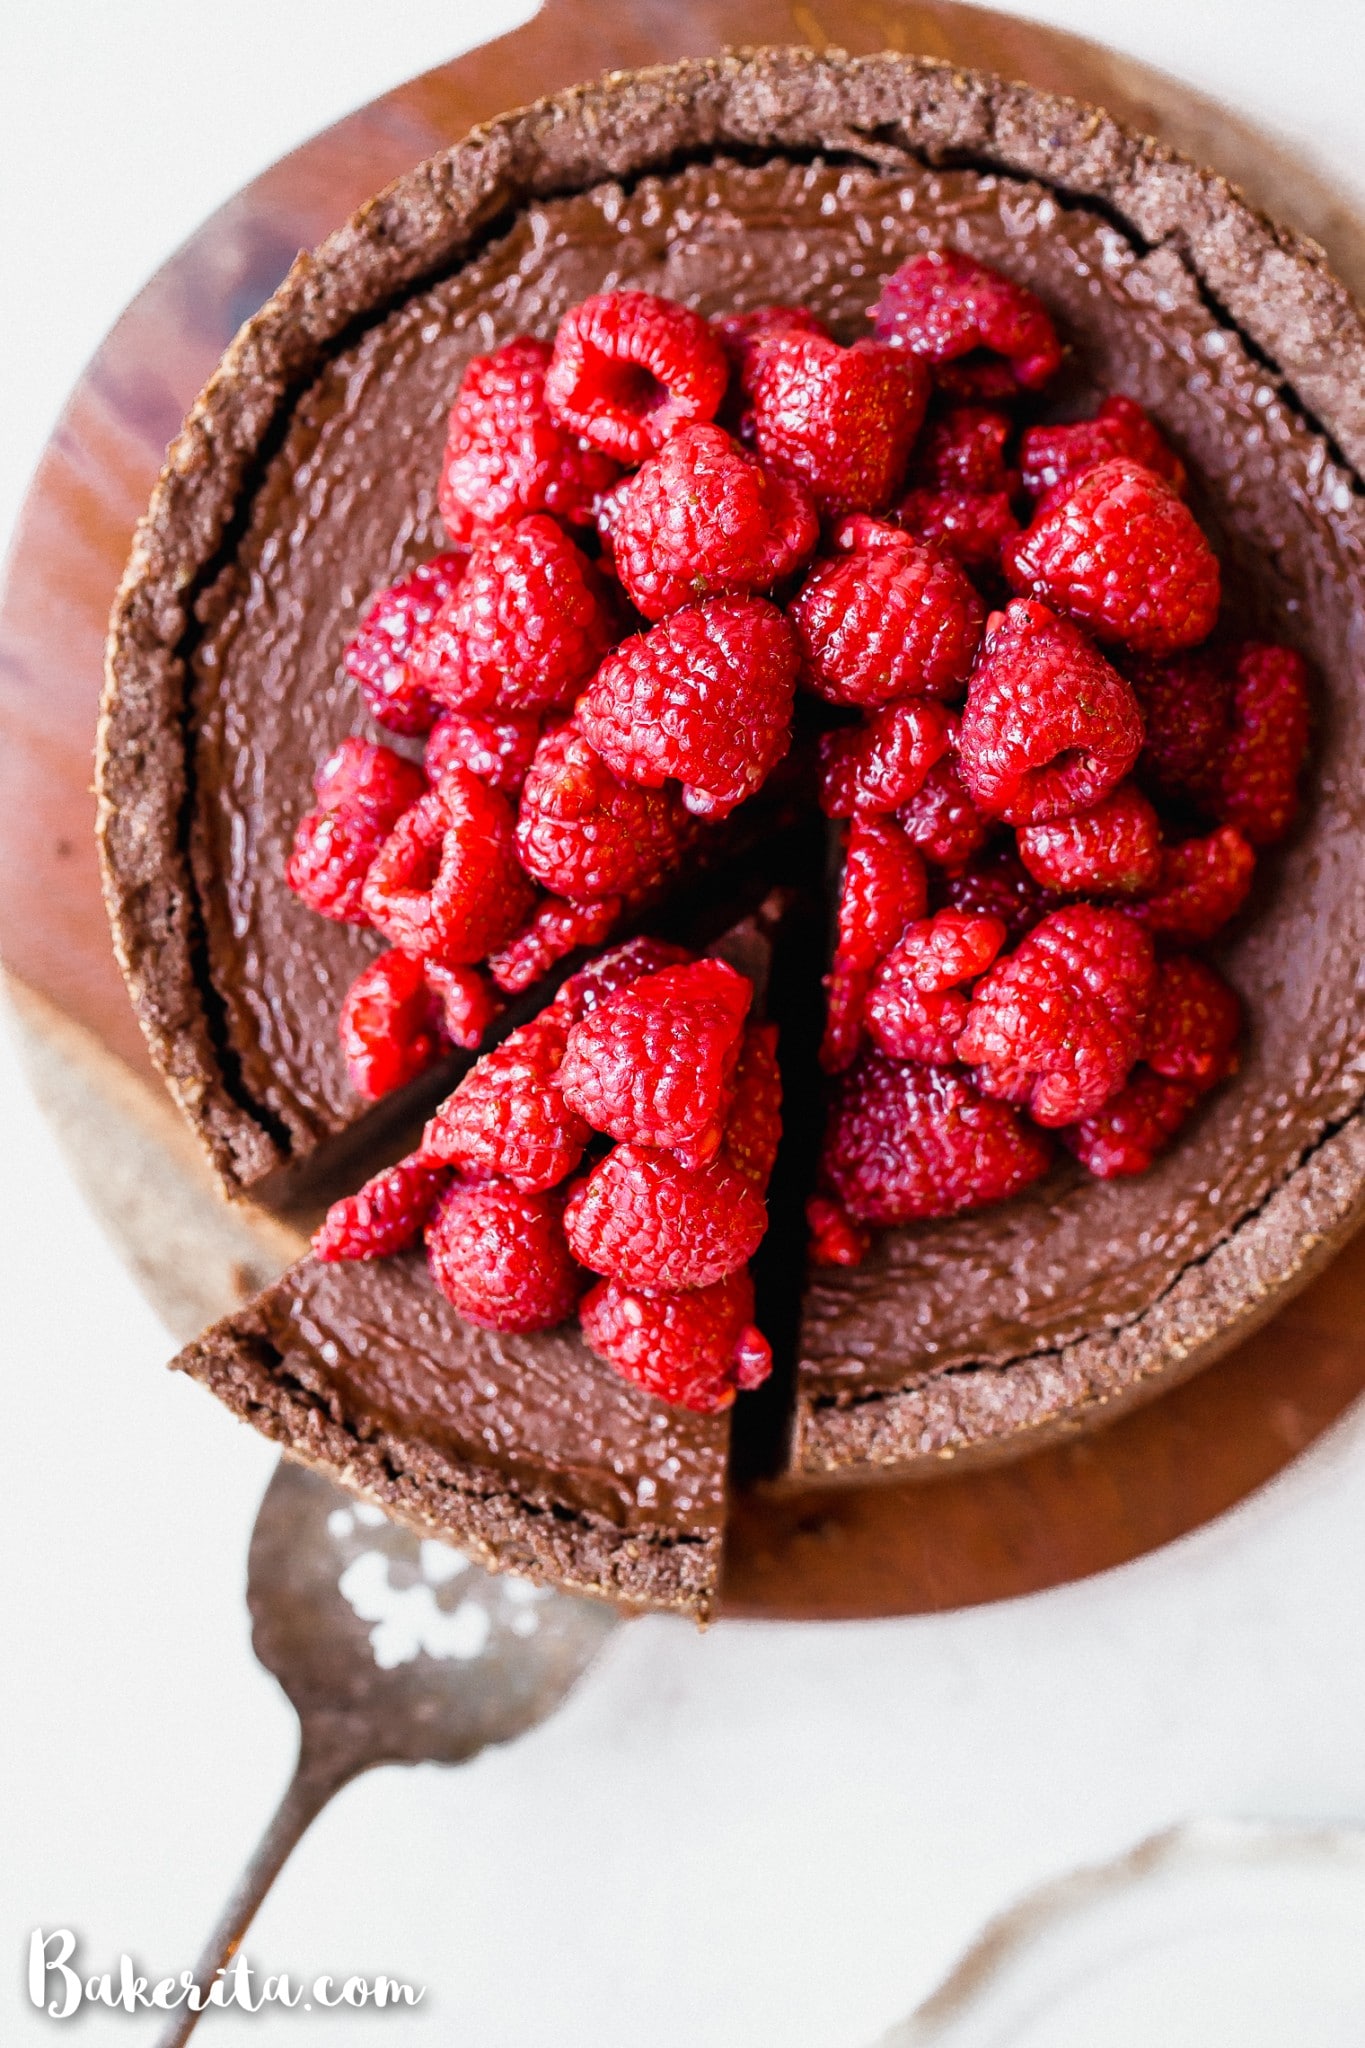
- Garnish with berries. I used raspberries in the photos, but strawberries, blueberries, blackberries, or any berry combination would be fantastic here.
- Top it off with chocolate ganache. This is for true chocolate lovers.
- Serve with whipped coconut cream. The lightness of the cream will help cut through the richness of the cheesecake.
- Dust the top with cacao powder. The simplest option, and a beautiful one!
The resulting baked vegan chocolate cheesecake is creamy, chocolatey, rich, a little tangy, and absolutely delicious! It’s perfect for birthdays, Valentine’s Day, the holiday season…or anytime you’re craving a good cheesecake :D
I hope you adore this recipe as much as I do! If you decide to try it, I would so appreciate you leaving a starred review below so I can hear what you think 😍⭐️ xoxoxo!
Want more vegan cheesecake inspo?
- Baked Vegan Cheesecake
- Peanut Butter Cup Cheesecake
- Chocolate Chip Cookie Dough Cheesecake
- Strawberry Orange Cheesecake with Coconut Crust
Baked Vegan Chocolate Cheesecake
- Prep Time: 30 minutes
- Cook Time: 60 minutes
- Total Time: 1 hour 30 minutes
- Yield: 10 slices 1x
Description
This Baked Vegan Chocolate Cheesecake will make your mouth water! It’s super creamy and delicious, with a rich chocolate flavor and a tasty gluten-free chocolate crust.
Ingredients
For the crust
- 1 cup raw pecans
- 1½ cups (148g) blanched almond flour
- ⅓ cup coconut sugar
- 3 tablespoons cacao powder
- ½ teaspoon sea salt
- ⅓ cup coconut oil, melted
For the filling
- 1½ cups raw cashews, soaked in water for 4 hours to soften, drain and rinse before using
- 1 cup vegan coconut yogurt, I like using plain Culina Yogurt, but any that is thick and tangy will work!
- ¾ cup canned coconut milk
- ⅓ cup (111g) pure maple syrup
- ¼ cup bittersweet chocolate, about 80%, melted
- 2 tablespoons fresh lemon juice, from the juice of one large lemon
- 3 tablespoons arrowroot starch or tapioca starch
- 3 tablespoons cacao powder
- 1 teaspoon vanilla extract
- ½ teaspoon sea salt
For the raspberry topping (optional)
- 1 cup fresh raspberries
- 2 tablespoons coconut sugar
Instructions
For the crust
- Preheat the oven to 350ºF. Lightly grease an 8-inch springform pan with coconut oil and place on a baking sheet.
- In a food processor or high-powered blender, combine the pecans, almond flour, coconut sugar, cacao powder, and sea salt. Pulse slightly to break up the pecans. Stream in the melted coconut oil and then pulse again until the mixture is well moistened and sticks together when pressed between your fingertips. Scrape down the sides of the container or use the tamper as necessary.
- Press the crust evenly along the bottom and up the sides of the prepared pan. Bake for 15 minutes or until firm to the touch. Let cool while you make the filling.
For the cheesecake filling
- Reduce the oven temperature to 325º.
- In a high-powered blender or a food processor (I use my Vitamix), blend the soaked cashews, coconut milk, coconut yogurt, maple syrup, melted chocolate, fresh lemon juice, arrowroot starch, cacao powder, vanilla extract, and sea salt. Scrape down the sides of the container or use the tamper as necessary to get a super smooth consistency. It will take about 3 to 5 minutes of blending to get it super smooth and creamy.
- Taste the mixture and adjust to your tastes (add more maple syrup for sweetness, lemon juice for tanginess, or cacao powder for more chocolate flavor). Pour the filling into the cooled crust and tap the pan hard on the counter a few times to release any air bubbles.
- Bake for 40 to 55 minutes, or until mostly set. The cheesecake should jiggle slightly in the center when it’s ready, but not be too wet and jiggly. Try not to disturb the cheesecake for the first 40 minutes.
- When the cheesecake is just shy of set, turn off the oven, leaving the cheesecake inside. Leave the oven door open a few inches and let the cheesecake cool inside of the slightly ajar oven. Remove from the oven after about an hour.
- Chill in the refrigerator for at least an hour to chill all the way through.
For the raspberry topping & to serve
- When you’re about ready to serve, combine the raspberries and coconut sugar in a bowl. Let the raspberries macerate for about 10 minutes. Just before serving, top the cheesecake with the raspberries. It’s also great served with coconut whipped cream or any other fruit that you prefer.
- Store the cheesecake tightly wrapped in the refrigerator for up to 1 week.


Oh my my, Rachel, This recipe looks super awesome!! I will definitely try this recipe at home and share the views! Thanks a lot for sharing this amazing recipe with all of us. Much love & Regards
Thanks so much, Nehal! I hope that you love it :D
This recipe looks super delicious
Thanks so much!!
Great recipe! Will try it further for sure!
So glad you’re enjoying it, Carol!
Thank you for the recipe, but why do people insist on rating recipes that they haven’t tried yet? Just saying, “this recipe looks good” and then giving it 5 stars is not helpful. I want to hear from people who actually made it! Does it come out as pictured? Any adjustments to the recipe needed?
Hi DX, I don’t have control over the comments from people who haven’t made it. Maybe I’m not the reassurance you’re looking for as the author of the recipe, but it turns out well for me whenever I make it! If you do decide to try it, I’d love to hear your feedback!
This recipe looks super awesome!! Will try it further for sure!
I hope you love it, Anil!
The best vegan cheesecake I have ever eaten !!!
Hurray!!! That makes me so happy to hear!
Thanks for sharing
will defiantly try
It’s an amazing cheese cake I have ever tasted. It came up so well. Thank you for the recipe.
So glad you’re loving it, Aubree! Thanks for the feedback :D
This is delicious! Your directions are very clear and easy to follow – even for a non baker! I made this for my wife’s birthday – it was a big success! Thanks!
So thrilled to hear that! Thanks for the feedback, Wade. I’m glad it was a hit for your wife’s birthday!
Thats great recipe though I cant wait to try this further
Thank you Vishal!
Perfect texture and flavor! Made it for a dinner party and everyone loved it! It’s not too sweet and looks so impressive piled with berries! (I used strawberries on mine and didn’t add the extra sugar.) Highly recommend!
So glad to hear you’re loving it, Joanna!! Thanks for the feedback :D
Hi Rachel, Can’t thank you enough for this recipe. I have been looking for a long time about baked vegan chocolate cheesecake recipe and when I tried your recipe – the test was perfect. Just the way I like it. Thanks once again.
Hi Rahki, I am SO thrilled to hear you’re loving it! Thanks so much for the feedback :)
The recipe is absolutely amazing.
So thrilled to hear that you’re loving it!
very nice and delicious recipe. This was very helpful for me.
Thanks Rohit!
Nice cheesecake recipe
thanks for sharing
Thanks for the feedback!
Thanks for sharing Niranjan
Great recipe!!
Glad you loved it!
Thank you for sharing this delightfully easy, mouthwateringly delicious recipe. Have baked this cake several times since I first tried it a few weeks back and it’s been a huge success each time!
Woohoo!! So happy you’re loving it! Next time, if you can leave a star with your recipe, it’s super helpful for people to know what you’d rate it :D
Wow! I love this Vegan Chocolate Cheesecake, I will make this today. Thank you so much for doing what you do
Hope you love it!!