
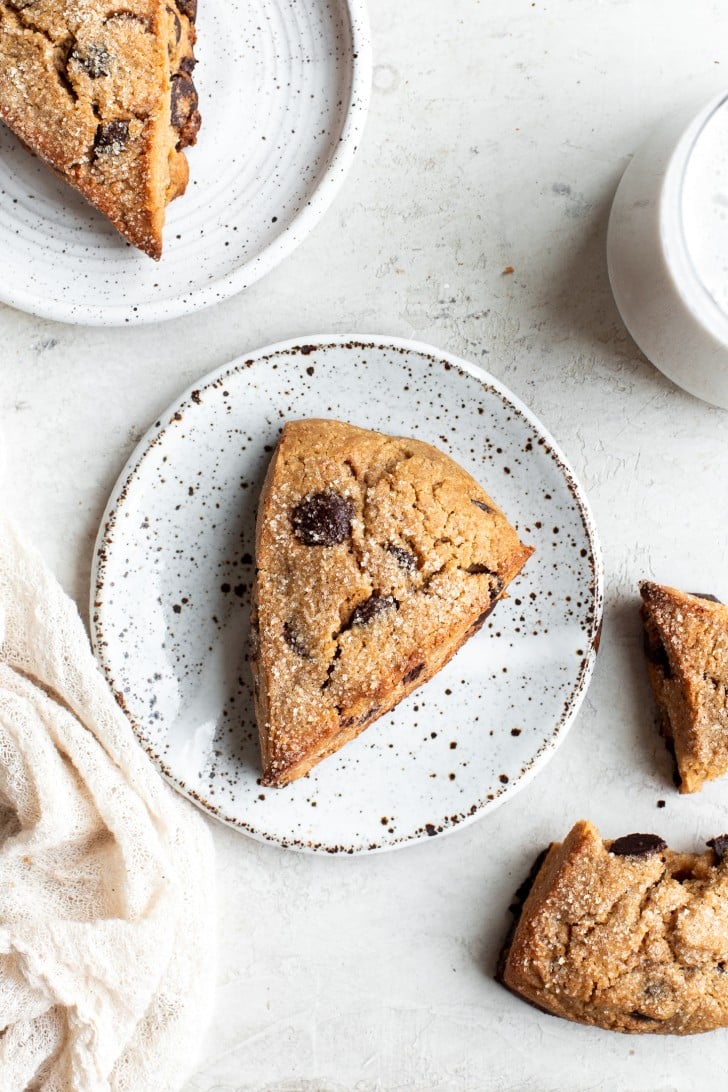
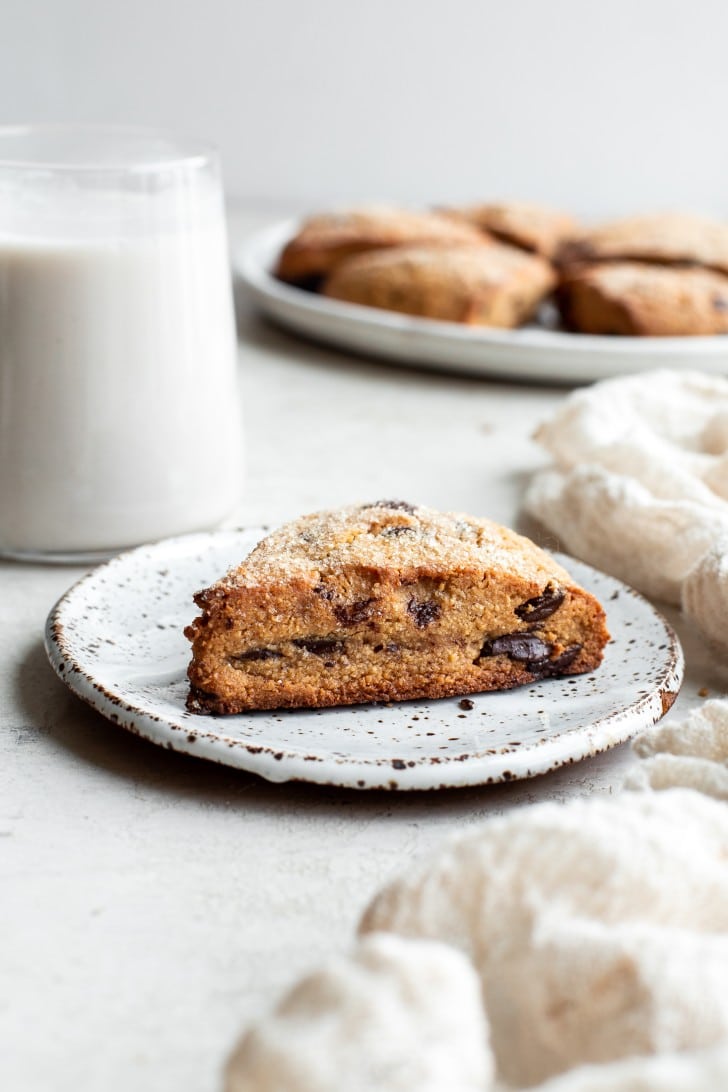
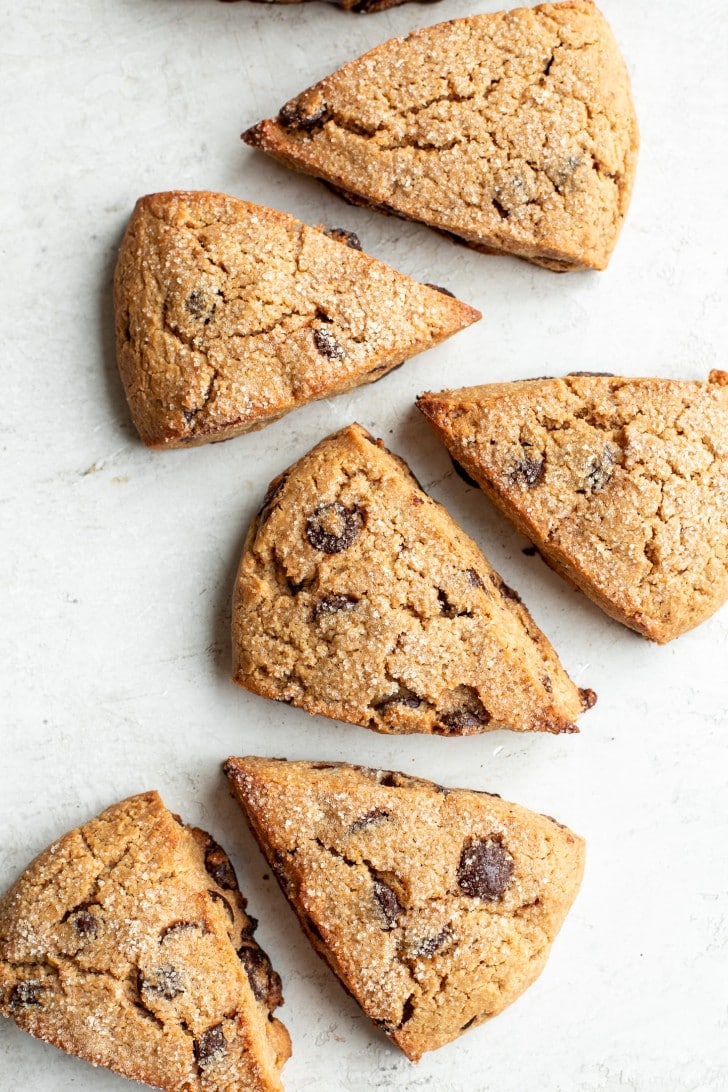
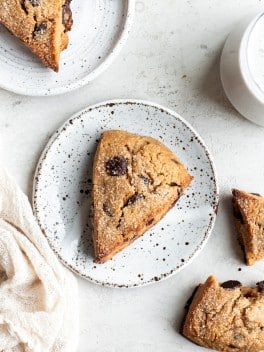
These sweet Chocolate Chip Gluten-Free Sourdough Discard Scones are the perfect use for your gluten-free sourdough discard! They’re dairy-free and vegan, and make for a delicious gluten-free breakfast or snack.
Craving savory scones? Try this recipe for Savory Gluten-Free Sourdough Scones!
Hello, sourdough friends new and old! I’m so happy you’re here for another gluten-free sourdough recipe. If you’ve been making gluten-free sourdough bread for any period of time, or even just building your own gluten-free sourdough starter, then you know that sourdough discard is part of the process.
Sourdough discard is the part of your sourdough starter that you remove when you feed your starter to ensure it doesn’t get overwhelmingly large. Though it’s called the “discard” because you’re removing it, I sure don’t like to actually discard it, especially not when there are SO many delicious sourdough discard recipes you can make! A few of my favorites are:
- Gluten-Free Sourdough Discard Crackers
- The Best Gluten-Free Sourdough Pizza
- Gluten-Free Sourdough Focaccia
- Cinnamon Sugar Gluten-Free Sourdough Crackers
- Gluten-Free Sourdough Chocolate Chip Cookies
And the newest favorite to be added to the list is definitely these Chocolate Chip Gluten-Free Sourdough Discard Scones!
How to make gluten-free sourdough discard scones
The ingredients you’ll need to make these scones are as follows:
- Blanched Almond Flour
- Arrowroot or Tapioca Flour: this starchy flour helps add lightness and crispness to the scones.
- Coconut Sugar: feel free to use any granulated sweetener here, but avoid using a liquid sweetener as it will throw off the balance of dry to wet ingredients.
- Baking Powder & Salt
- Cinnamon: optional, you can substitute other favorite spices if desired or leave it out.
- Refined Coconut Oil or Butter: make sure to use coconut oil or vegan butter to keep dairy free.
- Gluten-Free Sourdough Discard: see Notes in the recipe card for details on this!
- Milk of Choice: I used oat milk, but any milk, dairy-free or not, will work depending on your preferences and needs.
- Mix-Ins: I used chocolate chips, but there’s tons of options! I suggest some options below.
To make the scones, start by combining all of the dry ingredients in a mixing bowl and whisk together.
Add in the chilled fat of your choice, cut into small pieces. Work it into the dry ingredients using a pastry blender or two forks until it’s in pea-sized bits, but not fully incorporated.
Mix together the sourdough discard and milk, and mix into the dry ingredients delicately to bring the dough together. Fold in your mix-ins of choice.
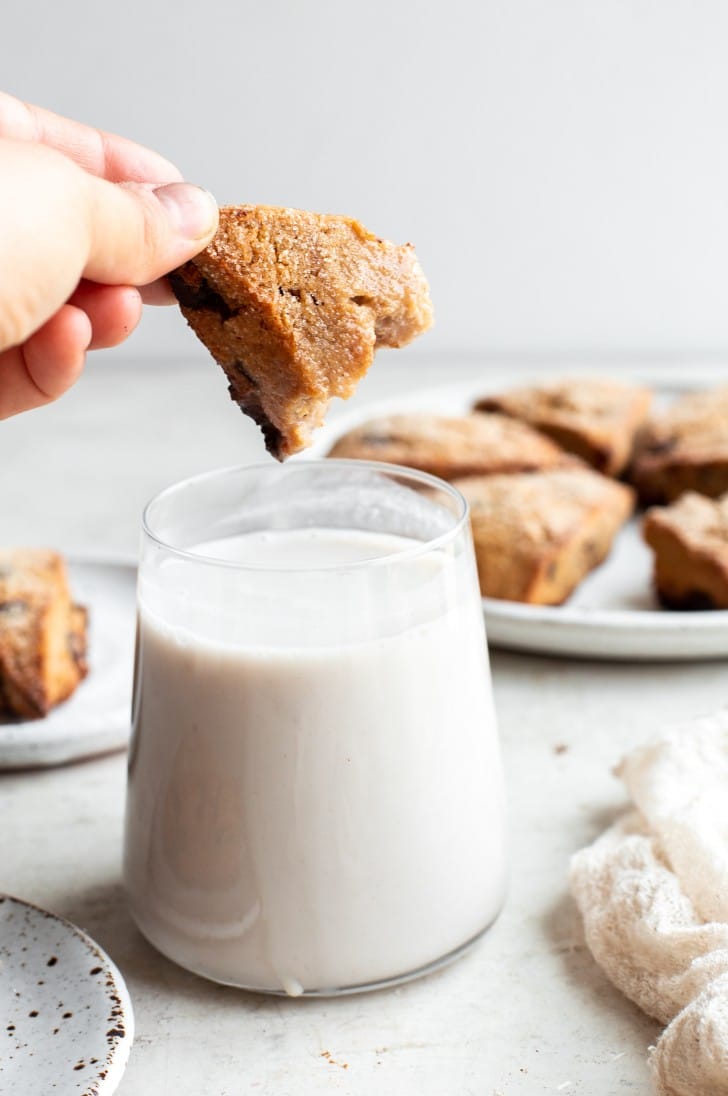
Press the dough into an 8″ circle, refrigerate for an hour, and then cut into wedges. Coat with sugar if desired, and then bake for about 20 minutes or until golden brown. Devour while warm!
Other scone mix-ins you can use
Not a chocolate chip fan? No worries! These other options for adding flavor to your sourdough discard scones are great too, just make sure the amount stays close to ½ cup.
- Pecans or other favorite nut, toasted is even better!
- Blueberries for sourdough blueberry scones, adding lemon zest would be great here too.
- Dried fruit like cranberries or raisins.
- Extracts like vanilla, mint, orange, lemon, almond, etc.
- Zest of your favorite citrus, like lemon, orange, lime, etc.
Tips for the best gluten-free scones
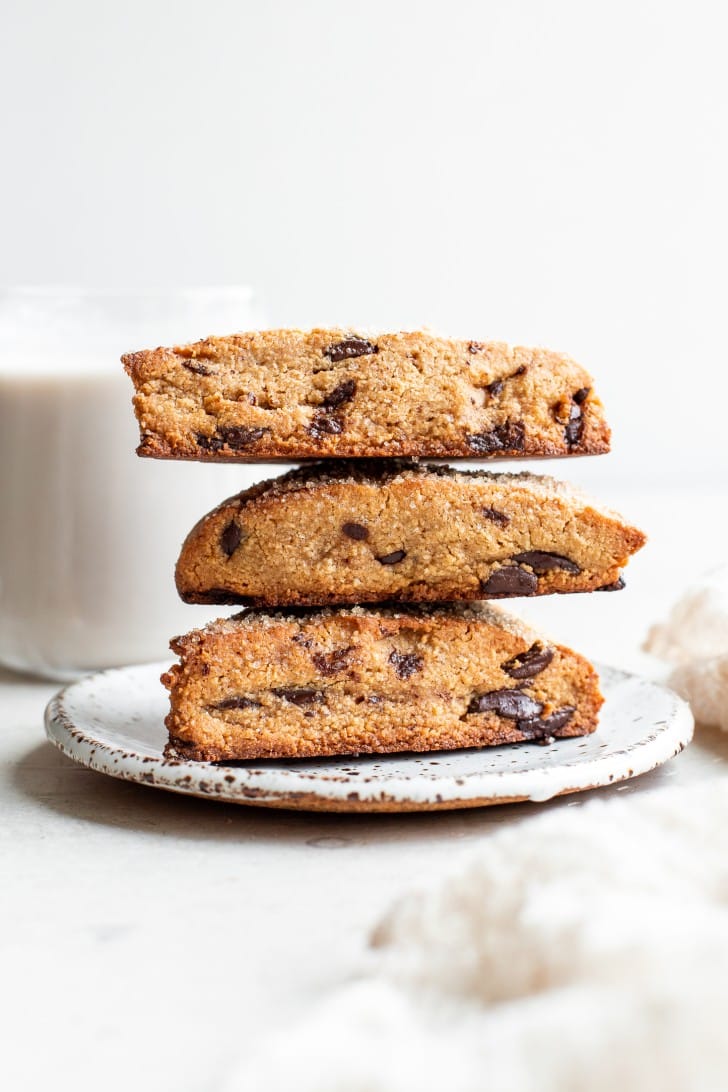
- Don’t overwork the fat! The little bits of coconut oil or butter help add lightness and tenderness to the scones.
- Brush with milk and sprinkle with sugar before baking for a crispy, sugary topping.
- Don’t add too many mix-ins or they won’t hold together as well.
- Use a kitchen scale for the most accurate results.
- If your sourdough discard is super liquid-y, don’t add all of the milk at once. Add as needed to bring the scones together.
Tips for storing and freezing scones
To freeze before baking: after making the chocolate chip scone dough and wrapping in a round, you can either freeze the dough in the circle, or you can cut the scones and garnish. After cutting and garnishing, place the scones on a baking sheet and freeze until firm. Then transfer to a ziplock bag or airtight container and freeze for up to 6 months. To bake, bake straight from frozen, following the directions as instructed, but adding about 3 to 5 minutes onto the baking time.
To freeze after baking: after baking, but before glazing, place the scones on a baking sheet and freeze until firm. Then transfer to a ziplock back or airtight container and freeze for up to 6 months. To reheat, bake at 300°F for about 10 to 15 minutes, or until thawed and warmed.
Storing baked scones: store the baked scones in an airtight container at room temperature for up to 2 days, or in the fridge for up to a week.
More fabulous gluten-free scone recipes:
- Savory Gluten-Free Sourdough Scones
- Gluten-Free Chocolate Chip Scones
- Easy Gluten-Free Cinnamon Sugar Scones
- Gluten-Free Lemon Blueberry Scones
- Vegan Gluten-Free Pumpkin Scones
- 15+ Gluten-Free Scone Recipes
Chocolate Chip Gluten-Free Sourdough Discard Scones
Ingredients
- 1¾ cup (174g) blanched almond flour
- ⅔ cup (85g) tapioca flour, or arrowroot flour
- ⅓ cup coconut sugar
- 1¼ teaspoons baking powder
- ½ teaspoon sea salt
- ½ teaspoon cinnamon, optional
- ⅓ cup (66g) refined coconut oil, or butter of choice (vegan if needed), firm
- ½ cup (125g) gluten-free sourdough discard, see Notes
- ¼ cup milk of choice, I used oat milk
- ½ cup chocolate chips, optional, you can substitute with your favorite sweet mix-in!
Instructions
- In a large mixing bowl, combine the blanched almond flour, arrowroot flour, coconut sugar, baking powder, salt, and cinnamon. Whisk together.1¾ cup (174g) blanched almond flour, ⅔ cup (85g) tapioca flour, ⅓ cup coconut sugar, 1¼ teaspoons baking powder, ½ teaspoon sea salt, ½ teaspoon cinnamon
- Add in the coconut oil or butter and use a pastry blender or fork to work the fat into the dry ingredients until small, pea-sized bits of fat remain. You don’t want it to be fully incorporated.⅓ cup (66g) refined coconut oil
- Whisk together the dairy-free milk and starter, and then add to the dry ingredients and stir or pulse until completely combined. Fold in the chocolate chips.½ cup (125g) gluten-free sourdough discard, ¼ cup milk of choice, ½ cup chocolate chips
- Place a sheet of parchment paper on a baking sheet and dust with arrowroot flour. Put the dough on top of the parchment, dust with more arrowroot flour, and press into a circle, about 8” across. Place in the refrigerator for at least 1 hour or up to 24 hours to chill. If leaving in the refrigerator for more than a few hours, I recommend wrapping the dough in plastic wrap so it doesn’t dry out.
- When ready to bake, preheat the oven to 375°F. Cut the circle into 8 scones and separate from each other so they’re not touching. Use a pastry brush to brush the top of the scones with a small amount of dairy-free milk. Sprinkle each scone with sugar if desired. Bake for about 20 to 25 minutes or until golden brown.
- Serve warm and store any extras in an airtight container in the fridge for up to a week.
Notes
- Don’t use discard that is from a super new starter – it should be smelling good and at least a week old. The starter does not need to be active and should be fed with about 100% hydration.
- If it seems super liquid-y, hold off on adding all the milk to the recipe and add as needed. You don’t want the dough to be too wet.

These were very good! Great texture! I made half of mine blueberry and half chocolate chip pecan.
Do you by chance have any nutrition information calculated for your recipes? I am a big fan of them but I am currently trying to track macros.
So glad you loved them!! I personally don’t track macros, but I can add for this recipe. Will update with nutritional info now!
Hi Rachel! Love your recipes! I dont see the nutritional info, did you add it or I am looking in the wrong place? Thanks
Huh, it’s been put there but for some reason isn’t showing up! I’ll fix it now, thanks for pointing that out. You’ll see it at the bottom of the recipe card.
Hi
What do you suggest for an alternative to almond flour ? These look delicious but husband is allergic
Tigernut flour, sunflower seed flour, or oat flour should work great.
Thank you! I look forward to trying them.
Such nice scones. I used butter and dried cherries. I like that the recipe uses less butter than typical scone recipes and yet feels so buttery when done. The dough was a bit wet so added a couple of tablespoons almond flour. Turned out perfectly. Next time I’d try rehydrating the dried cherries.
So glad you’re loving them, Lucy!
I absolutely love making these scones!!! I have to say the first time I made it my starter was newish and what a difference that made as I remade them with my starter being older was so.nice to see how much fluffier they got but they were amazing even with new starter! My husband said they are the best scones ever and he ate 3 the night I made them lol
I have one question for you do you think I could make this batter and put it in the freezer and maybe thaw it out the night before in the fridge and make them? I need to make a big batch and was wodering if that would work I.also.have the same.question for the pizza crust I’d love to have a bunch ready for when we crave pizzas? Thank you so much for these amazing recipes pls never stop creating
So happy to hear this, Deanna! Isn’t it fun to see how the recipes evolve a bit as your starter matures? Such a fun (and delicious) way to measure its maturity. As for freezing, y ou can absolutely freeze the dough. I’d recommend freezing after you cut the dough into triangles. You can freeze them on a baking sheet and then when they’re firm, transfer to an airtight container or freezer safe zip bag to bake as needed. You should only need to thaw at room temp for 10-15 minutes before baking. As for the pizza crusts, I batch bake them and freeze extras all the time – just store super well wrapped so they don’t get freezer burned, and then top and bake when you’ve got a pizza craving. Enjoy!
I can’t wait to try these. In the note, you mention the discard being fed 100% hydration. My question is if you mean to feed it after discard (or taking from the fridge).
I’m not sure if you just mean it should have been previously fed @100% prior to discard, since feeding it isn’t mentioned in the recipe.
Thanks!
Hi Marci, you don’t need to feed the discard you use, just that your discard should be fed with 100% ratio, since that’s what I used – a different ratio can throw off the balance of liquid to dry ingredients in the recipe. Enjoy!
If you refrigerate the dough overnight do you let it come to room temp before baking? Thank you!
Hi Bob, you can bake straight from the fridge for these!
These were great! When do I add the chocolate chips? I assume with the dry ingredients, but I missed adding them the first time because I didn’t see them in the ingredients list. Delicious though!!
Oh goodness, how have none of the previous comments mentioned that I totally missed adding them to the directions?! Adding them now – thanks so much for pointing that out, and so glad you loved them.
These are so so so good!! I make them on repeat. I subbed the almond flour for 1/4 c tapioca and 1 1/2 c 1:1 GF flour and they were good!
So glad you’re loving them!
Thanks Mikayle, I can’t have almonds and was wondering what to substitute.
I am currently making these for the 6th time, and have had such great success. This is a new favorite over here, thank you so much!
So glad you’re loving them, Kelly!
I have made these several times because everyone loves them. It’s such a user friendly recipe. Thank you!
I cut back on the coconut sugar using a scant 1/4 cup. Will cutting back more throw off the recipe? I do add concentrated monk fruit powder to help balance cutting back on the sugar, but don’t tell my boys.
So glad they’re a hit, Sandy!! The sugar is helpful in terms of the texture/browning as well as the flavor – you may be able to get away with a little bit more, but I wouldn’t reduce it too much more.
Moist but not gummy or dense. These were a hit and I’m making them again! I loved mine with the cinnamon.
So glad you loved them, Hannah!
Curious. If I wanted to make these with pumpkin puree, what would you recommend for amount of puree? Thinking this would add wet ingredient and need to balance with dry.
Hi Tami, I recommend using my pumpkin scones recipe :)
Help! I made this recipe twice this weekend, and both times the dough was so dry and crumbly it wouldn’t hold together even after an hour in the freezer. The first time (recipe as written) I finally just smashed the dough into balls and even then, some didn’t hold together. The second time (I used the substitution mentioned in an earlier comment) the dough held together enough to make wedges, but only 3 of the 8 held their shape and the rest just look like piles of crumbs. I measured everything with a kitchen scale. Both recipes taste great and I’d love to make these again but, any idea what went wrong? The other comments here are so glowing!
Hi Maggie, sorry you had trouble with this one!! The fridge/freezer time is usually to solidify the softness of the dough. Was your discard dry perhaps? You can always add more milk to get the dough to come together if something is feeling too dry, so if it happens again, add more milk a tablespoon at a time until it comes together into a texture similar to a cookie dough. Usually with discard recipes, it has to do with variation in the discard texture/flours used. Hope this helps!!